Advertisement
Quick Links
Advertisement

Related Manuals for TERK Technologies TV42


Summary of Contents for TERK Technologies TV42
- Page 1 TV42 Owner’s Manual Amplified/Outdoor Satellite Dish Clip-on Antenna...
-
Page 2: Safety Precautions
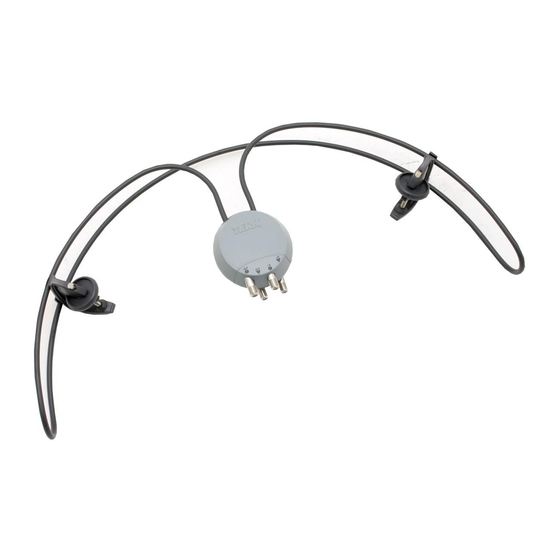
Safety Precautions Warning! Use extreme caution when installing or removing an outdoor antenna that is located close to overhead wires such as power lines, telephone lines or cable TV lines. If any part of the antenna makes contact with overhead power lines, touching the antenna or the antenna cable can cause electrocution and death. - Page 3 Before you begin Please take a moment to familiarize yourself with the various elements in the TV42 package. Please make sure that your package includes all of the necessary pieces (see Fig 1). If you believe your box is missing any pieces, please call TERK Technical Support at 1(800) 942-TERK (8325).
- Page 4 Installing the TV42 on a satellite dish 1. Make sure all satellite receivers are turned off and unplugged from the electrical outlet. 2. Unsnap the antenna from the back notch of the mounting clamp. See Fig 2. Fig 2 3. Hold the antenna to the back of the dish so that the circular housing is centered with the TERK logo facing out.
- Page 5 6. Tighten the clamps by turning the thumb-wheel screw clockwise. Note: We recommend the use of the enclosed security clips for any dish 20” or larger. Snap the security clips onto the TV42 and slide down towards the mounting clips. See Fig 5. Fig 5...
- Page 6 Connecting the TV42 Depending on the type of satellite dish you have, go to one of the following five scenarios to determine how to connect the TV42 antenna to your satellite dish. A-Single LNB (Phase1) Satellite Dish 1. Remove the LNB from the arm of the satellite dish to expose the satellite cables.
- Page 7 5. Reconnect the LNB to the dish arm. See Fig 8. Fig 8. 6. Connect the remaining end of the 2 black 32” antenna cables to the IN 1 and IN 2 terminals on the TV42 antenna. See Fig 9. Fig 7, 8 Fig 9.
- Page 8 B - Triple LNB (Phase3) Satellite Dish Note: You can only connect up to 2 receivers to your satellite dish with the TV42. If you would like to use or eventually use up to 4 receivers, you will need to purchase the Terk TV44 antenna instead.
- Page 9 See Fig 12. Fig 12. 6. Connect the remaining end of the 2 black 32” antenna cables to the IN 1 and IN 2 terminals on the TV42 antenna. See Fig 13. Fig 13. 7. Continue to “Installing the Indoor Diplexers.”...
- Page 10 TV42 antenna. See Fig 14. Fig 14. 3. Using the 2 black 32” antenna cables, connect the IN 1 and IN 2 terminals of the TV42 to the “OUTPUT” or “TO RECEIVER” terminals on your multiswitch. See Fig 15. Fig 15.
- Page 11 D- Using a Multiswitch with an Antenna Input Note: You may need to purchase additional diplexers and antenna wires to complete this installation. 1. Complete “Scenario A” instructions. (Page 5) 2. Locate your multiswitch and disconnect the satellite wire from the 18 volt or Satellite A/101 18 volt terminal.
- Page 12 RG6 coaxial cable if they are not long enough. 3. Using 2 black 32” antenna cables connect the “TO RECIEVER” terminals on the SW21 multiswitches to the IN 1 and IN 2 terminals on the TV42 antenna. See Fig 17. Fig 17.
- Page 13 Installing the indoor diplexers 1. Disconnect the satellite cable from the “SAT IN” terminal on your satellite receiver. See Fig 18 . Satellite Receiver Fig 18. From Satellite Dish 2. Connect the satellite cable to the terminal marked “TV/SAT” on the indoor diplexer.
-
Page 14: Setting Up Your Tv
For more information, visit www.terk.com. or, for technical support, call 1.800.942.TERK (8375). 78P008A TERK is a registered trademark. The TERK logo is a trademark of the TERK Technologies Corp.
Need help?
Do you have a question about the TV42 and is the answer not in the manual?
Questions and answers