Table of Contents
Advertisement
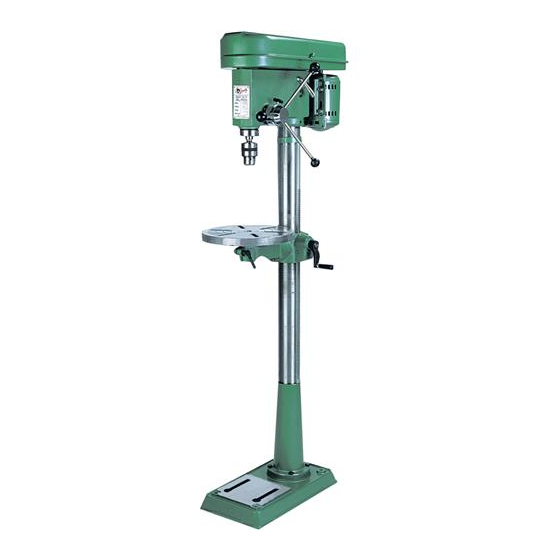
DRILL PRESS
MODEL G1199/G1200
INSTRUCTION MANUAL
COPYRIGHT © 1990 BY GRIZZLY IMPORTS, INC. REG. #3176563
WARNING: NO PORTION OF THIS MANUAL MAY BE REPRODUCED IN ANY SHAPE
OR FORM WITHOUT THE WRITTEN APPROVAL OF GRIZZLY IMPORTS, INC.
REVISED JUNE, 1996 PRINTED IN USA
DISCONTINUED MACHINE MANUAL DISCLAIMER
THE INFORMATION IN THIS MANUAL REPRESENTS THE LAST CONFIGURATION OF THE MACHINE BEFORE IT WAS DISCONTINUED. MACHINE CON-
FIGURATIONS MAY HAVE CHANGED AS PRODUCT IMPROVEMENTS WERE INCORPORATED. IF YOU OWN AN EARLIER VERSION OF THE MACHINE,
THIS MANUAL MAY NOT EXACTLY DEPICT YOUR MACHINE . CONTACT CUSTOMER SERVICE IF YOU HAVE ANY QUESTIONS ABOUT DIFFERENCES.
PREVIOUS VERSIONS ARE NOT AVAILABLE ONLINE.
Advertisement
Table of Contents


Need help?
Do you have a question about the G1199 and is the answer not in the manual?
Questions and answers