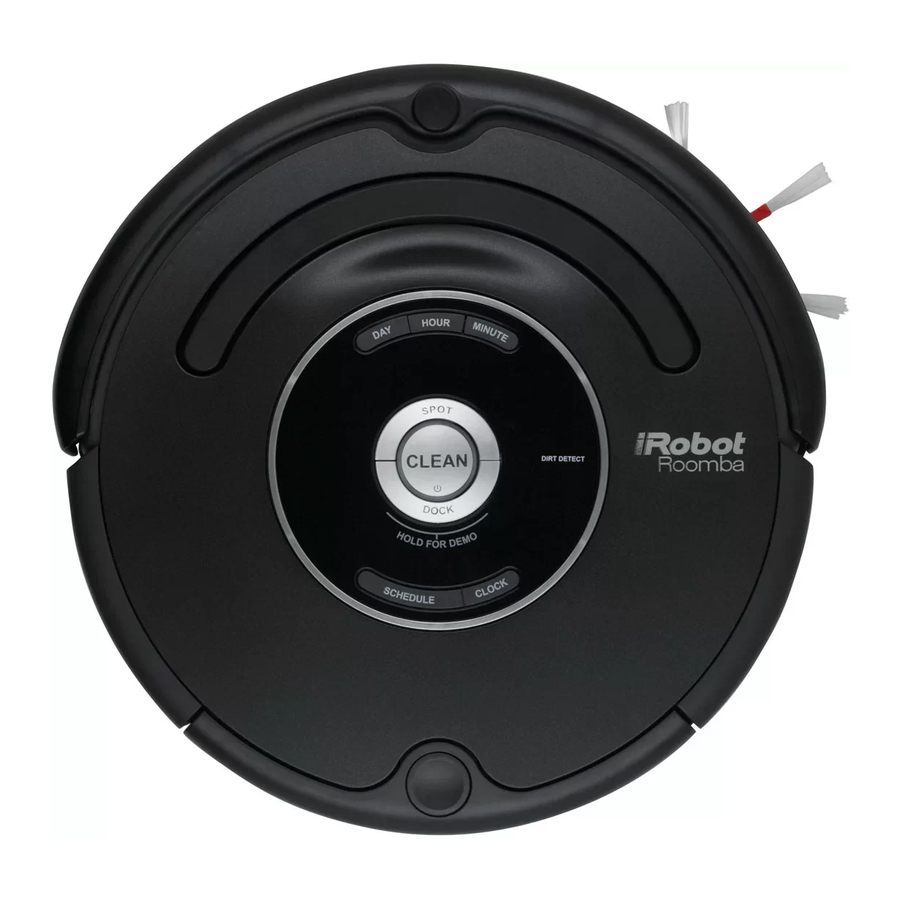
iRobot Roomba Owner's Manual
Roomba 500 series
Hide thumbs
Also See for Roomba:
- User manual ,
- Owner's manual (50 pages) ,
- Customer support booklet (40 pages)
Table of Contents
Advertisement
Advertisement
Table of Contents

Summary of Contents for iRobot Roomba
- Page 2 Please take a few moments to read this manual and get acquainted with your Roomba, to get the best performance from your robot. If you have any questions, visit our website at www.irobot.com for more information.
-
Page 3: Table Of Contents
• Recharge Roomba as soon as possible. Waiting several days to recharge Roomba can damage the battery. Frequently Asked Questions ........32 • For storage off the power supply, remove the battery from Roomba and Important Safety Instructions ........33 store in a cool, dry place. -
Page 4: Irobot Roomba Anatomy
Roomba Anatomy Cleaning Pattern Roomba is a robot that cleans floors differently than the way most people Infrared Sensor clean their floors. Roomba uses its robot intelligence to efficiently clean the whole floor, under and around furniture and along walls. -
Page 5: Cleaning Modes
Roomba won’t get stuck on cords, carpet fringe or tassels. When Roomba senses it has picked up a cord or tassel, it will automatically stop its main brushes or side brush and try to escape. Roomba may make a clicking noise when anti-tangle is activated. -
Page 6: Cleaning Bins
High-Capacity Sweeper Bin 16-Hour Refresh Charge If Roomba has been left off the power supply or Home Base for an extended period, Roomba will initiate a special 16-hour charge cycle. This extensive charge refreshes Roomba’s battery and extends the battery life. -
Page 7: Virtual Wall
Charge Roomba in one of two ways: (optional accessory for all models) Virtual Walls create an invisible barrier that Roomba will not cross. This invisible barrier can be used to confine Roomba to a particular room or area, and prevent it from getting too close to electrical or computer cords, delicate objects on the floor, etc. -
Page 8: Virtual Wall ® Lighthouses
TIP: To conserve battery life, remove the batteries if you are not planning to use the Virtual Wall Lighthouse when cleaning. When battery levels are TIP: When in Lighthouse mode, do not manually move Roomba from room to low, the Virtual Wall Lighthouse power light will flash repeatedly. -
Page 9: Home Base
(optional accessory for models 570 and above) The Wireless Command Center lets you conveniently control Roomba’s Roomba returns to the Home Base at the end of a cleaning cycle or when functions. You can use it to turn Roomba on and off, schedule Roomba to its battery is running low. -
Page 10: Remote Control
The Remote Control lets you conveniently control Roomba’s functions. indicate that the time has been set. You can use it to turn Roomba on and off and steer it around your room without bending down. It also gives you remote access to these... -
Page 11: Regular Maintenance
Roomba’s clock will switch back to the default 12 hour TIP: If you notice Roomba picking up less debris from your floor, empty the bin (AM/PM) format when Roomba’s battery is disconnected or significantly and clean the brushes. - Page 12 Push firmly on the wheel axle to remove it completely from the TIP: When maintaining Roomba, look for the yellow parts. These parts are designed to be removed and cleaned every time you empty Roomba’s bin. wheel.
-
Page 13: Language Selection Mode
The troubleshooting light will also blink. French, German, Spanish, Italian, Dutch, Danish, Swedish, Norwegian, Refer to the chart below to resolve Roomba’s problem. If the problem is Finnish, Polish, Russian, Portuguese, Japanese, Korean and Chinese. -
Page 14: Replaceable Modules
What to do blinks... displays... says…. (models Roomba has a number of modules that can be replaced, including its 550+) drive wheels, side brush, main cleaning head, vacuum bin, caster wheel, Confirm that Roomba’s and battery. battery pull-tab is removed. - Page 15 Faceplate Removal Install Roomba’s faceplate by inserting the tabs into the appropriate slots, and then pushing down firmly on the inside and outsides edges of the faceplate. (models 500 and above) Follow these instructions to remove and install Roomba’s faceplate.
-
Page 16: Battery Removal
Battery Removal Unscrew the four screws shown below and remove Roomba’s bottom cover. (models 500 and above) Follow these instructions to remove and reinstall Roomba’s battery. Remove Roomba’s side brush screw. Remove Roomba’s battery. Remove Roomba’s side brush. Reinstall Roomba’s battery with the iRobot logo facing up. -
Page 17: Frequently Asked Questions
• Roomba is for indoor use only. • Roomba is not a toy. Do not sit or stand on this device. Small children and pets should be sound when no tassels or wires are present, the main brushes should be supervised when Roomba is cleaning. -
Page 18: Irobot Customer Care
Should you still need assistance: • Visit the iRobot support web site at www.irobot.com/support It is further declared that the Roomba Robotic Vacuum Cleaner and Accessories • Call our customer care representatives at 877.855.8593 conform to the following harmonized European standards:... - Page 19 International customers visit www.irobot.com/international © 2009-2010 iRobot Corporation, 8 Crosby Drive, Bedford, MA 01730. All rights reserved. iRobot, Roomba, Virtual Wall and Home Base are registered trademarks of iRobot Corporation. Dirt Detect and Lighthouse are trademarks of iRobot Corporation. [00054.0310.v2] U.S.


Need help?
Do you have a question about the Roomba and is the answer not in the manual?
Questions and answers