iRobot Roomba Owner's Manual
Roomba 600 series
Hide thumbs
Also See for Roomba:
- User manual ,
- Owner's manual (50 pages) ,
- Customer support booklet (40 pages)
Table of Contents
Advertisement
Advertisement
Table of Contents

Related Manuals for iRobot Roomba


Summary of Contents for iRobot Roomba
- Page 3 Please take a few moments to read this manual and get acquainted with your Roomba, to get the best performance from your robot. If you have any questions, visit our website at www.irobot.com for more information.
-
Page 4: Important Tips
• Recharge Roomba as soon as possible. Waiting several days to recharge Roomba can damage the battery. • For storage off the power supply, remove the battery from Roomba and store in a cool, dry place. • Blue or black batteries should be stored after Roomba has been used. -
Page 5: Table Of Contents
Virtual Wall Halo ............13 ® Home Base ............14 ® Remote Control ............15 Scheduling Roomba (selected models) ....16-17 Regular Maintenance ........... 18-20 Language Selection Mode .........21 Troubleshooting ............ 22-23 Replaceable Modules ........... 24-28 Frequently Asked Questions ........29 Important Safety Instructions ........30 Declaration of Conformity ..........31... -
Page 6: Irobot Roomba Anatomy
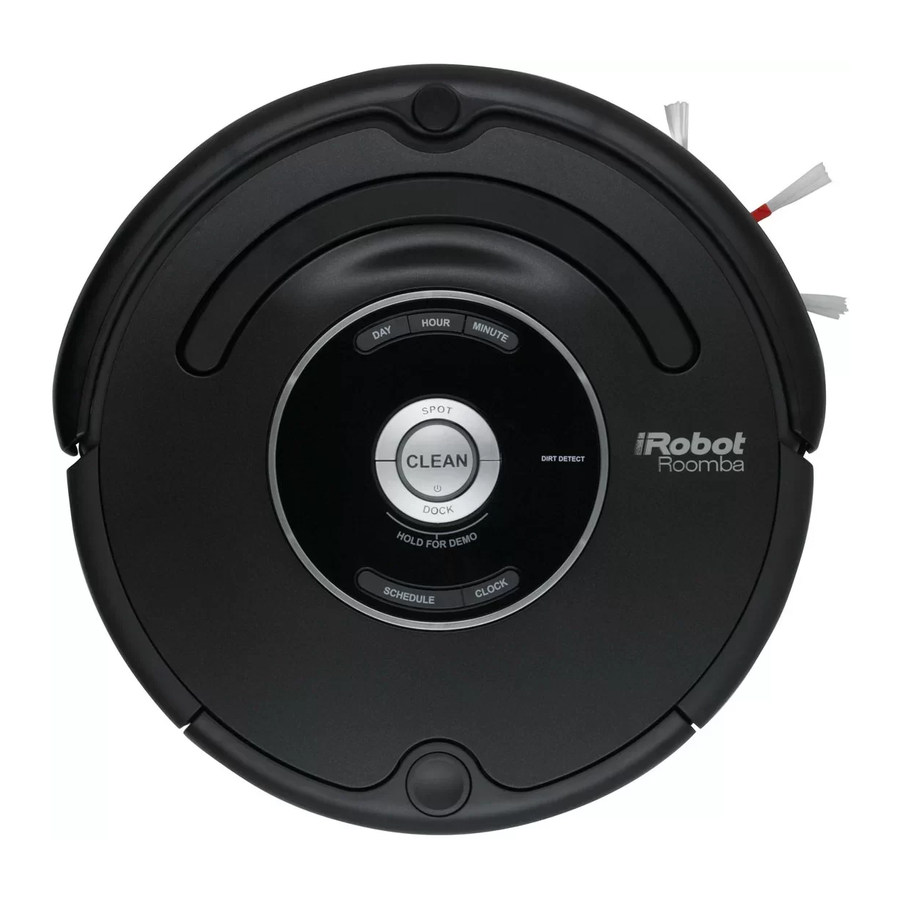
Cliff Sensor Contact Points Flexible Openings for Home Base Brush (selected models) Edge-Cleaning Main Side Brush Removable Brush Caster Wheel Right Wheel Left Wheel Brush Module Module Guard Dirt Detect ™ Sensor Brush Guard Release Tabs iRobot Roomba 600 Series... -
Page 7: Cleaning Pattern
Cleaning Pattern Roomba is a robot that cleans floors differently than the way most people clean their floors. Roomba uses its robot intelligence to efficiently clean the whole floor, under and around furniture and along walls. Roomba calculates the optimal cleaning path as it cleans and determines... -
Page 8: Cleaning Modes
Cleaning Modes Roomba will clean based on the cleaning mode you select. Roomba has three cleaning modes. Clean Mode (all models) Roomba automatically calculates the room size and adjusts its cleaning time appropriately. Spot Mode (all models) Roomba will spiral approximately three feet in diameter and then spiral back to where it started, intensely cleaning a localized area. -
Page 9: Cleaning System
Roomba won’t get stuck on cords, carpet fringe or tassels. When Roomba senses it has picked up a cord or tassel, it will automatically stop its main brushes or side brush and try to escape. Roomba may make a clicking noise when anti-tangle is activated. -
Page 10: Battery Storage And Charging
When fully charged, Roomba’s battery will last for at least one full clean cycle. 16-Hour Refresh Charge If Roomba has been left off the power supply or Home Base for an extended period, Roomba will initiate a special 16-hour charge cycle. This extensive charge refreshes Roomba’s battery and extends the battery life. -
Page 11: Charging Roomba
Charge Roomba in one of two ways: Using the Home Base Using the Power Supply Only TIP: When Roomba is on the Home Base, always make sure that the Home Base power light is on. Charging Lights Roomba uses the CLEAN button light to indicate that it is charging. Use this chart to determine the status of the battery. -
Page 12: Optional Accessories
Virtual Wall ® (optional accessory for all models) Virtual Walls create an invisible barrier that Roomba will not cross. This invisible barrier can be used to confine Roomba to a particular room or area, and prevent it from getting too close to electrical or computer cords, delicate objects on the floor, etc. -
Page 13: Virtual Wall ® Halo
The circular lens should be completely visible at the top. Place the Virtual Wall Halo on the floor, level with Roomba, and in close proximity to the bowls as shown below. If you have one bowl, put it beside the Halo, almost touching the wall. -
Page 14: Home Base
Home Base ® Roomba returns to the Home Base at the end of a cleaning cycle or when its battery is running low. Roomba needs to find the infrared signal of the Home Base in order to return. Always keep the Home Base plugged in. When the Home Base is plugged in, the power light will blink to indicate that the Home Base is connected to the power source. -
Page 15: Remote Control
CLEAN/Power Button The Remote Control lets you conveniently control Roomba’s functions. You can use it to turn Roomba on and off and steer it around your room without bending down. It also gives you remote access to these commands: SPOT... -
Page 16: Scheduling Roomba (Selected Models)
Release CLOCK. Roomba will beep to indicate that the time has been set. Setting a Schedule You can schedule Roomba to clean once per day, up to seven times per week. You must set the time before setting a schedule. To set a schedule: Press and hold SCHEDULE. - Page 17 Release SCHEDULE. Roomba will beep to confirm that the schedule has been changed. TIP: Roomba’s clock can be viewed in either the 12-hour (AM/PM) format or the 24-hour format. To toggle between the two views, press and hold the DAY and MINUTE buttons simultaneously for 3 seconds until Roomba beeps and the clock briefly illuminates, indicating the clock format has been switched.
-
Page 18: Regular Maintenance
TIP: Bin emptying and brush cleaning should be done after every cleaning cycle. Regularly pull out and clean Roomba’s front wheel. TIP: If you notice Roomba picking up less debris from your floor, empty the bin and clean the brushes. - Page 19 Brush Bearings TIP: When maintaining Roomba, look for the yellow parts. These parts are designed to be removed and cleaned every time you empty Roomba’s bin. C. Remove and clean hair and dirt from D. Use the included cleaning tool to Roomba’s yellow brush bearings.
- Page 20 Clean Roomba’s front wheel Wheel Pull firmly on Roomba’s front wheel to remove it from the robot. Axle Remove debris from inside the Housing front wheel cavity. Remove the front wheel from its housing and clear any hair wrapped around the axle. Push...
-
Page 21: Language Selection Mode
Language Selection Mode Roomba 600 Series can provide troubleshooting messages in English, French, German, Spanish, Italian, Dutch, Danish, Swedish, Norwegian, Finnish, Polish, Russian, Portuguese, Japanese, Korean and Chinese. Roomba’s default language is English. Setting the Language Turn OFF Roomba. (Press and hold CLEAN until Roomba’s lights turn off.) -
Page 22: Troubleshooting
Roomba will tell you something is wrong with a two-tone “uh-oh” sound followed by a narrated voice. The troubleshooting light will also blink. Refer to the chart below to resolve Roomba’s problem. If the problem is not resolved, visit www.irobot.com/support. - Page 23 Error 7. not cooling. charging again. TIP: To reset Roomba’s software, simultaneously hold down the two buttons above and below CLEAN for 10 seconds. This will clear all scheduled cleaning times, reset the clock and may resolve some software issues.
-
Page 24: Replaceable Modules
Replaceable Modules Roomba has a number of modules that can be replaced, including its drive wheels, side brush, main cleaning head, vacuum bin, caster wheel, and battery. To access Roomba’s replaceable modules, remove the bottom cover of Roomba by removing the four screws that hold down the bottom cover and the screw that holds the spinning side brush. - Page 25 Faceplate Removal Follow these instructions to remove and install Roomba’s faceplate. Remove Roomba’s bin. Remove Roomba’s faceplate by pulling up from the bin. The faceplate is secured in several places. For more detailed information, visit: www.irobot.com...
- Page 26 Install Roomba’s faceplate by inserting the tabs into the appropriate slots, and then pushing down firmly on the inside and outsides edges of the faceplate. Reinsert Roomba’s bin. iRobot Roomba 600 Series...
-
Page 27: Battery Removal
Battery Removal Follow these instructions to remove and reinstall Roomba’s battery. Remove Roomba’s side brush screw. Remove Roomba’s side brush. For more detailed information, visit: www.irobot.com... - Page 28 Unscrew the four screws shown below and remove Roomba’s bottom cover. Remove Roomba’s battery. Reinstall Roomba’s battery with the iRobot logo facing up. Replace Roomba’s bottom cover and the four screws. Replace Roomba’s side brush and the side brush screw.
-
Page 29: Frequently Asked Questions
This action causes a thumping sound that can be heard approximately once per second until the brushes are free from obstruction. If Roomba makes a thumping sound when no tassels or wires are present, the main brushes should be cleaned as described on page 19. -
Page 30: Important Safety Instructions
ROOMBA USE RESTRICTIONS • Roomba is for indoor use only. • Roomba is not a toy. Do not sit or stand on this device. Small children and pets should be supervised when Roomba is cleaning. • Clean with a dry cloth only. Do not pour or spray water onto Roomba. -
Page 31: Declaration Of Conformity
92/31/EEC. Low Voltage tests and EMC tests have been conducted by TUV Rheinland of North America. It is further declared that the Roomba Robotic Vacuum Cleaner and Accessories conform to the following harmonized European standards: Year of CE Marking: 2004... -
Page 32: Irobot Customer Care
• Contact your local iRobot distributor © 2007-2012 iRobot Corporation, 8 Crosby Drive, Bedford, MA 01730. All rights reserved. iRobot, Roomba, Virtual Wall, iAdapt, and Home Base are registered trademarks of iRobot Corporation. Dirt Detect and Lighthouse are trademarks of iRobot Corporation. [00525.0412.v1] U.S.
Need help?
Do you have a question about the Roomba and is the answer not in the manual?
Questions and answers
Roomba 650. Hasn’t been used in a whole. Plugged in placed on charger amber light w repeated bell sound
The amber light flashing on the iRobot Roomba 650 indicates that it is in the charging process. If the flashing is a quick amber pulse, the Roomba is undergoing a special 16-hour refresh charge because it was left off the power supply for an extended period. This long charge cycle helps extend battery life. If there is a repeated bell sound, it may indicate a charging issue, such as a poor connection or battery problem. It is recommended to ensure the Home Base power light is on and try charging the Roomba directly using the power supply to determine if the charging dock is faulty.
This answer is automatically generated
How can I fix a rumba with a charging error one?