Table of Contents

Related Manuals for Makita NHP1310


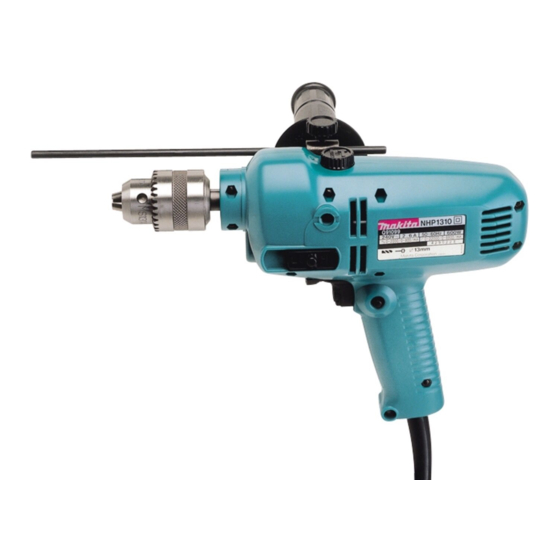
Summary of Contents for Makita NHP1310
- Page 1 Hammer Drill 13 mm (1/2”) MODEL NHP1310 DOUBLE INSULATION I N S T R U C T I O N M A N U A L WARNING: For your personal safety, READ and UNDERSTAND before using. SAVE THESE INSTRUCTIONS FOR FUTURE REFERENCE.
-
Page 2: Specifications
SPECIFICATIONS Model NHP1310 Speed High Concrete 13 mm (1/2”) 13 mm (1/2”) Capacities Steel 6.5 mm (1/4”) 13 mm (1/2”) Wood 18 mm (3/4”) 30 mm (1-1/8”) No load speed (RPM) 0 - 2,000/min. 0 - 800/min. Blows per minute... -
Page 3: Personal Safety
still does not fit, contact a qualified elec- key that is left attached to a rotating part of trician to install a polarized outlet. Do not the tool may result in personal injury. change the plug in any way. Double insula- 13. -
Page 4: Specific Safety Rules
22. Use only accessories that are recom- tenance performed by unqualified personnel mended by the manufacturer for your could result in a risk of injury. model. Accessories that may be suitable for 24. When servicing a tool, use only identical one tool, may become hazardous when used replacement parts. - Page 5 5. Do not leave the tool running. 7. Some material contains chemicals which Operate the tool only when hand-held. may be toxic. Take caution to prevent dust inhalation and skin contact. Follow mate- 6. Do not touch the bit or the workpiece rial supplier safety data.
-
Page 6: Functional Description
FUNCTIONAL CAUTION: DESCRIPTION • Always be sure that the tool is switched off and unplugged before adjusting or checking function on the tool. Switch action 002407 CAUTION: • Before plugging in the tool, always check to see that the switch trigger actuates properly and returns to the “OFF” position when released. -
Page 7: Speed Change
Speed change 002417 Two speed ranges can be preselected with the speed change lever. To change the speed, press the speed change lever and slide it to the “LO” position for low speed or the “HI” position for high speed. If the speed change lever does not slide eas- ily, turn the chuck slightly in either direction while sliding the 1. -
Page 8: Operation
Installing side grip (auxiliary handle) 002429 Screw the side grip on the tool securely. 1. Side grip Installing or removing drill bit 002434 To install the bit, place it in the chuck as far as it will go. Tighten the chuck by hand. Place the chuck key in each of the three holes and tighten clockwise. -
Page 9: Drilling Operation
When drilling in concrete, granite, tile, etc., turn the action mode changing knob to the position of symbol to use “rotation with hammering” action. Be sure to use a tungsten-carbide tipped bit. Position the bit at the desired location for the hole, then pull the switch trigger. -
Page 10: Maintenance
CAUTION: • These accessories or attachments are recommended for use with your Makita tool specified in this manual. The use of any other accessories or attachments might present a risk of injury to persons. Only use accessory or attachment for its stated purpose. - Page 11 Memo...
- Page 12 Memo...
- Page 13 First-Class Postage Required Post Office will not deliver without proper postage. Makita U.S.A., Inc. 14930 Northam Street La Mirada, CA 90638-5753 Fold...
- Page 14 Design Repair Service Industrial Maintenance Features Durability Home Maintenance Size Power Hobby Price Other ( Other ( Makita Brand 5. Any comments: DATE PURCHASED MODEL NO. MONTH YEAR SERIAL NO. STATUS INTL. LAST NAME / COMPANY NAME Married Single STREET ADRESS...
-
Page 15: Factory Service Centers
Date Purchased When you need service: Send complete tool (prepaid) to one Dealer’s Name & Address of the Makita Factory Service Centers listed, or to an Authorized Makita Service Center. Be sure to attach a letter to the outside of Model No. -
Page 16: Warranty Policy
MAKITA LIMITED ONE YEAR WARRANTY Warranty Policy Every Makita tool is thoroughly inspected and tested before leaving the factory. It is warranted to be free of defects from workmanship and materials for the period of ONE YEAR from the date of original purchase.
Need help?
Do you have a question about the NHP1310 and is the answer not in the manual?
Questions and answers