Advertisement
Do you have a question about the Emerald 122 and is the answer not in the manual?
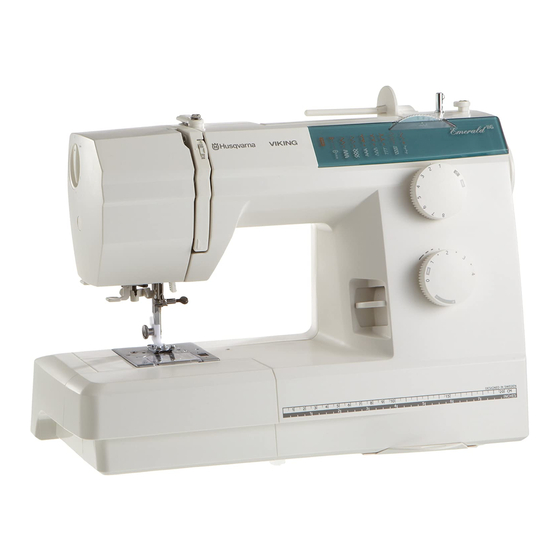
what pressure foot is used when you need to stitch very close to the edge of the material
The Edge Stitching Foot (Snap-On type) is used for edge stitching with the Husqvarna Emerald 122.
This answer is automatically generated


Need help?
Do you have a question about the Emerald 122 and is the answer not in the manual?
Questions and answers
what pressure foot is used when you need to stitch very close to the edge of the material
The Edge Stitching Foot (Snap-On type) is used for edge stitching with the Husqvarna Emerald 122.
This answer is automatically generated