Advertisement
Do you have a question about the Sapphire 870 QUILT and is the answer not in the manual?
How do you do a plain zig zag. I have the manuals and just can not seem to find a plain answer.
How to set .machine for free motion
What size bobbie
появился шум при шитье
I have Husqvarna Sapphire 830 Sewing Machine trying find out if this machine has a low or high shank ?
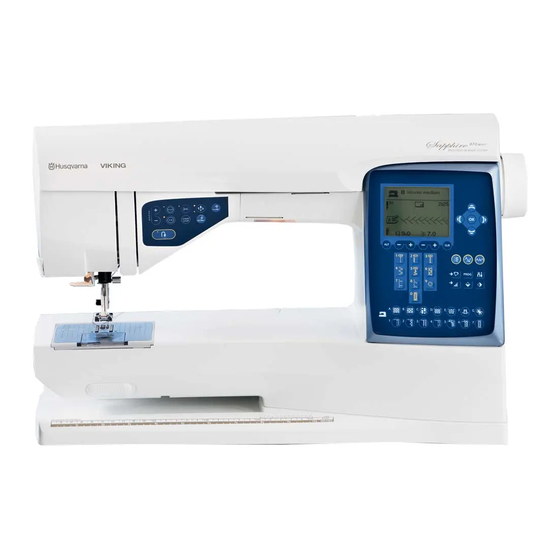


Need help?
Do you have a question about the Sapphire 870 QUILT and is the answer not in the manual?
Questions and answers
How do you do a plain zig zag. I have the manuals and just can not seem to find a plain answer.
How to set .machine for free motion
What size bobbie
появился шум при шитье
I have Husqvarna Sapphire 830 Sewing Machine trying find out if this machine has a low or high shank ?