
Related Manuals for GMC R1020


Summary of Contents for GMC R1020
- Page 1 INSTRUCTION MANUAL 1020W 1/4” Variable Speed Plunge Router • Melbourne • Perth • Auckland • Hong Kong • Shanghai • Taipei • New York • Verona • London • Paris R1020 050701 Ed3 PR...
-
Page 2: Table Of Contents
Safety instructions Additional safety rules for electric routers Contents of carton Unpacking Assembly Know your product Installing and removing router bits Installing and removing collets Adjusting the cutting depth Switching on and off Variable speed control Making a cut Using the parallel guide... -
Page 3: Dear Customer
Dear Customer If you require any help with your product, whether it is a Warranty claim, spare part or user information, please phone our Help Line for an immediate response. Phone 1300 880 001 in Australia or 0800 445 721 in New Zealand. -
Page 4: Safety Instructions
General safety instructions WARNING. Read and understand all instructions. Failure to follow all instructions listed below may result in electric shock, fire and/or serious injury. The term “power tool” in all of the warnings below refers to your mains-operated (corded) power tool or battery-operated (cordless) power tool. -
Page 5: Additional Safety Rules For Electric Routers
It can also present a safety hazard. • Always use both handles and make sure that you have a good grip on the router before proceeding with any work. • Keep your hands away from the rotating bit. -
Page 6: Contents Of Carton
Always remove the plug from the mains socket before making any adjustments or maintenance, including changing the bit and setting the depth of cut. Contents of carton The router is supplied with the following accessories as standard: • 1/4” (6.35mm) collet •... -
Page 7: Know Your Product
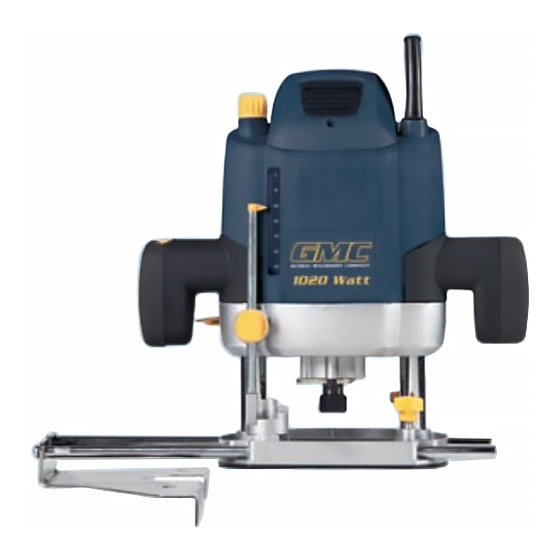
Know your product 1. Left handle 2. Right handle 3. Variable speed dial 4. Depth gauge 5. Depth gauge locking knob 6. Micrometer depth adjustment 7. Depth lock lever 8. 6-position turret stop 9. On/off switch 10. Spindle lock 11. Collet nut 12. -
Page 8: Installing And Removing Router Bits
1. Loosen the collet nut (11) by depressing and holding the spindle lock (10) and then rotating the collet nut. 2. Insert the router bit ensuring that the shaft of the bit goes all the way into the collet. 3. Tighten the collet nut assembly by depressing and holding the spindle lock and then tightening the collet nut with the supplied spanner (16). -
Page 9: Adjusting The Cutting Depth
Switching on and off 1. After you have set up the work and are ready to cut your wood, plug in the router at the power point. 2. To start the motor, press the on/off switch (9) and hold it pressed. -
Page 10: Making A Cut
Practice first on a scrap piece of material to gauge the correct feed rate and the cut dimensions. CAUTION. Always use two hands to hold the router. CAUTION. Where possible, clamp the workpiece to the bench. -
Page 11: Using The Template Guide
Using the template guide The template guide (17) can be used in various ways: • Producing duplicates of a particular design of an original shape • In conjunction with a template, producing decorative features • Repetitive cutting shapes If you wish to make your own templates it is best to use a hardwood such as plywood. - Page 12 Carefully read the entire Instruction Manual Before returning this product for a Warranty Claim or any other reason Please Call 1300 880 001 (Australia) or 0800 445 721 (New Zealand) When you make your call, please have the following information at hand: •...
Need help?
Do you have a question about the R1020 and is the answer not in the manual?
Questions and answers