Table of Contents
Advertisement
Quick Links
Advertisement
Table of Contents

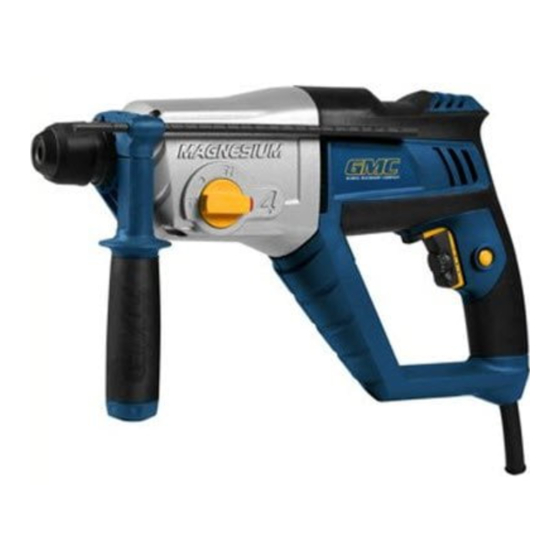
Summary of Contents for GMC MAG950HD
- Page 1 950W ROTARY HAMMER DRILL MAG950HD INSTRUCTION MANUAL...
-
Page 2: Table Of Contents
Contents Warranty Introduction Environmental protection Description of symbols Specifications General safety rules Additional safety rules for drills Unpacking Contents of carton Assembly Know your product Auxiliary handle and depth gauge Installing and removing bits Operation Starting and stopping Variable speed Forward/reverse Lock on button Selecting the required function... -
Page 3: Introduction
Introduction Your new GMC power tool will more than satisfy your expectations. It has been manufactured under stringent GMC Quality Standards to meet superior performance criteria. You will find your new tool easy and safe to operate, and, with proper care, it will give you many years of dependable service. -
Page 4: General Safety Rules
General safety rules WARNING. Read all instructions. Failure to follow all instructions listed below may result in electric shock, fire and/or serious injury. The term “power tool” in all of the warnings listed below refers to your mains operated (corded) power tool or battery operated (cordless) power tool. -
Page 5: Additional Safety Rules For Drills
Ensure that the lighting is adequate. • Do not put pressure on the drill, such that it slows the motor down. Allow the drill bit to cut without pressure. You will get better results and you will be taking better care of Power your tool. -
Page 6: Unpacking
SDS Drill bits 12mm x 160mm 16mm x 210mm 18mm x 210mm • SDS Chisel bits Point chisel 250mm Flat chisel 20mm x 250mm • SDS Chuck adaptor • 13mm Keyed chuck • Chuck key Assembly The Drill is packed, fully assembled. -
Page 7: Know Your Product
Know your product 1. On/Off trigger switch 2. Lock on button 3. Soft grip handle 4. Forward/Reverse lever switch 5. SDS Chuck 6. 4-Function selector 7. Selector button 8. Variable speed dial 9. Auxiliary handle 10. Adjustable depth gauge 11. Locking sleeve 12. -
Page 8: Auxiliary Handle And Depth Gauge
Auxiliary handle and depth gauge 1. Turn the auxiliary handle (9) anti-clockwise to loosen the collar and slip it over the chuck onto the drill (Fig. A). 2. Insert the depth gauge (10) in the hole at the top of the handle (9) (Fig. -
Page 9: Operation
(Fig. H). Variable speed 1. The speed of the drill can be adjusted using the variable speed dial (8). 2. To increase the speed, turn the dial clockwise (Fig. I). 3. To decrease the speed, turn the dial anti-clockwise (Fig. J). -
Page 10: Selecting The Required Function
If the job is too hard for the drill, do not continue, otherwise permanent damage to the motor will occur. -
Page 11: Fitting The Keyed Chuck
Fitting the keyed chuck The keyed chuck (14) supplied as an accessory can be fitted to the SDS chuck with the use of the SDS chuck adaptor (12). 1. The keyed chuck allows bits with a straight shank to be used with the tool. - Page 12 GMC customer assist If your product needs repairing, replacing, technical service or you simply need help or advice, please contact us on our Customer Assist Line 1300 880 001 (Australia) or 0800 445 721 (New Zealand). For prompt service we suggest you log your service request online at www.gmcservice.com.au.


Need help?
Do you have a question about the MAG950HD and is the answer not in the manual?
Questions and answers