Table of Contents
Advertisement
Advertisement
Table of Contents

Related Manuals for Gaggenau VG 232-322 SG


Summary of Contents for Gaggenau VG 232-322 SG
- Page 1 Operating and assembly instructions VG 232-322 SG Gas cooker...
-
Page 2: Table Of Contents
VG 232-322 SG Preface 1. Important notes Page 3-4 1.1 For your safety Page 3 1.2 Operating for the first time Page 3 1.3 About use Page 4 2. Structure and operating principle Page 5-6 2.1 Structure Page 5 2.2 Special accessories Page 5 2.3 Operating principle... -
Page 3: Preface
Preface Cooking with your new gas cooker will be even more fun than before. The appliance offers you the following advantages: – Regulation from hot to cold in seconds. – High safety standard thanks to thermal protection elements for all burners. –... -
Page 4: Important Notes
1. Important notes 1.1 For your safety You must not operate the appliance if it is damaged. No warranty claims can be lodged for any damage resulting from failure to observe these instructions. When connecting electrical appliances in the proximity of the appliance, make sure that Observe caution with oils and fats. -
Page 5: About Use
In the event of malfunctions, contact your the gas flame will be exploited and the more costs specialist dealer or your responsible Gaggenau will be saved. after-sales service. Cooking vessels with curved bottoms, e.g. woks, Tip: When buying pots, pay attention to the fact must not be used. -
Page 6: Structure And Operating Principle
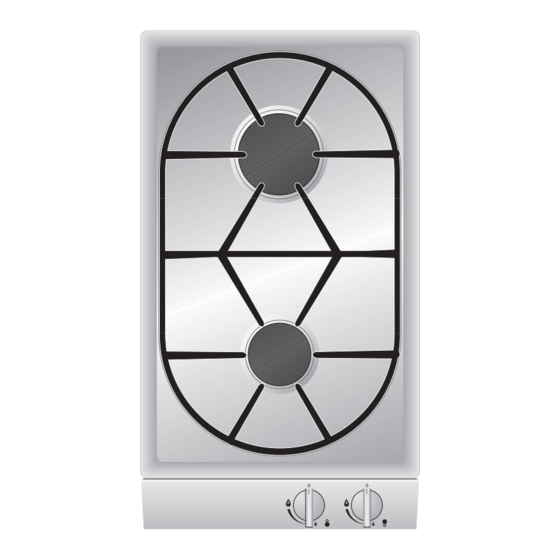
2. Structure and operating principle 2.1 Structure 1 High-power burner B 2.8 kW 2 Normal burner A 1.9 kW 3 Pot support 4 Control knob for the front cooking position 5 Control knob for the rear cooking position Fig. 2 6 Burner cover 7 Burner head 8 Spark plug for automatic ignition... -
Page 7: Operating Principle
2.3 Operating principle The appliance features one-hand operation. That is to say, the ignition is activated when the control knob is pressed briefly. After igniting, keep the control knob pressed for around 5-8 seconds more because the heat sensor that opens the gas channel has to warm up first. The gas hob has 1 normal burner (front burner) and 1 high-intensity burner (rear burner). -
Page 8: Operation
3. Operation The cooking positions must only be ignited when all burner parts are fitted. Otherwise, malfunctions may occur on the ignition unit. Switching on: – Place a pot or a pan on the corresponding cooking position. – Fully press in the control knob for the corresponding cooking position. -
Page 9: Cleaning And Care
4. Cleaning and care Please thoroughly clean the appliance before operating it for the first time and after every use. – Wait until the appliance has cooled down. – Remove the pot grid. – Remove the burner cover. – Clean the hob, the burner covers and the pot grid with commercially available cleaning agents (not in a dishwasher!), e.g. -
Page 10: Maintenance
If the power supply is functioning correctly, but your appliance still does not work, please contact your dealer or your local Gaggenau customer service agency. Specify the appliance type (see rating plate). Repairs may only be carried out by authorised technicians, in order to guarantee the safety of the appliance. -
Page 11: Technical Data / Settings Table
6. Technical data / Settings table Technical data (gas) Technical data (electrical) Burners: Normal burner Rated consumption 0.8 W Full burning 1.9 kW Voltage 220 - 240 V Low burning < 0.35 kW High-intensity burner Frequency 50 - 60 Hz Full burning 2.8 kW Low burning... -
Page 12: Assembly Instructions
7. Assembly instructions 7.1 Important notes Please observe the safety notes and the The appliance may be installed in kitchen important notes (Chapter 1). combinations made of wood or similar combustible materials without taking additional measures. The The installing technician is responsible for perfect rear wall must consist of non-combustible material. -
Page 13: Connecting The Appliance
7.2 Connecting the appliance Gas connection The gas connection must be in a location that permits access to the shut-off valve and which, if applicable, is visible after opening the door of the furniture item. By means of the included R 1/2" connection bracket (on the appliance end) with the affiliated washer, the appliance must be connected to a fixed con- necting line or a gas safety hose to DIN 3383... -
Page 14: Nozzle Replacement
7.3 Nozzle replacement Changing over to a different gas type Only authorised specialists are permitted to change over to a different gas type. The nozzles needed for the gas type to be set are available as a conversion kit. Please specify the appliance type and the required gas type. - Page 15 Replacing the main nozzle 2 Proceed as follows: – The main nozzle 2 is visible after detaching the burner cover (see Fig. 9). It is unscrewed with a special screw key. – Unscrew the nozzle and insert the new nozzle as specified in the main nozzle table.
-
Page 16: Installation
7.4 Installation – Produce the recess for one or several Vario appliance(s) in your worktop. Proceed as indicated on the installation sketch and the dimension table. The dimension table contains details of the space requirement for the trim between the appliances. Important: The angle between the cut surface and the worktop must amount to 90°... - Page 17 GAGGENAU HAUSGERÄTE GMBH CARL-WERY-STR. 34 · D - 81739 MÜNCHEN Y (0 89) 45 90 - 03 FAX (0 89) 45 90 - 23 47 www.gaggenau.com...
Need help?
Do you have a question about the VG 232-322 SG and is the answer not in the manual?
Questions and answers