Table of Contents
Advertisement
Advertisement
Table of Contents

Related Manuals for Universal Electronics Nevo C3


Summary of Contents for Universal Electronics Nevo C3
- Page 1 User Manual...
-
Page 2: Table Of Contents
Using Nevo Keys and Touch Screen ........ -
Page 3: Getting To Know Nevo
The display will show the “battery charging icon”. In order to fully charge the remote, leave it in the cradle for approximately 4 hours. To begin setting up your Nevo you have two options: Follow the on-screen instructions on the remote while in front of the devices you wish to control. -
Page 4: Nevoc2 Keys
Keys www.mynevo.com... - Page 5 Keys Power key Turns device ON/OFF. Screen keys 3 keys on either side of the screen give you direct access to the functions displayed on the screen. Scroll bar Scrolls pages. Home key Shortcut key – One short press takes the user back to the previous level in the Menu structure. Holding down for two seconds takes the user to the Home screen.
-
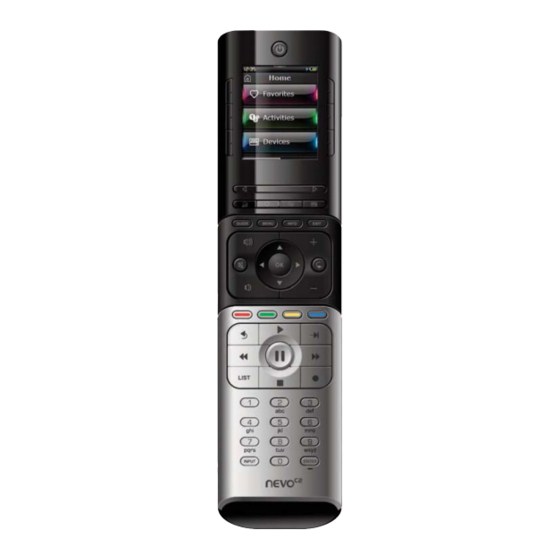
Page 6: Nevoc3 Keys
Keys www.mynevo.com... - Page 7 Keys Power key Turns device ON/OFF. Soft keys LCD screen displays Activities, Devices, extended functions, profiles and settings. Slider bar Scrolls pages. Home key Shortcut key – One short press takes the user back to the previous level in the Menu structure. Holding down for two seconds takes the user to the home screen.
-
Page 8: Initial Setup
Initial Setup When you first power up your remote, it will enter Initial Setup Mode. In this mode, you will; Choose which language you prefer to be displayed on the remote. Next, you will be asked to select the region you live in. This will help the remote select the appropiate IR library when setting up devices during the setup process. -
Page 9: Home Screen And Everyday Use
Home Screen and Everyday Use To access the Home Screen at any time, you can hold down the “Home\Back” key for 2 seconds. Pressing this key once will take you back one screen. The Home Screen of the remote will display the following options: Favorites This key will give you access to your Favorite Channels. -
Page 10: Profiles
Home Screen and Everyday Use Profiles A “Profile” is a collection of Favorites that could be grouped by User (e.g. Mom, Dad, Kids etc) or Genre (e.g. Movies, News, Sport etc). Once the initial group of Favorites (up to 70) has been set up, you can then choose sub-sets of Favorites to be Profiles. -
Page 11: Settings
Settings The Settings menu allows you to add or delete devices, learn functions from your original remote control, and adjust various options on your remote. The following section details each option in the Settings menu. Device Setup Once “Device Setup” is selected, you will be given the choice of adding or deleting a device, and also viewing the code the remote is using to operate your devices. -
Page 12: Delete Device
Settings ➭ “Delete Device” If “Delete Device” is selected, you will be asked to choose which device you would like to delete, followed by a confirmation screen. It is then possible to select another device to delete or to finish. Select “Device Setup”... -
Page 13: Learning
The next step is to select a key to learn onto, and to point the origi- nal remote towards Nevo and press the key on the original remote you wish to learn. Finally, if the key is a screen key, you will have the opportunity to re-label it using the digit keys. -
Page 14: Volume Control
Receiver, you would not want to alter the Television’s volume when you watch TV. In this case, you can set Nevo to always control the AV Receiver’s volume, even when in TV Mode. In the Volume Control section you will be given the option to set the Master Volume device, to remove a device from this group (allowing it to use its own volume), or to unlock the Volume completely, allowing the remote to control each device’s volume individually. -
Page 15: Clock
Settings Clock The Clock section will allow you to set the time on the remote as you did during the Initial Setup. Select “Clock” from the Settings menu. Select a clock type: 12 or 24 hour. Using the keypad or the Hour and Min buttons, enter the current time. Click “Finish”. -
Page 16: Timeout
Your NevoC3 not only outputs Infrared (IR), but also Radio Frequency (RF). This means it is compatible with the separately available Nevo REX-433 RF Extender, allowing you to control your devices even if they are hidden in a closed cabinet. -
Page 17: Directv Rf On/Off
NevoC3 supports RF control using a Nevo REX-433 RF Extender direct RF control of your DirecTV set top box without using the Nevo REX-433 RF Extender. This RF capability allows you to control a DirecTV box that is located in a cabinet or is hidden out of sight. -
Page 18: Pc Setup
PC Setup As well as all of the features mentioned in this manual, it is also possible to set up your remote using a PC with Internet Access. This will allow you to configure and use the following features: Activities –... -
Page 19: Warranty
Warranty Warranty Universal Electronics warrants, to the original purchaser only, that this product will be free from defects in materials and workmanship under normal and correct use for a period of one (1) year from the date of original purchase. This product will be replaced free of charge if it has proven to be defective within the one (1) year warranty period. -
Page 20: Fcc And Safety Information
FCC and Safety Information FCC Information This equipment has been tested and found to comply with the limits for a class B digital device, pursuant to part 15 of the FCC Rules. These limits are designed to provide a reasonable protection against harmful interference in a residential installation. -
Page 21: Safety Information
Notice: Nevo and the Nevo house logo are registered trademarks of Universal Electronics Inc., in the United States and/or other countries. DirecTV is a registered trademark of DirecTV.
Need help?
Do you have a question about the Nevo C3 and is the answer not in the manual?
Questions and answers