Table of Contents
Advertisement
IT-5751010900
14-11-2003
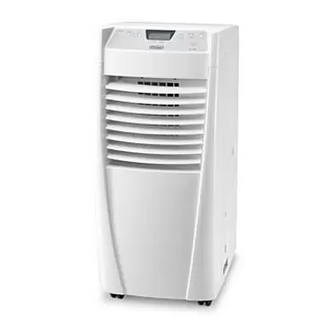
• Climatizzatore portatile
istruzioni per l'uso . . . . . . . . . . . . . . .pag. 3
• Portable air conditioning unit
Instructions for use . . . . . . . . . . . . . .pag. 15
• Climatiseur portable
Mode d'emploi . . . . . . . . . . . . . . . . . . .pag. 27
• Transportables Klimagerät
Bedienungsanleitung . . . . . . . . . . . . . .pag. 39
• Draagbare klimaatregelaar
Draagbare klimaatregelaar . . . . . . . . . .pag. 51
• Climatizador portátil
Instrucciones de uso . . . . . . . . . . . . . .pag. 63
• Climatizador portátil
Manual de instruções . . . . . . . . . . . . .pag. 75
• ºÔÚËÙfi ÎÏÈÌ·ÙÈÛÙÈÎfi
√‰ËÁ›Â˜ ¯Ú‹Û˘ . . . . . . . . . . . . . . . . .pag. 87
• èÂÂÌÓÒÌÓÈ ÍÓ̉ˈËÓÌÂ
àÌÒÚÛ͈ËË ÔÓ ˝ÍÒÔÎÛ‡Ú‡ˆËË . . . . .pag. 99
14:10
Pagina 1
Advertisement
Table of Contents


Need help?
Do you have a question about the CF208 and is the answer not in the manual?
Questions and answers
How to open outlet grills?