Table of Contents
Advertisement
Advertisement
Table of Contents

Subscribe to Our Youtube Channel
Related Manuals for E-TON Viper Jr. (RXL-40)


Summary of Contents for E-TON Viper Jr. (RXL-40)
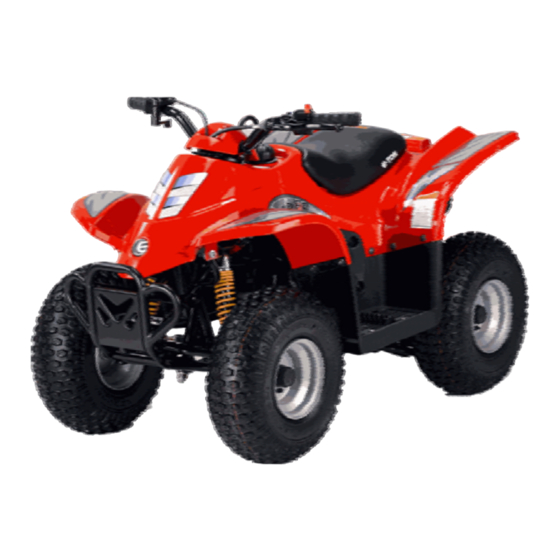
- Page 1 E-TON OWNER’S MANUAL Viper Jr. (RXL-40)
-
Page 2: Important Notices
ADULT Supervision and Instruction are REQUIRED. This vehicle MUST NOT be operated by a youth without Adult supervision and instructions. Unattended operation without adult supervision could result in injuries. E-TON recommends that both the operator and the adult supervisor attend an ATV safety instruction course. -
Page 3: Table Of Contents
Table of Contents Safety notes Vehicle identification number location Controls, switches and feature locations Control feature operations Engine stop switch Remote Stop Switch Throttle lever Rear Brakes Parking brake Safety Tether Switch Fuel System Fuel tank Fuel valve Inline Fuel Filter Engine Oil Tires &... -
Page 4: Safety Notes
Safety Notes 1. Both the adult supervisor and youth operator must fully understand everything in this manual before operating this vehicle. 2. This vehicle was designed for the operator only. NO PASSENGERS should be allowed on this vehicle. 3. This vehicle is designed for operation on level, obstacle free off-road areas. 4. - Page 5 12. LEARN TO RIDE this vehicle properly and safely. Have an experienced rider teach you the safe operation of your vehicle. E-TON recommends you take an ATV riding course before you first ride your vehicle. Page 4...
- Page 6 13. NEVER REFUEL this vehicle when hot. Ask your adult supervisor to refuel your vehicle. Gasoline is extremely flammable and will ignite if spilled on a hot engine or muffler. Never smoke or expose the fuel to an open flame or spark while refueling your vehicle.
-
Page 7: Vehicle Identification Number Location
Vehicle Identification Numbers Vehicle Identification Number (VIN) Engine serial number is located at the front of the unit under is located on the left-hand side of the the front fender on a plate mounted engine on the crankcase housing. between the main frame rails. Your VIN RFZ______________ Eng. -
Page 8: Engine Stop Switch
Control feature operations The remote switch has two buttons, a Stop Engine Stop button which will stop the engine when pressed. Switch The effective range of the switch is 30 feet unobstructed. Once the unit has been stopped with the remote switch you must press the run button in order for the unit to be restarted. -
Page 9: Rear Brakes
counter clockwise. To decrease the throttle’s travel, thus decreasing the maximum speed, Safety Tether Switch turn the throttle stop bolt clockwise. The Viper Jr. model is equipped with a safety The throttle cable should be adjusted so there tether switch. It is located on at the rear of the is 2mm, (1/8”) free travel at the lever before vehicle under the rear fender. -
Page 10: Fuel Valve
Tighten the cap snugly, being careful not to When you have to switch to the “RES” position over tighten. Over tightening the cap can you must refuel the unit as soon as possible. cause damage to the cap or seal. ALWAYS CHECK YOUR Fuel level before you The fuel tank capacity is 4.5 liters, 1.2 gal, start riding your... -
Page 11: Engine Oil
Check your tire pressure before each riding Engine Oil session and at each refueling operation. Always check the pressure when the tires are cool. Use the tire pressure gauge that came with your ATV 2 Cycle Engine to check the tire pressure. Your ATV uses 2 cycle oil to lubricate the Tire Pressure engine. -
Page 12: Braking Systems
the left side engine shield. The cover is about 3x4” box and is attached to the crankcase with Rear Brake System Inspection two bolts Visually inspect the brake cable for any signs of To clean the filter wear, kinking, corrosion or other damage. Remove the air filter box cover. -
Page 13: Throttle Lever
Inspect the drive and axle sprockets for worn, Throttle Lever damaged or broken teeth. Replace as needed. Inspect the chain links for damaged, worn or loose rivets. Repair or replace as needed. The throttle lever is located beside the right- handlebar grip and is operated by using the right- hand thumb. -
Page 14: Transmission Oil
throttle travel thus reducing the maximum ATV Break-In procedures speed of the unit. Turning the stop screw Your ATV requires a break-In period just as with counter clockwise will increase the throttle all other internal combustion engines. This travel thus increasing the maximum speed of period allows the engine parts to seat and wear the unit. -
Page 15: Starting Procedure
11. Test remote Stop switch for proper Driving your ATV operation. Your ATV should only be driven in an area that 12. Test safety tether switch for proper is designated for this use. Insure that the area is operation. free of obstacles and other dangers that could 13. -
Page 16: Parking
3. Set the engine stop switch to “OFF” Parking Your ATV position. 1. Always park your ATV on a level 4. Engage the parking brake locking button. surface. 5. Turn the fuel valve to the “OFF” position. 2. Turn the ignition key to the “OFF’” 6. - Page 17 Sprockets Front 14 teeth Rear 36 teeth Chain #420 Battery Fluids Type Unleaded Gasoline 89 octane Fuel Volume 3.5 liters / 0.9 gal Type High grade synthetic 2 cycle oil Engine Oil Volume Pre Mix 50 : 1 Type SAE 80/90 weight Transmission Volume 70cc / 2.4oz...
-
Page 18: Maintenance Schedule
Maintenance Schedule First week Notes Every 30 Days Every Year Replace Fuel & Vent Fuel Lines Lines every 2 years Inspect as part Throttle Operation of pre-ride inspection Air Filter Fuel Filter Spark Plug Drive Chain I, L I, L Brake Shoes Inspect as part of pre-ride... -
Page 19: Wiring Diagram
Page 18... -
Page 20: Manufacture's Warranty
ETON AMERICA, LLC. LIMITED VEHICLE WARRANTY ETON America warrants all new ETON vehicles sold by authorized Eton Dealers to be free from defects in materials and workmanship, subject to the following exclusions and limitations. New vehicles sold by an authorized dealer to original retail consumers are covered by this policy for a period of six (6) months from the date of delivery. - Page 21 ETON AMERICA, LLC. LIMITED VEHICLE WARRANTY Scheduled maintenance service is the responsibility of the owner during and after the warranty period. In the event of a failure or required repair, the owner should take vehicle to an authorized dealer for repair without undue delay and within a maximum of thirty, (30), days of the occurrence of the problem.
-
Page 22: Owner's Notes
Owner’s Notes: Page 21... - Page 23 Page 22...
Need help?
Do you have a question about the Viper Jr. (RXL-40) and is the answer not in the manual?
Questions and answers