
Subscribe to Our Youtube Channel
Related Manuals for Philips SUP 037DR


Summary of Contents for Philips SUP 037DR
- Page 1 Register your product and get support at www.philips.com/welcome Type HD8836 / HD8837 SUP 037DR OPERATING INSTRUCTIONS READ THESE OPERATING INSTRUCTIONS CAREFULLY BEFORE USING THE MACHINE.
-
Page 2: Important Safeguards
IMPORTANT SAFEGUARDS When using electrical appliances, basic safety precautions should always be followed, including the following: 1. Read all instructions. 2. Do not touch hot surfaces. Use handles or knobs. 3. To protect against fire, electric shock and injury to persons do not immerse cord, plugs, or appliance in water or other liquid. - Page 3 CAUTION This appliance is for household use only. Any servicing, other than cleaning and user maintenance, should be performed by an authorized service center. Do not immerse machine in water. To reduce the risk of fire or electric shock, do not disassemble the machine.
-
Page 4: General Information
GENERAL INFORMATION The coff ee machine is suitable for preparing espresso coff ee using either coff ee beans or ground coff ee and is equipped with a device to dispense steam and hot water. The structure of the ma- chine has been designed for domestic use only and is not suitable for continuous professional- type operation. - Page 5 Danger of Burns Never direct the steam/hot water wand towards yourself or others: Danger of scalding! Always use the handles or knobs provided. Machine Location - Suitable Location for Operation and Maintenance For best use, it is recommended to: • Choose a safe, level surface, where there will be no danger of overturning it or being inju- red.
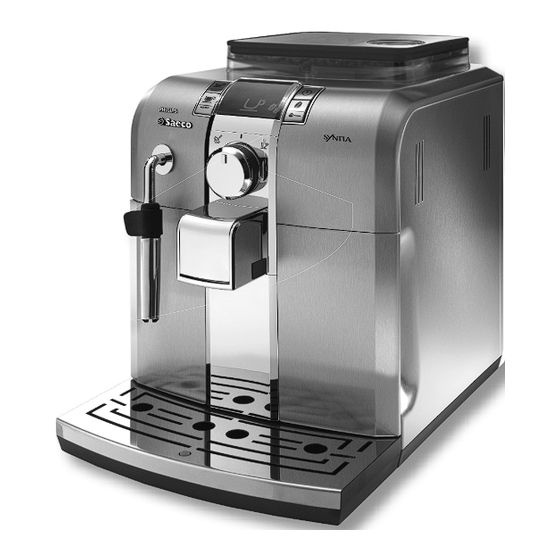
- Page 6 Coff ee bean hopper lid Grinder adjustment knob Coff ee bean hopper Control panel Dispensing spout Pre-ground coff ee compartment Drip tray Full drip tray indicator Service door Brew group Coff ee grounds drawer Wand protective gripper Steam/hot water wand Power button Drip tray Water hardness test strip...
-
Page 7: Preliminary Operations
• Remove the water tank. INSTALLATION For your own and for other people’s • Fill the tank with fresh drinking water. safety, carefully follow the instruc- Do not exceed the “max” level indi- tions provided in the “Safety Regula- cated on the water tank. Once filled, tions”... -
Page 8: Priming The Water Circuit
• Switch the power button to “I” to turn Priming the Water Circuit on the machine. • To prime the water circuit, place a container under the steam/hot water wand (Pannarello, if supplied). • Turn the selector dial clockwise to set •... -
Page 9: Using The Machine For The First Time Or After A Long Period Of Inactivity
The following icon will be displayed. Using the machine for the first time or after a long period of inactivity. These simple operations will make it pos- Green sible to always brew excellent coff ee. 9 Dispense water until the no water signal is displayed, then turn the se- 1 Place a large container under the lector dial counter-clockwise to set it... -
Page 10: Water Hardness Measurement
Water hardness measurement Intenza Water Filter The water hardness measurement is very To improve the quality of the used water, important in order to correctly manage it is recommended that you install the the “Intenza” fi lter and the frequency with water fi lter. -
Page 11: Saeco Adapting System
ADJUSTMENTS When the icon appears, press the “ “ button to access the machine program- The machine that you have bought allows ming menu. for certain adjustments that will permit Black you to use it to its full potential. Press the “ “... -
Page 12: Adjusting The Coff Ee Quantity
bean hopper. • The machine begins the dispensing Do not pour coff ee beans when the phase. The “ ” icon will be displayed to show which button is being pro- coff ee grinder is working. grammed. Green • Press the button with the “ ” icon The machine allows slight adjustments to again when the desired amount of the coff ee grinder to adapt it to the kind... -
Page 13: Dispensing Spout Adjust- Ment
Selection must be made prior to brewing Dispensing Spout Adjust- the coff ee. The system sets the aroma ac- ment cording to the personal taste of the user. Most cups on the market can be used with this coff ee machine. After selecting “Strong Aroma”, the func- The height of the dispensing spout may tion for brewing coff ee with pre-ground... -
Page 14: Using Pre-Ground Coff Ee
The machine is adjusted to Warning: Only add pre-ground brew a true Italian espresso coffee to the compartment. coffee. This feature may slightly Other substances and objects may lengthen the brewing time, allowing cause severe damages to the ma- the intense flavor of the coffee to chine. -
Page 15: Steam Dispensing / Cappuccino Brew- Ing
• Turn the selector dial clockwise to the narello when provided) externally. “ ” position. In this way, all parts will be perfectly cleaned and free of any milk residue. • Place a container under the steam/hot water wand (Pannarello, if supplied). •... -
Page 16: Cleaning And Maintenance
• Immerse the steam/hot water wand CLEANING AND (Pannarello, if supplied) in the milk to MAINTENANCE be heated. General cleaning • Empty and clean the coff ee grounds drawer daily, with the machine turned • Turn the selector dial counter-clockwise to set it to the “... -
Page 17: Brew Group
• It is recommended to clean the water • Make sure that the two reference signs tank daily. match up. - Remove the small white fi lter in the water tank and wash it under running drinking water. - Reposition the small white fi lter in its housing by gently pressing and turning it at the same time. - Page 18 • If the machine is off, turn it on by DESCALING pressing the ON/OFF button. Wait for Limescale normally builds up with the use the machine to complete the rinse of the appliance. and warm-up process. The display informs you when descaling W a r n i n g ! R e m o v e t h e is necessary: "Intenza"...
- Page 19 • Pour the entire content of the Saeco • When the solution in the tank is concentrated descaling solution into finished, the icon on the side is the water tank and then fi ll the tank displayed to indicate that the selector with fresh drinking water up to the dial must be brought back to the “...
- Page 20 • When inserting the water-fi lled tank • The icon indicates that the tank must in the machine, the icon on the side be rinsed and fi lled. is displayed; turn the selector dial clockwise to the " " position. •...
- Page 21 • The icon indicates that the water tank Desc aling c ycle is now must be rinsed and fi lled. complete and the machine can be used to brew products. Rinse the water tank thoroughly and fi ll it again with fresh drinking water up to the MAX level.
-
Page 22: Programming Commands
PROGRAMMING Programming commands Changes can be made on each page: The user can change some of the ma- chine operating parameters to suit his/ her needs. Orange Enter the “menu” The programming menu can only be ac- cessed when the machine is in “stand-by” - The “... -
Page 23: Programming Example
Functions Programming example In this example, we want to explain how COFFEE TEMPERATURE to programme the display contrast. Pro- This function allows you to adjust the cof- ceed in a similar manner to change the fee brewing temperature. other functions. Orange Change the machine status to stand-by mode. -
Page 24: Control Panel Display
CONTROL PANEL DISPLAY Warning Signals Ready Signals • The machine is warming up to brew coff ee • The machine is ready for whole bean coff ee and dispense hot water or steam. brewing and hot water dispensing. Green Orange •... -
Page 25: Alarm Signals
Alarm Signals • Return the hot water / steam knob to its proper position. • Start screen for descaling cycle activation. Press “ESC” to quit • Close the service door. • This screen is displayed when the descaling cycle is selected. From now on, the descaling cycle must be completed to •... -
Page 26: Troubleshooting
TROUBLESHOOTING Machine Actions Causes Solutions The machine does not turn on. The machine is not connected to the power Connect the machine to the power source. source. The coff ee is not hot enough. The cups are cold. Warm the cups with hot water. No hot water or steam is dispensed. -
Page 27: Technical Specifications
TECHNICAL SPECIFICATIONS The manufacturer reserves the right to make changes to the technical specifi cations of the product. Nominal Voltage - Power Rating - Power Supply ............See label on the inside of the service door Housing material . - Page 28 The manufacturer reserves the right to change the features of the product without prior notice. www.philips.com/saeco...
Need help?
Do you have a question about the SUP 037DR and is the answer not in the manual?
Questions and answers