Sign In
Upload
Download
Table of Contents
Contents
Add to my manuals
Delete from my manuals
Share
URL of this page:
HTML Link:
Bookmark this page
Add
Manual will be automatically added to "My Manuals"
Print this page
×
Bookmark added
×
Added to my manuals
Manuals
Brands
Foxconn Manuals
Motherboard
D42S
User manual
Foxconn D42S User Manual
English manual
Hide thumbs
1
2
3
4
5
Table Of Contents
6
7
8
9
10
11
12
13
14
15
16
17
18
19
20
21
22
23
24
25
26
27
28
29
30
31
32
33
34
35
36
37
38
39
40
41
42
43
44
45
46
47
48
49
50
51
52
53
54
55
56
57
58
59
60
61
62
63
64
65
66
67
68
page
of
68
Go
/
68
Contents
Table of Contents
Bookmarks
Table of Contents
Declaration of Conformity
Installation Precautions
Table of Contents
Chapter 1 Product Introduction
Product Specifications
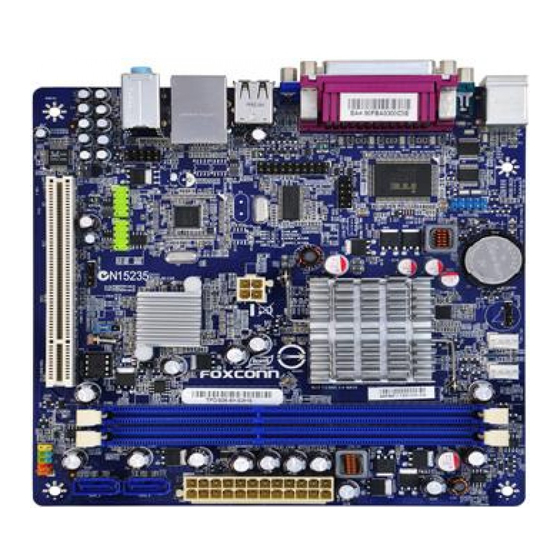
Layout
Back Panel Connectors
Chapter 2 Hardware Install
Install the Memory
Install Other Internal Connectors
Jumpers
Chapter 3 BIOS Setup
Enter BIOS Setup
Main Menu
System Information
Advanced BIOS Features
Fox Central Control Unit Fox Central Control Unit
Smart Bios
Cpu Configuration
Advanced Chipset Features Advanced Chipset Features
Memory Configuration
Dram Timing Configuration
Integrated Peripherals
Superio Configuration
Usb Configuration
Power Management Setup
PC Health Status
BIOS Security Features
Load Optimal Defaults
Save
Exit Without Saving Exit Without Saving
Chapter 4 CD Instruction Utility CD Content Utility CD Content
Software Utilities
Install Driver and Utility
Fox One
Main Page
CPU Control
Frequency Control
Limit Setting
Voltage Control
Fan Control
FOX Liveupdate
Local Update
Online Update
Configure
About & Help
Fox Logo
Fox DMI
Advertisement
Quick Links
1
Product Specifications
2
Layout
3
Install the Memory
4
Install Other Internal Connectors
5
Jumpers
Download this manual
D52S/D42S
Motherboard
User's Manual
Table of
Contents
Previous
Page
Next
Page
1
2
3
4
5
Advertisement
Table of Contents
Need help?
Do you have a question about the D42S and is the answer not in the manual?
Ask a question
Questions and answers
Related Manuals for Foxconn D42S
Motherboard Foxconn D51S series User Manual
(68 pages)
Motherboard Foxconn D255 User Manual
User manual (65 pages)
Motherboard Foxconn D250S User Manual
User manual (65 pages)
Motherboard Foxconn D270S User Manual
User manual (65 pages)
Motherboard Foxconn D42S 3.0 User Manual
User manual (43 pages)
Motherboard Foxconn D52S 3.0 User Manual
User manual (43 pages)
Motherboard Foxconn D52S User Manual
English manual (68 pages)
Motherboard Foxconn D70S-P User Manual
User manual (65 pages)
Motherboard Foxconn Destroyer User Manual
English manual. (113 pages)
Motherboard Foxconn Cinema Deluxe User Manual
English manual. (114 pages)
Motherboard Foxconn K7S741MG Easy Installation Manual
Foxconn k7s741mg motherboards: install guide (10 pages)
Motherboard Foxconn 865G User Manual
Foxconn motherboards (53 pages)
Motherboard Foxconn 761GXK8MC User Manual
Foxconn motherboard (85 pages)
Motherboard Foxconn 661FXME Easy Installation Manual
661fxme foxconn (9 pages)
Motherboard Foxconn 945P7AA series User Manual
(91 pages)
Motherboard Foxconn NF4K8MC User Manual
(68 pages)
This manual is also suitable for:
D52s
Table of Contents
Print
Rename the bookmark
Delete bookmark?
Delete from my manuals?
Login
Sign In
OR
Sign in with Facebook
Sign in with Google
Upload manual
Upload from disk
Upload from URL


Need help?
Do you have a question about the D42S and is the answer not in the manual?
Questions and answers