Dürkopp Adler 767 Installation Instructions Manual
Hide thumbs
Also See for 767:
- Service instructions manual (100 pages) ,
- Spare parts (87 pages) ,
- Instruction manual (46 pages)
Table of Contents
Advertisement
Quick Links
Download this manual
See also:
Instruction Manual
Postfach 17 03 51, D-33703 Bielefeld • Potsdamer Straße 190, D-33719 Bielefeld
Telefon +49 (0) 5 21 / 9 25- 00 • Telefax +49 (0) 5 21 / 9 25 24 35 • www.duerkopp-adler.com
Ausg./Edition: 04/2005
Printed in Federal Republic of Germany
Spezialnähmaschine
Aufstellanleitung
Installation instructions
Instructions d'installation
Instrucciones de instalación
Instruções de montagem
Istruzioni per il montaggio
Teile-Nr.: 0791 767742
767
D
GB
F
E
P
I
Advertisement
Table of Contents

Subscribe to Our Youtube Channel
Related Manuals for Dürkopp Adler 767


Summary of Contents for Dürkopp Adler 767
-
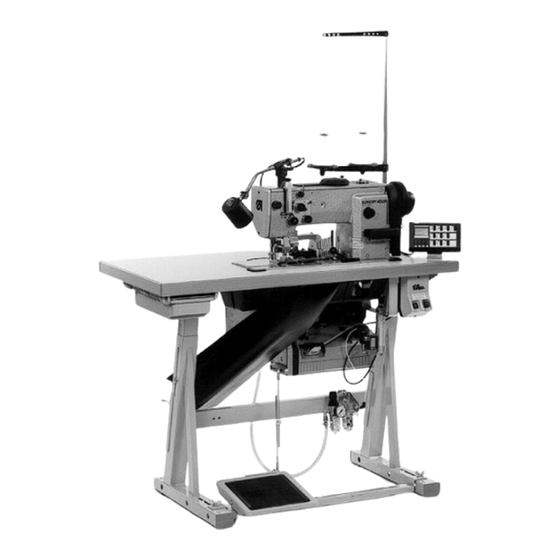
Page 1: Installation Instructions
Istruzioni per il montaggio Postfach 17 03 51, D-33703 Bielefeld • Potsdamer Straße 190, D-33719 Bielefeld Telefon +49 (0) 5 21 / 9 25- 00 • Telefax +49 (0) 5 21 / 9 25 24 35 • www.duerkopp-adler.com Ausg./Edition: 04/2005 Printed in Federal Republic of Germany Teile-Nr.: 0791 767742... -
Page 3: Table Of Contents
Part 2: Cl. 767 Installation instructions Items delivered ....... . . -
Page 5: Items Supplied
1. Items supplied Which items are supplied depends on your order. Please check that all the required components are present before beginning setting-up work. – Basic machine with one or two needles, with or without thread clipper and with or without edge cutter. -
Page 7: Setting Up
2. Setting up IMPORTANT ! The special sewing machine may only be set up by trained specialist personnel. Packing must be removed prior to setting-up. – Remove safety bands and wood from upper part, table and frame. – Remove safety bands and block from motor. 2.1 Erecting the upper part If the special sewing machine was not delivered fully assembled: –... -
Page 9: Reel Stand
2.4 Reel stand The structure and position of the reel stand 1 can be seen in the illustration. – Fit reel stand 1 and secure it with nuts 2 and washers 3. – Fit reel-stand holder and take-up arms. The reel-stand holder and take-up arms must be vertically in line. 2.5 Working height Working height is adjustable between 750 and 900 mm. -
Page 10: Electrical Connection
3. Electrical connection IMPORTANT ! All work on the electrical equipment of this special sewing machine may only be carried out by qualified electricians or other appropriately trained persons. The mains plug must be removed. 3.1 Rated voltage IMPORTANT ! The mains voltage must coincide with the rated voltage specified on the model-identification plate. -
Page 11: Checking Positioning
3.3 Checking positioning The sewing machine should be positioned with the thread lever at top dead centre. The position transmitter 2 is fixed to the shaft with the position-transmitter ring 1. With fully-assembled sewing machines the pre-set position is indicated by a coloured mark. Checking positioning –... -
Page 12: Pneumatic Connection
4. Pneumatic connection The pneumatic system of the special sewing machine and its optional equipment must be connected to a supply of moisture-free compressed air. Air pressure must be between 8 and 10 bar. Connecting the compressed-air maintenance unit – Connect hose 2 (order no. -
Page 13: Filling With Oil
Viscosity at 40° C : 10 mm – Flash point: 150 °C DA-10 can be obtained from DÜRKOPP ADLER AG sales outlets (see operating manual, page 27). – Remove oil-filling screw 1 and pour in oil. – Check oil level at sight glass 2. -
Page 14: Regulation Of Hook Lubrication
5.1 Regulation of hook lubrication IMPORTANT ! The oil quantity is pre-set at a relatively high level in order to ensure adequate lubrication during running-in. This setting should be checked and corrected after running-in (approx. 50 hours). See also or service manual. Caution Risk of Injury ! Turn the main switch off. -
Page 15: Lubricating Wicks And Felt
5.2 Lubricating wicks and felt The wicks and felt 1 must be soaked with a little oil when setting up the machine and following any extended period of disuse. – Unscrew cap 2. – Soak wicks and felt 1 with a little oil. –... -
Page 16: Sewing Test
6. Sewing test A sewing test must be carried out following setting-up. Look out! Danger of injury! The upper and lower threads must be threaded with the sewing machine switched off. – Thread upper and lower threads. – Select material 1 to be sewn. –...
Need help?
Do you have a question about the 767 and is the answer not in the manual?
Questions and answers