Table of Contents
Advertisement
Advertisement
Table of Contents

Related Manuals for Kenmore 790.7423 Series


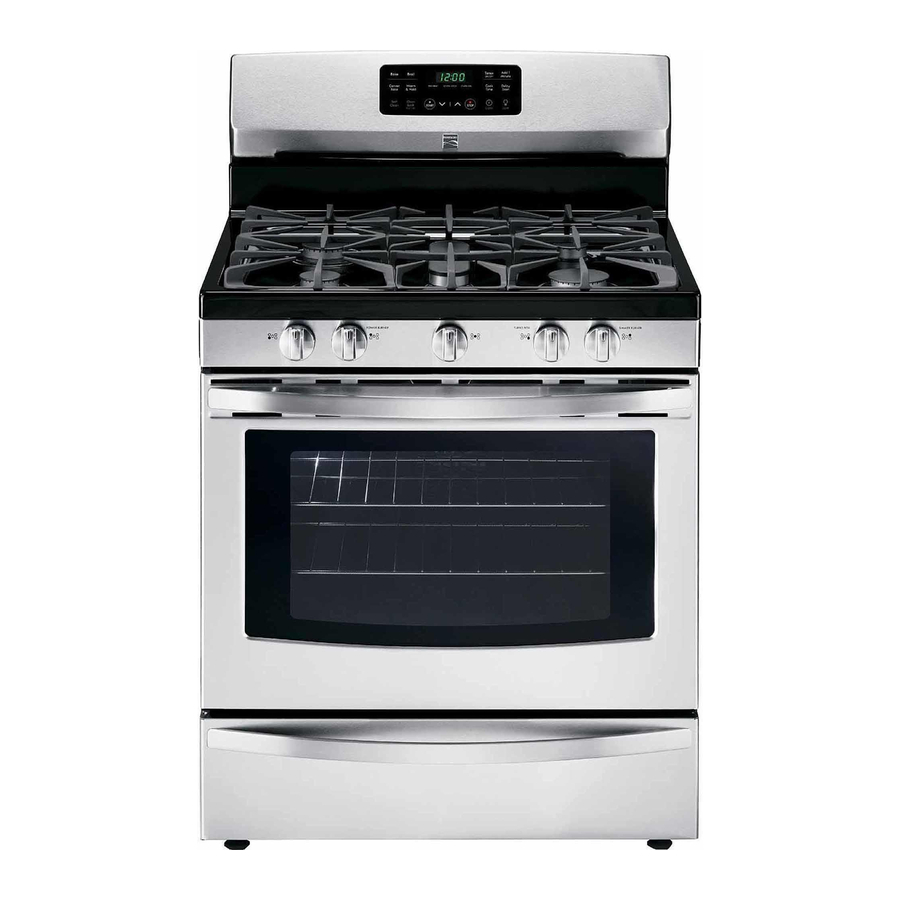
Summary of Contents for Kenmore 790.7423 Series
- Page 1 Use & Care Guide Gufa de uso y cuidada English / Espafiol Model/Modelos. 790.7423* Kenmoreo P/N 807189601 Rev A Sears Brands Management Corporation Hoffman Estates, IL 60179 U.S.A. www.kenmore.com www.sears.com Sears Canada, Inc. Toronto (Ontario) Canada M5B 2C3 www.sears.ca...
- Page 2 ..................Setting Surface Controls ................Please carefully read and save these instructions ....... Setting Surface Burners ................Oven Controls ..................... Kenmore Year Limited Warranty ..........Before Setting Oven Controls ..............Minimum and Maximum Control Settings ..........Oven vent location ..................
- Page 3 IMPORTANT SAFETY INSTRUCTIONS Read all instructions before using this appliance. This manual contains important safety symbols and instructions. Pay attention If the information in this manual these symbols and follow all instructions is not followed exactly, a fire or explosion given.
- Page 4 IMPORTANT SAFETY INSTRUCTIONS Read all instructions before using this appliance. Stepping, leaning, or sitting Tip Over Hazard the door or drawers of a range can result in serious injuries and also cause damage to the • A child or adult can tip the appliance.
- Page 5 IMPORTANT SAFETY INSTRUCTIONS Read all instructions before using this appliance. Read and follow the below instructions and precautions for unpacking, For electric ignition models only--Do installing, and servicing your appliance: attempt to operate the range during power failure. If the power fails, always Remove all tape and packaging before...
- Page 6 IMPORTANT SAFETY INSTRUCTIONS Read all instructions before using this appliance. flat bottoms large enough to cover the Placement of Oven Racks - Always place surface unit heating element. The use of oven racks in desired location while oven undersized utensils will expose a portion is cool.
- Page 7 IMPORTANT SAFETY INSTRUCTIONS Read all instructions before using this appliance. cycle of any oven. Move birds to another well-ventilated room. IMPORTANT INSTRUCTIONS FOR CLEANING YOUR RANGE Before manually cleaning DO NOT TOUCH SURFACE part of the range, be sure all controls HEATING UNITS, OR SURFACE COOKING turned...
- Page 8 IMPORTANT SAFETY INSTRUCTIONS Read all instructions before using this appliance. GROUNDING INSTRUCTIONS PRODUCT RECORD Avoid fire hazard or electrical In this space below, record the date of shock. Do not use an adapter plug, an purchase, model and serial number of your extension cord, or remove grounding...
- Page 9 Before Setting Oven Controls Oven vent location The oven vent is located below the control panel (See Figure 3). fiat handle oven rack When the oven is on, warm air passes through this vent. This venting is necessary for proper air circulation in the oven and good...
- Page 10 Before Setting Surface Controls Check burner cap placement before operating Once in place, you may check the fit by gently sliding the the surface burners burner cap from side to side to be sure it is centered and firmly seated (See Figure 7).
- Page 11 Before Setting Surface Controls Using proper cookware Setting Proper Burner Flame Size Do not place flammable items such as plastic Never extend the flame beyond the outer edge salt and pepper shakers, spoon holders or plastic wrappings of the cooking utensil.
- Page 12 Before Setting Surface Controls Home Canning Canning can generate large amounts of steam. Use extreme caution to prevent burns. Always raise the lid to vent steam away from you. Safe canning requires that harmful micro-organisms are destroyed and the jars are sealed completely.
- Page 13 Setting Surface Controls Setting Surface Burners Your gas appliance may be equipped with different sized surface burners. The ability to heat food quicker and in larger volumes increases as the burner size increases. It is important select cookware that is suitable for the amount and type of food being...
- Page 14 Oven Controls Bake - Selects Bake function. 18. LIGHT - Use to turn internal oven light on and off. Broil - Selects Broil function. Convec Bake - Use to set convection feature. Minimum and Maximum Control Settings Warm & Hold - Use to keep cooked food warm and at All of the features listed have minimum...
- Page 15 Oven Controls Silent or audible control mode Setting Clock When the appliance is first powered up or when the power sup- The appliance may be set for silent or audible operation. If the ply to the appliance has been interrupted, 12:00 will flash in silent mode is selected,...
- Page 16 Oven Controls Changing between continuous bake setting or 12-hour Selling Bake energy saving feature Use the bake function whenever the recipe calls for baking The oven control has a factory-preset 1 2-hour energy saving using normal temperatures. A reminder tone will sound when the feature that will turn the oven off automatically if the oven is...
- Page 17 Oven Controls Setting Cook Time Baking tips • Fully preheat the oven before cooking items like cookies, Use Cook Time to set the amount of time needed for baking. biscuits, and breads. The oven will turn on immediately and stop automatically after the set cook time ends.
- Page 18 Oven Controls Setting Delay Start To change the oven temperature or cook time after baking has started: Delay Start allows you to set a delayed starting time to the oven baking or cleaning functions. Press Bake (for oven temperature) or Cook Time. Food Poisoning Hazard.
- Page 19 Oven Controls Suggestions for Convec Bake: Convec Bake • For optimum cooking results, it is recommended to preheat Convection functions use a fan to circulate the oven's heat the oven when baking foods such as cookies, biscuits, and uniformly and continuously around the oven.
- Page 20 Oven Controls Always use pot holders or oven mitts when using Setting Broil the oven. When cooking, the oven interior, oven racks, and cook- top will become very hot which can cause burns. Use the broil function to cook meats that require direct exposure to flame heat for optimum...
- Page 21 Oven Controls Warm & Hold Adjusting oven temperature Warm & Hold will keep cooked foods warm and ready The appliance has been factory calibrated and tested to ensure serving for up to 3 hours after cooking has finished. After 3 an accurate baking temperature,...
- Page 22 Oven Controls Self Clean Remove any excessive spills. Any spills on the oven bottom should be wiped up and removed before starting a Self A self cleaning oven cleans itself with high temperatures (well Clean cycle. To clean use hot, soapy water and a cloth.
- Page 23 Oven Controls Setting Self Clean Delayed Start Self Clean To set Select Clean to start immediately: To start Delay Start Self Clean: Be sure the oven in empty and all oven racks are removed. Be sure the oven is empty and all oven racks are removed.
- Page 24 Care & Cleaning Table 4: Cleaning recommendations Surface Type Recommendation Control knobs For general cleaning, use hot, soapy water and a cloth. For more difficult soils and built-up Painted body parts grease, apply a liquid detergent directly onto the soil. Leave on soil for 30-60 minutes.
- Page 25 Care & Cleaning General Cleaning Cleaning surface burner grates Refer to Table 4 in this chapter for more detailed information • Clean only after the grates are completely cool. about cleaning specific parts of the range. • Use nonabrasive plastic scrubbing pad and mild abrasive Before...
- Page 26 Care & Cleaning Replacing oven light (some models) To clean the burner head ignition ports Be sure the range is unplugged and all parts Each burner head has a small ignition port located as shown. are cool before replacing oven light. Wear a leather-faced Should you experience ignition...
- Page 27 Care & Cleaning Removing and replacing the lift-off oven door To avoid possible injury when removing replacing the oven door, follow the instructions below carefully and always hold the oven door with both hands positioned Oven door away from the door hinge area.
- Page 28 Before You Call Oven Baking For best cooking results, heat the oven before baking cookies, breads, cakes, pies, pastries, et cetera. There is no need to preheat oven for roasting meat or baking casseroles. The cooking times and temperatures needed to bake a product may vary slightly from your previously...
- Page 29 Before You Call Solutions to Common Problems Before you call for service, review the following list. It may save you time and expense. Possible solutions are provided with the problem listed: Problem Solution Poor baking results Many factors affect baking results.
- Page 30 Before You Call Flames inside oven or smoking from • Excessive spillovers in oven. For example, this will happen for pie spillovers or large oven vent. amounts of grease left on the oven bottom. Wipe up excessive spillovers before starting oven.
- Page 31 Before You Call Master Protection Agreements Acuerdos maestros de protecci6n Congratulations on making a smart purchase. Your new Kenmore ® Enhorabuena por haber hecho una compra inteligente. Su nuevo product is designed and manufactured for years of dependable operation. producto Kenmore®esta...
- Page 32 Your Home For troubleshooting, product manuals and expert advice: managem life For repair - in your home - of all major brand appliances, lawn and garden equipment, or heating and cooling systems, no matter who made it, no matter who sold it! For,the replacement parts, accessories owner s manuals that you need to do-it=yourself.
Need help?
Do you have a question about the 790.7423 Series and is the answer not in the manual?
Questions and answers