Thermador C272 Installation Instructions Manual
Hide thumbs
Also See for C272:
- Installation instructions manual (8 pages) ,
- Care and use manual (112 pages) ,
- Service manual (84 pages)
Advertisement
Table of Contents
INSTALLATION INSTRUCTIONS
FOR THERMADOR
C272 / C302 / CM302 / CJ302 / C271 / C301 / CM301
S272 / SC272 / SCD272 / S302 / SC302 / SCD302 / S301 / SC301 / SMW272 / SM272
Please read this entire instruction manual before proceeding.
IMPORTANT:
INSTALLER:
OWNER:
WARNING:
®
BUILT -IN ELECTRIC OVENS
Models:
Local codes vary. Installation, electrical connections, circuit
breakers and grounding must comply with all applicable codes.
Save these instructions for the Local Electrical Inspector's use.
Please leave these Installation Instructions with this unit for the
owner.
Please retain these instructions for future reference.
Disconnect power at the breaker before installing.
COOK
STOP
TIME
TIME
TIMER 1
TIMER 2
CLOCK
OVEN
LIGHT
UPPER OVEN
COOK
STOP
1
2
3
BAKE
OFF
TIME
TIME
SELF
TIMER 1
TIMER 2
4
5
6
BROIL
CLEAN
CLOCK
OVEN
7
8
9
CONVECTION
CONVECTION
LIGHT
ROAST
0
UPPER OVEN
LOWER OVEN
1
2
3
BAKE
OFF
BAKE
OFF
SELF
SELF
4
5
6
BROIL
CLEAN
BROIL
CLEAN
7
8
9
CONVECTION
CONVECTION
ROAST
CONVECTION
CONVECTION
ROAST
0
Advertisement
Table of Contents

Subscribe to Our Youtube Channel
Related Manuals for Thermador C272


Summary of Contents for Thermador C272
-
Page 1: Installation Instructions
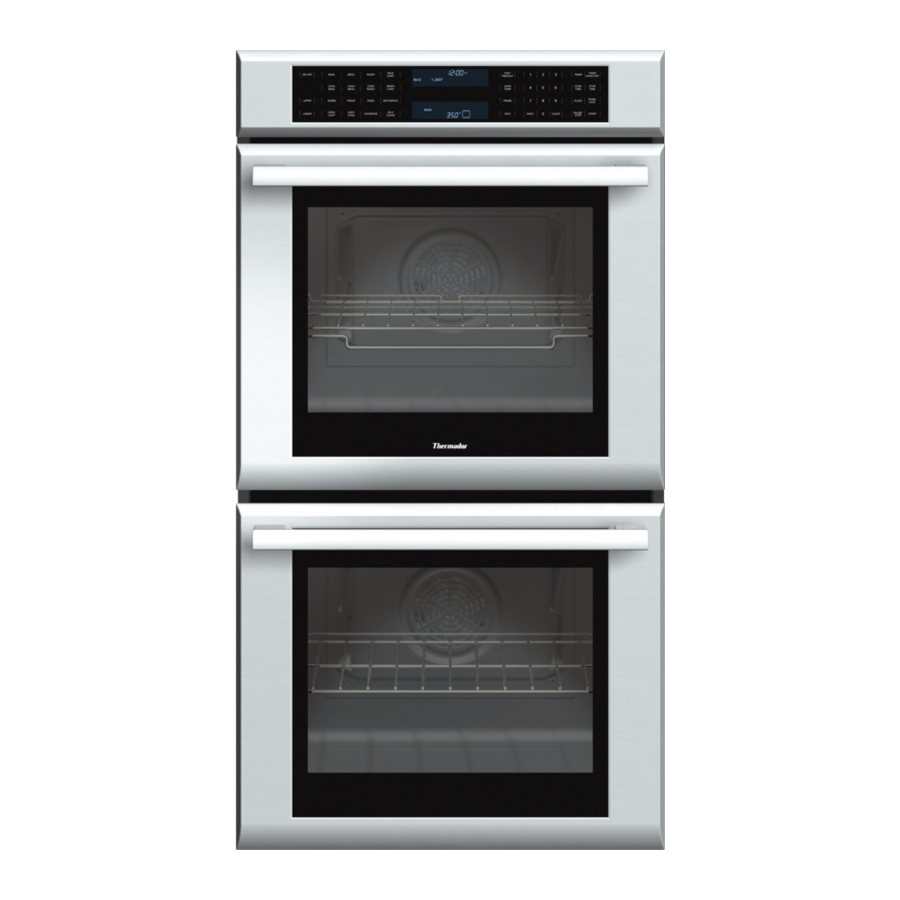
FOR THERMADOR BUILT -IN ELECTRIC OVENS Models: C272 / C302 / CM302 / CJ302 / C271 / C301 / CM301 S272 / SC272 / SCD272 / S302 / SC302 / SCD302 / S301 / SC301 / SMW272 / SM272 UPPER OVEN... -
Page 2: Table Of Contents
The cabinet cutout dimensions for wall mounted and NOTE: The conduit box for double ovens (S272, under the counter installations are shown in Figs. 2 and SC272, SCD272, S302, SC302, SCD302, C272, C302, 3, respectively. CM302, CJ302, SMW272 and SM272) should be located above the unit to facilitate connecting and servicing. - Page 3 Fig. 2- Cabinet Cutout - Wall Mounted Installation FRONT VIEW SIDE VIEW Double Oven Preferred Location of Location Conduit Box of Conduit Frame Overlap (Top) 3/8" 2-1/2" (6, 4 cm) (1, 0 cm) Above Cabinet Unit Recommended 2" Diameter Hole (4.5 cm) 2x4 Supports CONDUIT BOX IS NOT (Wall Stud)
- Page 4 Fig. 2- Cabinet Cutout - Wall Mounted Installation 27" Built-In Electric Double Wall Ovens: C272, S272, SC272, SCD272 Cabinet Cutout Dimensions Overall Dimension Door A (Height) B (Width) C (Depth) D (Floor to Cutout) E (Height)* F (Width)** G (Depth)
- Page 5 (see Figure 3d) for under-counter installation D30SXSW (white) for side-by- side installation in place with Thermador cooktops (see Table 1, Page 6). If the type of the standard cabinet face between the 2 ovens. This of cabinet or countertop thickness does not provide for this will leave a 3/4"...
-
Page 6: Step 3: Electrical Installation
The S301 and SC301 require a 20-amp circuit. The C271, Cutout C301, CM301 SMW272 and SM272 require a 30-amp circuit. The S272, SC272, SCD272, C272, S302, SC302, SCD302 and C302 require a 40-amp circuit. The CM302 and CJ302 require a 50-amp circuit. -
Page 7: Step 4: Installing The Oven
208V ELECTRICAL HOOKUP 5. 240 will appear in the temperature digits. Release all pads. Applies to C271, C272, C301, C302, CM302 and CJ302 6. Touch CLEAN and 208 replaces 240 in the tempera- models only. ture digits. This will toggle with touches of the Clean pad. -
Page 8: Step 5: Installing The Bottom Trim
Thermador reserves the right to change specifications or design without notice. Some models are certified for use in Canada. Thermador is not responsible for products which are transported from the United States for use in Canada. Check with your local Canadian distributor or dealer. Thermador, 5551 McFadden Avenue, Huntington Beach, CA 92649.
Need help?
Do you have a question about the C272 and is the answer not in the manual?
Questions and answers