Table of Contents
Advertisement
D
Anleitungen
– Garagentoröffner Modell LiftMaster 1000A,
800A, 600A
Instructions
– Modèle LiftMaster 1000A, 800A, 600A de
F
ouvre-porte de garage
Instructions
– Garage Door Operator Model LiftMaster
GB
1000A, 800A, 600A
Instruktioner
– Model LiftMaster 1000A, 800A, 600A
DK
Garageportsåbner
E
Instrucciones
– Abridor de la puerta de garage, Modelo
LiftMaster 1000A, 800A, 600A
GR
Int. Service (+49) 6838/907 172
INT
für Service 06838/907 172
D
GB
for service (+44) 0845 602 4285
LiftMaster 1000A, 800A, 600A
geprüfte
TÜV Rheinland
Sicherheit
pour service 03 87 95 39 28
F
NL
voor service 020 684 7978
Advertisement
Table of Contents

Related Manuals for Chamberlain LiftMaster 1000A


Summary of Contents for Chamberlain LiftMaster 1000A
- Page 1 Anleitungen – Garagentoröffner Modell LiftMaster 1000A, 800A, 600A Instructions – Modèle LiftMaster 1000A, 800A, 600A de ouvre-porte de garage Instructions – Garage Door Operator Model LiftMaster 1000A, 800A, 600A Instruktioner – Model LiftMaster 1000A, 800A, 600A Garageportsåbner Instrucciones – Abridor de la puerta de garage, Modelo...
-
Page 2: Table Of Contents
DOOR TYPES Start by Reading These Important Safety Instructions Failure to comply with the following instructions may result in serious personal injury or One-Piece Door with Horizontal Track Only property damage. One-Piece Door with Horizontal and Vertical • Read these instructions carefully Track –... -
Page 3: Before You Begin
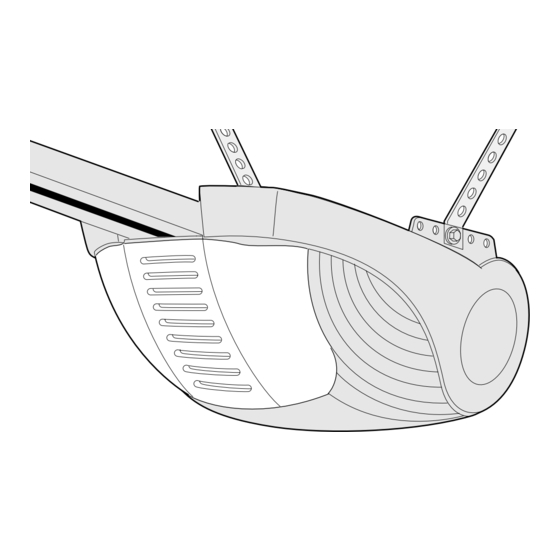
Fasten Rail to Opener and Install BEFORE YOU BEGIN: Chain/Belt 1. Look at the wall or ceiling above the garage door. The header bracket must be securely fastened to structural Holding chain (4) and belt (5) out of the way, slide rail sure the teeth on the sprocket have engaged the supports. -
Page 4: Connect Electric Power
Attach Rail to Header Bracket Connect Electric Power Position opener on garage floor below the header TO AVOID INSTALLATION DIFFICULTIES, DO NOT RUN THE GARAGE DOOR OPENER UNTIL bracket. Use packing material to protect the cover. INSTRUCTED TO DO SO. Raise rail until holes in the header sleeve and holes in Connect the door opener only to an outlet controlled by a double pole switch. - Page 5 If you Fasten the caution label permanently to the wall (Models 800A, 1000A) purchase additional remote controls, the garage door near the door control as a reminder of safe opener must be programmed to accept the new operating procedures.
-
Page 6: Adjustment
Program your Keyless Entry ADJUSTMENT SECTION Activate the opener only when door is in full view, free of obstruction and properly adjusted. No one should enter or leave garage while door is in – 180 s 60 s 120 s Setting the Limits motion. -
Page 7: Install The Protector System (Optional)
Install the Protector System™ REPLACEMENT PARTS (See accessories) Install this accessory for all installations on Canopy doors, One-Piece Door with Horizontal and Vertical Track , doors over 2.5m and when the closing force as measured on the bottom of the door is over 400N (40kg). -
Page 8: Care Of Your Opener
REPLACEMENT PARTS HAVING A PROBLEM? 10. Door opens but won't close: 1. Opener doesn't operate from either door control or remote: • Check The Protector System™ (if you have installed • Does the opener have electric power? Plug lamp into this accessory). -
Page 9: Operation Of Your Opener
OPERATION OF YOUR OPENER SPECIFICATIONS Your opener can be activated by any of the following Input Voltage....230-240 VAC, 50Hz devices: Max. Pull Force....600N (LM600A), 800N (LM800A), • The Lighted Door Control Button. Hold the button 1000N (LM1000A) down until door starts to move. Power......6Nm (LM600A), 8Nm (LM800A), •...
Need help?
Do you have a question about the LiftMaster 1000A and is the answer not in the manual?
Questions and answers