Table of Contents
Advertisement
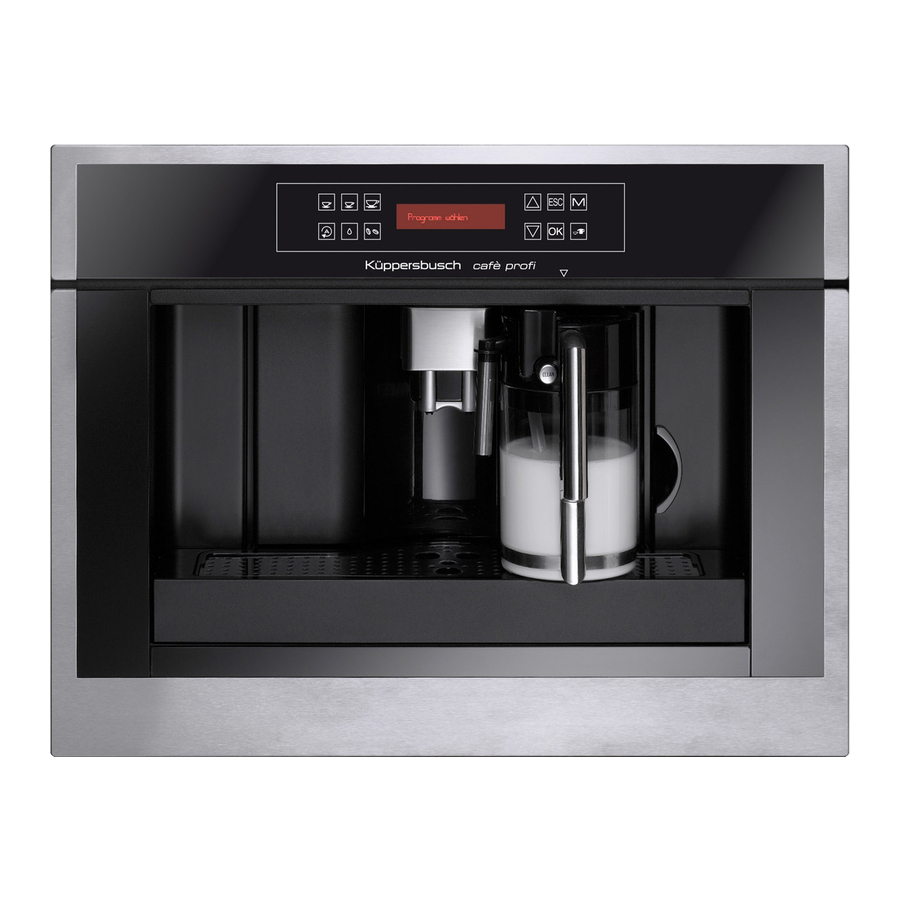
KAFFEE-/CAPPUCCINO-VOLLAUTOMAT
Bedienungsanleitung
COFFEE AND CAPPUCCINO MAKER
Instructions
MACHINE À CAFÉ ET À CAPPUCCINO
Mode d'emploi
MACCHINA PER CAFFÈ E CAPPUCCINO
Istruzioni per l'uso
KOFFIE- EN CAPPUCCINOAPPARAAT
Gebruiksaanwijzingen
CAFETERA PARA CAFÉ Y CAPUCHINO
Instrucciones para el uso
MÁQUINA DE CAFÉ E CAPPUCCINO
Instruções de utilização
EKSPRES DO KAWY I KAWY CAPPUCCINO
Instrukcja obsługi
KAHVE VE CAPPUCC NO MAK NASI
Kullanım talimatları
EKV6500
10
Advertisement
Table of Contents
Troubleshooting

Related Manuals for Kuppersbusch EKV 6500


Summary of Contents for Kuppersbusch EKV 6500
- Page 1 KAFFEE-/CAPPUCCINO-VOLLAUTOMAT Bedienungsanleitung COFFEE AND CAPPUCCINO MAKER Instructions MACHINE À CAFÉ ET À CAPPUCCINO Mode d’emploi MACCHINA PER CAFFÈ E CAPPUCCINO Istruzioni per l’uso KOFFIE- EN CAPPUCCINOAPPARAAT Gebruiksaanwijzingen CAFETERA PARA CAFÉ Y CAPUCHINO Instrucciones para el uso MÁQUINA DE CAFÉ E CAPPUCCINO Instruções de utilização EKSPRES DO KAWY I KAWY CAPPUCCINO Instrukcja obsługi...
-
Page 2: Table Of Contents
CONTENTS CHANGING AND SETTING MENU PARAMETERS ..15 Setting the language ...............15 INTRODUCTION ..........7 Changing the length of time the appliance remains on ....15 Symbols used in these instructions...........7 Setting the clock ................15 Letters in brackets ................7 Setting auto-start time ..............15 Troubleshooting and repairs .............7 Changing coffee temperature ............16 Setting water hardness ..............16... -
Page 3: Introduction
INTRODUCTION Important! The appliance is not intended for use by persons (inclu- Thank you for choosing the automatic coffee and cappuccino maker. ding children) with reduced physical, sensory or mental capabilities, or lack of We hope you enjoy using your new appliance. experience and knowledge, unless they have been given supervision or in- Take a few minutes to read these instructions. -
Page 4: Description Of Milk Container And Accessories
A20. Tray Do not use multiple sockets or extensions. A21. On/stand-by button To learn to use the appliance correctly, the first time you use it follow the Description of milk container and accessories detailed instructions in the following sections. (page 3 - B) Important! Safety cutout devices must be included in the mains B1. -
Page 5: Built-In Installation
BUILT-IN INSTALLATION Verify the minimum measurements required for correct installation of the appliance. The coffee maker must be installed in a column and the column must be fir- mly fixed to the wall with commercially available brackets. Important: • Important: all installation or maintenance operations must be perfor- med with the appliance disconnected from the mains electricity sup- ply. - Page 6 x 16 Position the rails on the sides of the cabinet as shown in the figure. Fix Position the appliance on the rails, making sure the pins are correctly in- with the screws supplied, then extract them completely. If the coffee maker serted in the housings, then fix it with the screws supplied.
-
Page 7: Using The Appliance For The First Time
USING THE APPLIANCE FOR THE FIRST 6. Position a container under the spout (fig. 6) (min. capacity: 100 ml). TIME N.B.! When you install the filter, you must notify the appliance of its presence. • Coffee has been used to factory test the appliance and it is therefore completely normal for there to be traces of coffee in the mill. -
Page 8: Making Coffee Using Coffee Beans
message "HEATING UP... PLEASE WAIT" is displayed. When heating is complete, the message changes to "RINSING"; The appliance is at temperature when the message "MEDIUM CUP NOR- MAL TASTE" is displayed. If no icon is pressed within about 2 minutes, the time (if set, see the "Set- ting the clock"... -
Page 9: Making Coffee Using Pre-Ground Coffee (Instead Of Beans)
MAKING CAPPUCCINO Important! The grinding adjustment knob must only be turned when the coffee mill is in operation. N.B.: Set the quantity of coffee you want to use to make the cap- puccino in the "Program cappuccino" function in the menu. For slower delivery and creamier coffee, turn one click anticlockwise (finer pre-ground coffee). -
Page 10: Changing The Quantity Of Milk
Changing the quantity of milk could damage the appliance and cabinet. • Fill the container with milk up to the maximum level indicated on the The drip tray is fitted with a level indicator (red) showing the level of water container. -
Page 11: Cleaning The Milk Container
then push the PUSH symbol fully in until it clicks into place. • Program cappuccino • Program water N.B.! If the infuser is difficult to insert, you must first adapt it to • Descale the right dimensions by pressing it forcefully from the bottom and top as •... -
Page 12: Changing Coffee Temperature
Changing coffee temperature • Empty the tank of water, pour the contents of the descaler bottle into the tank respecting the instructions given on the descaler pack, then add To change coffee temperature, proceed as follows: water up to the MAX level marked on the water tank. •... -
Page 13: Turning The Appliance Off
TURNING THE APPLIANCE OFF Each time the appliance is turned off, it performs an automatic rinse cycle which cannot be interrupted. Danger of burns! During rinsing, a little hot water flows from the coffee spouts. Avoid contact with splashes of water. To turn the appliance off, press the On/stand-by button (A21). -
Page 14: Displayed Messages
DISPLAYED MESSAGES DISPLAYED MESSAGE POSSIBLE CAUSE REMEDY FILL TANK • The water tank is empty or positioned in- • Fill the tank with water and/or insert it cor- correctly. rectly, pushing it as far as it will go. GROUND TOO FINE ADJUST MILL •... -
Page 15: Troubleshooting
TROUBLESHOOTING Below is a list of some of the possible malfunctions. If the problem cannot be resolved as described, contact Customer Services. PROBLEM POSSIBLE CAUSE REMEDY The coffee is not hot • The cups were not preheated. • Warm the cups by rinsing them with hot water. -
Page 16: Recipes
RECIPES Iced coffee Ingredients: Coffee punch 4 espresso coffees Ingredients (serves 6): 4 teaspoons of sugar 1/2 l of hot coffee 12 ice cubes 1/2 l of white Port Method: 1/2 l of rum Crush the ice and add to the pre-sugared coffee. 100 g of candied brown sugar Shake in a shaker until a frothy, creamy mixture Method:...
Need help?
Do you have a question about the EKV 6500 and is the answer not in the manual?
Questions and answers