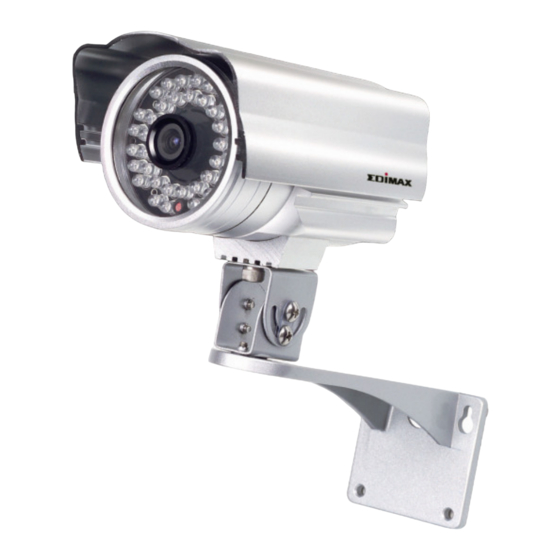
Edimax DDNS-Free Outdoor IP Camera with Night Vision IC-9000 Quick Installation Manual
Ddns-free outdoor ip camera with night vision
Hide thumbs
Also See for DDNS-Free Outdoor IP Camera with Night Vision IC-9000:
- User manual (118 pages)
Table of Contents
Advertisement
Quick Links
Download this manual
See also:
User Manual
Advertisement
Table of Contents

Summary of Contents for Edimax DDNS-Free Outdoor IP Camera with Night Vision IC-9000
- Page 2 Copyright© by Edimax Technology Co, LTD. all rights reserved. No part of this publication may be reproduced, transmitted, transcribed, stored in a retrieval system, or translated into any language or computer language, in any form or by any means, electronic, mechanical, magnetic, optical, chemical, manual or otherwise, without the prior written permission of this Company.
-
Page 3: Product Information
1. Product Information Thank you for purchasing this IC-9000! The IC-9000 is designed with the “user-friendly” concept. You can install the IP Camera easily on your home network and then access the IP Camera anywhere in the world with the video management utility. No need to set complicated DNS name or change the router’s configuration. -
Page 4: Interface Information
4. Interface Information Ethernet Indication LED Status Indication LED Item Name Description Indicates if the Ethernet link is ok and packet traffic is sending/receiving. When the Ethernet Ethernet cable is connected, the LED is Indication constant blue light. When there is packet LED (blue) sending/receiving, the LED is blinking blue light. - Page 5 Terminal off, a close circuit is on. Block Connects to12V/1.0A power adapter. Power Jack Please make sure you are using the correct power adaptor The button to reset the IP CAM to default factory settings. You need to press the reset Reset Button button for more than 4 seconds to enable the reset function.
-
Page 6: Hardware Installation
5. Hardware Installation Please follow the following instructions to set up the IC-9000: 1. Please connect the IP CAM accessories to the body of the IC-9000 correctly, including the bracket, power adapter and Ethernet cable, as shown in the above figure. 2. -
Page 7: Software Installation
6. Software Installation 1. Before installing CamView software on your PC or laptop, please make sure you have correctly installed the IC-9000. It’s highly recommended to close other Windows applications to prevent the installation from any possbile confliction. 2. Please insert the installation CD into the CD-ROM drive in your notebook or personal computer (must be running Microsoft Windows OS) 3. - Page 8 7. Start to Use CamView Software 1. Start the CamView application from either Start -> Programs -> CamView or the shortcut on the desktop of the Microsoft Windows. 2. Once the CamView Started, it will search the IC-9000 in your Local Area Network automatically and show the CAM ID of each of the found IP Cam in the tree menu –“Auto Search”...
- Page 9 Note: If the Camera you want to see is outside of your LAN and the Cam ID is not sored in the “CameraList”, please right-click on the “CameraList”, choose “New Camera” and enter the Cam ID and password. Note: For further operation, please refer to the manual.
- Page 10 R&TTE Compliance Statement This equipment complies with all the requirements of DIRECTIVE 1999/5/EC OF THE EUROPEAN PARLIAMENT AND THE COUNCIL of March 9, 1999 on radio equipment and telecommunication terminal Equipment and the mutual recognition of their conformity (R&TTE) The R&TTE Directive repeals and replaces in the directive 98/13/EEC (Telecommunications Terminal Equipment and Satellite Earth Station Equipment) As of April 8, 2000.


Need help?
Do you have a question about the DDNS-Free Outdoor IP Camera with Night Vision IC-9000 and is the answer not in the manual?
Questions and answers