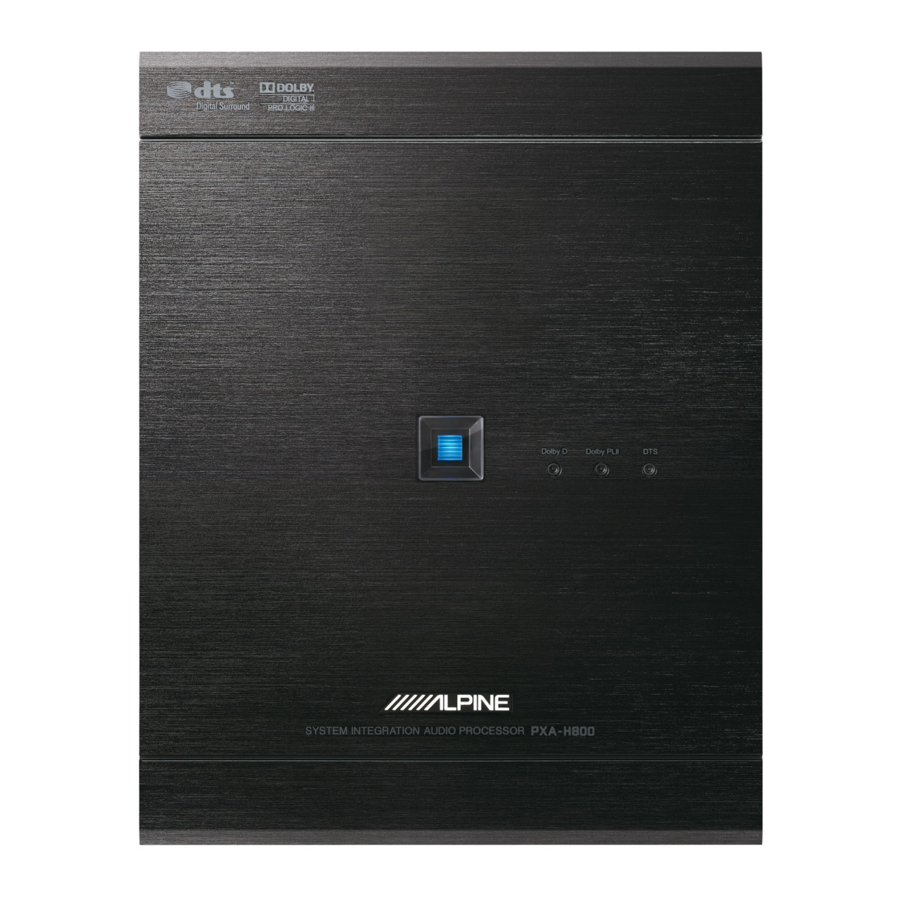
Alpine PXA-H800 Owner's Manual
System integration audio processor
Hide thumbs
Also See for PXA-H800:
- Manual (66 pages) ,
- Installation manual (21 pages) ,
- Service manual (89 pages)
Table of Contents
Advertisement
Quick Links
Advertisement
Table of Contents

Subscribe to Our Youtube Channel
Related Manuals for Alpine PXA-H800


Summary of Contents for Alpine PXA-H800
- Page 15 From a PC • Speakers that cannot be turned off do not show "OFF "Refer to When you modify the "Front High" speaker setting to [Full Range], Table 1 (Output System) in "System Configuration" (page 60). a message to confirm the change will be displayed. To set at "Full •...
- Page 19 From a PC Move the microphone to a spot specified in the When measurement is complete, click [Result]. The result screen will be displayed. screen and position it firmly. The adjustment result when the Target Curve is "REFERENCE" will be displayed If you want to select another target curve, go to Step 17.
- Page 20 If you click [ON], select the setting value. Click and select and click either [Memory 1] or Setting contents: -6 to +6dB [Memory 2]. Click [Save]. ALPINE PXA-HSOO M<lll<i<J<71 <:'•Hill<' The "Save As" box will be shown. Select the location where you want to...
- Page 21 (page unit. For details, refer to "Storing Preset Values (Preset Store)" (page 12). Click [Setup] for "Auto TCR." ALPINE PXA-HSOO Sound Manager Adjusting for Road Noise (RoadEQ) FlltoF r•.· ·:.u rr"l Shortcut --~------------------ RoadEQ (REAL-TIME OPTIMIZED ADAPTIVE DRIVlNG is a...
- Page 22 Click [Setup] for "RoadEQ." ALPINE PXA-H800 S()Uild Manager When automatic measurement is completed, RoadEQ can be turned or off and its level can be selected. Click [RoadEQ] for [Shortcut] tab in the main menu. The Automatic Measurement tab screen will be displayed.
- Page 23 MX Plus mode will be switched, linked with the source switching of MX Plus becomes enabled. PXA-H800. • When you click the [OFF], MX Plus for all music sources becomes Click [MX Plus] for [Shortcut] tab in the main menu.
- Page 24 From a PC hflllL Click [T] for "Level Adjustment" for each external Setting the Graphic EO input in the setup screen and select and click the level from the pull-down menu. The graphic equalizer allows you to modify the sound using 31 bands each for the front (left and right), rear (left and right) and center speakers.
- Page 25 From a PC Click a frequency and drag up or down to adjust the • After the setting, it is recommended to store the setting contents on the unit. For details, refer to "Storing the Preset Values (Preset level. Store)" (page 12). Displaying the data Click [Show All Data].
- Page 28 From a PC Both R channels are set at same value (The Level Phase initial setting). .?OO~H;: l ch 11kHZ • Freq Ill: Channels R and can be set independently. Slop• _ dB ud • • U 0 dB • 180"...
- Page 29 From a PC Displaying the data Concrete examples 1 Calculating the time correction value for the front left Click [Show All Data] speaker on the diagram below. The setup values for all the channels will be displayed. Conditions: Distance between farthest speaker and listening position: 2.25 m {88-3/4") Distance between front left speaker and listening position: 0.5 m (20")
- Page 31 [EUPHONY] from the pull-down menu. Multi Channel Manager tab screen will be displayed. • Refer to "Operating the Function Switching Tab" (page 7). ALPINE PXA-H800 Sonnd Manager Set and adjust "2ch Playback Mode," "EUPHONY," Pro Logic II." "Dolby • When both Rear and Center speakers are off in "Setting...
- Page 32 "2ch Playback Mode" and select and Standard click [Dolby Pro Logic II] from the pull-down menu. Custom Memory ALPINE PXA-HSOO Sound M<1nage1 Standard: Setup of the regular ambience of LsiRs sound. Choose this for a subtle expansion in sound. Wide: ambience of LsiRs sound is more easily recognizable.
- Page 33 From a PC Adjusting the Center Width (Center Width) When you select "Music" for "Dolby Pro Logic II," you can further adjust the center width in the following steps. This function offers the Mixing the Range Audio the Rear (Rear Mix) (page 33) optimum vocal position by adjusting the center channel position Achieving smooth sound in the rear seat by mixing the front...
- Page 34 From a PC When setting is complete, click [Close Window]. Adjusting the Acoustic Image (81- • After the setting, it is recommended to store the setting contents on PHANTOM) the unit. For details, refer to "Storing the Preset Values (Preset Store)"...
- Page 35 From a PC • Avoid stopping, pausing, switching the disc, cueing,fast-forwarding or switching the audio channel of this unit while making this adjustment. The setting is cancelled the decode mode is switched. • When the Rear speaker is off in "Setting the Speaker System (Output System Select)"...
- Page 42 From the Commander When the setting is complete, press and hold [ Mixing Navi Audio Guidance (Navi Mix for at least 2 seconds. Setup) • If [ ] is pressed during setting, the unit returns to the previous item. • After the setting, it is recommended to store the setting contents on When a navigation system is connected, its voice guidance will be the unit.
- Page 43 From the Commander Measurement sequence for the automatic measurement Automatic functions Perform the automatic measurement in the following sequence. Measurement When lmprintEQ is used: First, lmprintEO, then RoadEO When lmprintEQ is not used: Function First, AutoTCR, then RoadEQ. • When lmprintEQ is used, AutoTCR not required.
- Page 46 MX Plus should be set for each external input. ,l''"'l, ~I', MX Plus mode will be switched, linked with the source switching of PXA-H800. CO/Compressed Data/FM/Digital Radio/DVD/AUX/Others Press [FUNC.]. Select the level you want by rotating the [Rotary Rotate the [Rotary encoder] to select "MX Plus,"...
- Page 47 From the Commander Select the level you want by rotating the [Rotary IIEQ MODE encoder], and press the [Rotary encoder]. t~t:tf G EQ · Compressed 1 to 3: " This corrects information lost in the compression process. This reproduces a well-balanced sound close to the original. By G.EO: Graphic EO is used.
- Page 48 From the Commander Select the channel you want to adjust by pressing Setting the Parametric EO [CHANNEL]. L+R selected: FRONT ---7 REAR ---7 CENTER ---7 The frequency bands of the graphic equalizer are fixed. This makes it SUBWOOFER* ---7 FRONT difficult to correct for undesired peaks and dips at specific frequencies.
- Page 49 Moreover, overload and outside that recommended cause damage to the speakers. damage the speakers. the recommended crossover frequencies of Alpine speakers, refer • After setting, recommended to store setting contents respective Owner's Manua We are responsible the unit. For details, ref er to "Storing...
- Page 63 - Check to see that RoadEQ is correctly completed. unit is at fault. Otherwise, make sure the rest of your system is properly An error during Automatic lmprintEQ adjustment has connected or consult your authorized Alpine dealer. occured. No function or display.
- Page 69 MAKE THE CORRECT CONNECTIONS. and/or vehicle. When doubt, consult your Alpine dealer. • The PXA-H800 uses female RCA-type jacks for connectio other units (e.g. Failure to ake the proper connections result in fire or product damage. amplifier) having connectors.
- Page 70 CD-ROM, "Sound installation position with adhesive tape. Manager for PXA-H800," refer Owners Manual- PC guide. details on how to install and use the CD-ROM, "SETUP Put a bracket® in a predetermined position on the DISC,"...
- Page 72 Installing with Commander unit holder Mounting the Commander Unit (RUX- CSOO) (Sold separately) • Set the installation location. • Check that the provided cord sufficiently long. Install the unit where not exposed to water. Preparation install the unit or wiring where it interferes with driving or bag.
- Page 73 Tightly fix the Commander unit to the Commander Bend the bracket@ to follow the curvature of the unit holder® with the provided 2 binding screws (M3 Commander unit holder® and the console or the x 6 mm)@ and apply Adhesive sheets (b) and (c) to underside of the dashboard.
- Page 75 Connections • Left side Cord colors and cord/terminal specifications Connect to: Remote On Lead (REM IN) Connect head unit for RCA connections. Connect Remote On cord Blue/ head unit. (Non Ai-NET connection) White Ground Lead (GND) Connect securely to a metal part of the vehicle's Connect...
- Page 81 Connecting a Non Ai-NET AV Head Unit, External Input and External Amplifier • Input Pattern : 5.1 ch Input AUXINPUT (Rear Left) (R ear Right) (Subwoofer) (Front Left) (Front Right) (Center) Ai-NET/RCA Interface cableKCA-121B White White RCA extension cable White (Sold separately) (Sold separately) TV Tuner or Video...
- Page 83 Connecting an Ai-NET compatible AV Head Unit (INA-W91 0), ALPINE Navigation System, Ai-NET compatible Changer and External Amplifier AI-NET extension cable (Changer included) To Ai-NET Output Terminal ----D-- Ai-NET compatible .------F_i_be_r_o_,p'--t_ic_c_a_b_le_(.:...S_o_ld_se_,p_a_ra_t_e_,ly'-'-)- *_ Changer 4 • To Digital Output L-----, ___...
- Page 88 Veuillez lire avant d'utiliser cet appareil. • MANUAL SUPLEMENTARIO Lealo antes de utilizar este equipo. ALPINE ELECTRONICS MARKETING, INC. ALPINE ELECTRONICS OF AUSTRALIA PTY. LTD. ALPINE ITALIA S.p.A. 1-1·8 Nishi Gotanda, 161-165 Princes Highway, Hallam Viale C. Colombo 8, 20090 Trezzano...
- Page 89 Use the supplied CD-ROM (Disc version Ver.l.lOO) to install Sound Recommended specifications Manager for PXA-H800 (software version Ver.l.lOO/ Ver.2.100) and set CPU: 1.6 or higher up the appropriate PXA-H800/ RUX-C800 software for the connected Memory: 1 GB or higher HOD: 51 MB or more available space Alpine Ai-NET compatible head unit.
- Page 91 Click [OK]. Restoration [File(F)]- [Restore Preset Data(R)] Restoring the Preset Data Software download Software for both the PXA-H800 and Commander can be downloaded. Start Sound Manager for PXA-HSOO. PXA-H800: [Option(O)]- [PXA-H800 Software Download(M)] Commander: [Option(O)]- [RUX-C800 Software Download(F)] Click [File(F)], and then click [Restore Preset Data (R)].
- Page 98 isc version er.l.IOO...
Need help?
Do you have a question about the PXA-H800 and is the answer not in the manual?
Questions and answers