Alpine PXA-H800 Digital Sound Processor Manuals
Manuals and User Guides for Alpine PXA-H800 Digital Sound Processor. We have 4 Alpine PXA-H800 Digital Sound Processor manuals available for free PDF download: Owner's Manual, Service Manual, Manual, Installation Manual

Alpine PXA-H800 Owner's Manual (99 pages)
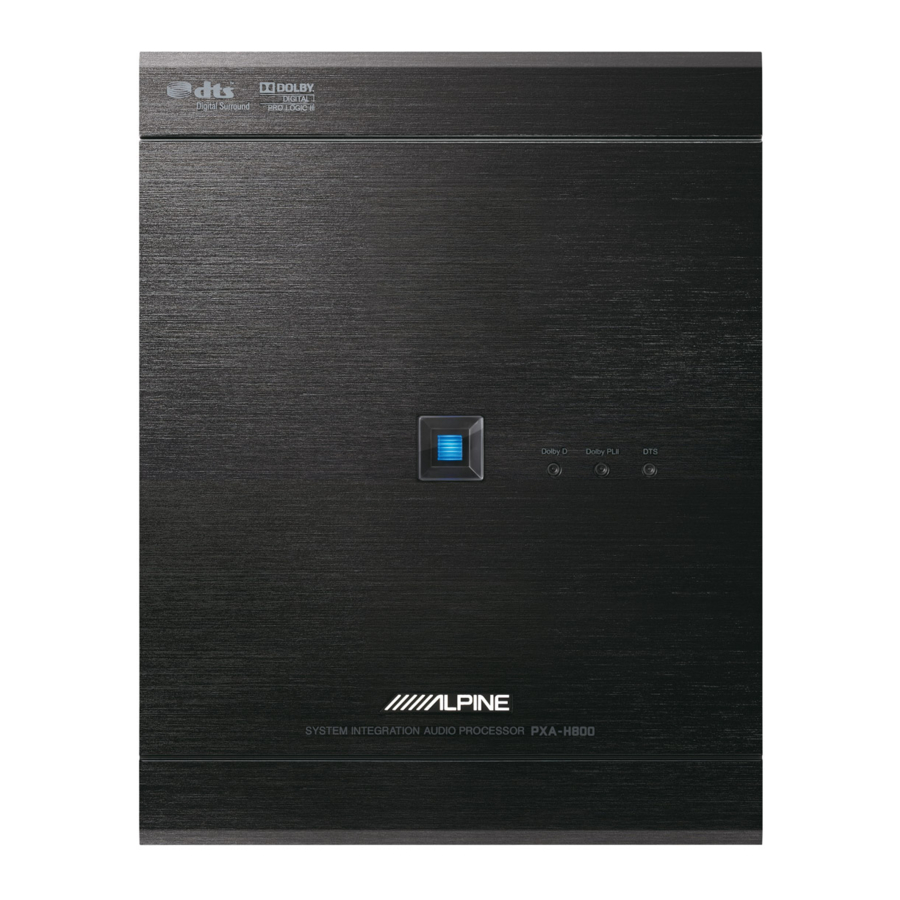
SYSTEM INTEGRATION AUDIO PROCESSOR
Brand: Alpine
|
Category: Computer Hardware
|
Size: 35 MB
Table of Contents
Advertisement
Alpine PXA-H800 Manual (66 pages)
SYSTEM INTEGRATION AUDIO PROCESSOR
Brand: Alpine
|
Category: Car Stereo System
|
Size: 11 MB
Table of Contents
Alpine PXA-H800 Service Manual (89 pages)
System Integration Audio Processor
Brand: Alpine
|
Category: Computer Hardware
|
Size: 11 MB
Table of Contents
Advertisement

Alpine PXA-H800 Installation Manual (21 pages)
SYSTEM INTEGRATION AUDIO PROCESSOR
Brand: Alpine
|
Category: Computer Hardware
|
Size: 1 MB
Table of Contents
Advertisement