Table of Contents
Advertisement
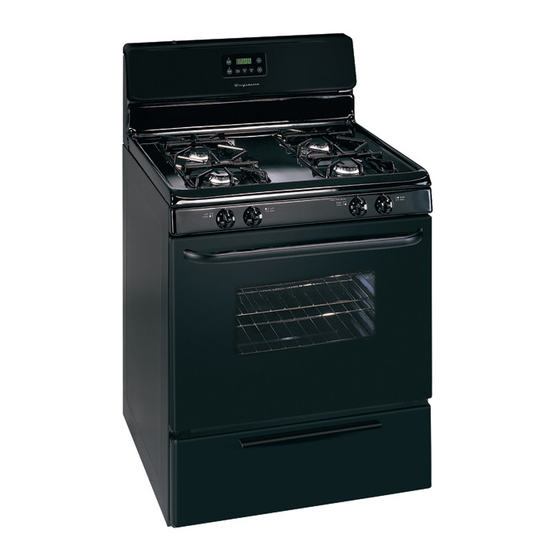
Gas
Visit the Frigidaire Web Site at:
http://www.frigidaire.com
Range
Welcome.......................................... 2
ES100 Control with Gas Sealed Burners
& Broiler Drawer
Important Safety Instructions .....2-4
Setting Surface Controls ............... 5
Before Setting Oven Controls ....... 6
Oven Control Functions .............6-7
Setting Oven Controls .................8-9
Adjusting Your Oven
Temperature (some models) .......... 10
General Care & Cleaning ........ 11-13
Before You Call
14
Solutions to Common Problems ........................
Warranty ......................... Back Page
Questions or for Service Call:
1-800-944-9044
(U.S.)
1-800-668-4606
(Canada)
READ AND SAVE THESE INSTRUCTIONS
p/n 316417139 (0803)
Advertisement
Table of Contents

Related Manuals for Frigidaire 316417139


Summary of Contents for Frigidaire 316417139
-
Page 1: Table Of Contents
Visit the Frigidaire Web Site at: http://www.frigidaire.com Range Welcome... 2 ES100 Control with Gas Sealed Burners & Broiler Drawer Important Safety Instructions ...2-4 Setting Surface Controls ... 5 Before Setting Oven Controls ... 6 Oven Control Functions ...6-7 Setting Oven Controls ...8-9 Adjusting Your Oven Temperature (some models) ... -
Page 2: Welcome
Your satisfaction is our number one priority. We know you’ll enjoy your new range and Thank You for choosing our product. We hope you consider us for future purchases. PLEASE CAREFULLY READ AND SAVE THESE INSTRUCTIONS This Use &... - Page 3 Ask your Sears dealer to recommend a qualified technician and an authorized Sears repair service. Know how to disconnect the power to the range at the circuit breaker or fuse box in case of an emergency. • User servicing—Do not repair or replace any part of the appliance unless specifically recommended in the manuals.
- Page 4 IMPORTANT INSTRUCTIONS FOR USING YOUR OVEN • Use Care When Opening Oven Door or Warmer Drawer— Stand to the side of the range when opening the door of a hot oven. Let hot air or steam escape before you remove or replace food in the oven.
-
Page 5: Setting Surface Controls
Setting Surface Controls Setting Surface Controls Your range may be equipped with different sized surface burners. The ability to heat food quicker and in larger volumes increases as the burner size increases. The simmer burner (if equipped) is best used for simmering delicate sauces, etc. -
Page 6: Before Setting Oven Controls
Before Setting Oven Controls Removing & Replacing Oven Racks To remove, pull the rack forward until it stops. Lift up front of rack and slide out. To replace, fit the rack onto the guides on the oven walls. Tilt the front of the rack upward and slide the rack back into place. Note: The time of day must first be set in order to operate the oven. -
Page 7: Oven Control Functions
Note: The time of day must first be set in order to operate the oven. To Set the Clock When the range is first plugged in, or when the power supply to the range has been interrupted, the display will flash "12:00". 1. Press 2. -
Page 8: Setting Oven Controls
Note: The time of day must first be set in order to operate the oven. To Set or Change the Temperature for Baking The oven can be programmed to bake at any temperature from 170°F to 500°F. To Set the Controls for Baking: 1. -
Page 9: Setting Oven Controls
6. Place broiler pan on rack; make sure the broiler pan with the insert is positioned as shown (See Fig.1). Be sure front of pan is positioned correctly in rack. 7. Slide the broiler drawer all the way into the range. Press on Oven Control. 8. Press and hold the broil or the for LO (low) broil. -
Page 10: Temperature (Some Models)
+35°F. You may also adjust the oven temperature downward in 5°F increments with each press of the 35 35 35 35 35 35 35 35 35 35 adjustment range of - to + F. Note: Your oven control was factory set in the (Fahrenheit) °F Temperature Display Mode. -
Page 11: General Care & Cleaning
Rinse and wipe dry with a clean cloth. Remove all cleaners or the porcelain Liner & Oven Bottom may become damaged during future heating. DO NOT use spray oven cleaners on the range top. Oven Racks Remove racks. See "Removing & Replacing Oven Racks" under Before Setting Oven Controls. -
Page 12: Cleaning The Cooktop
Cleaning the Cooktop The cooktop is designed to make cleaning easier. Since the four burners are sealed, cleanups are easy when spillovers are cleaned up immediately. To clean, wipe with a clean, damp cloth and wipe dry. DO NOT attempt to clean the cooktop when the cooktop or burner heads are still hot. - Page 13 2. Replace bulb with a new 40 watt appliance bulb. 3. Turn power back on again at the main source (or plug the range back in). 4. The clock will then need to be reset. To reset, see “Setting the Clock” and “Setting the Minute Timer”...
-
Page 14: Before You Call
Range is not level - (1) Poor installation. Place oven rack in center of oven. Place a level on the oven rack. Adjust leveling legs at base of range until the oven rack is level. (2) Be sure floor is level, strong & stable enough to adequately support range. - Page 15 Notes...
-
Page 16: Major Appliance Warranty Information
Major Appliance Warranty Information Your appliance is covered by a one year limited warranty. For one year from your original date of purchase, Electrolux will pay all costs for repairing or replacing any parts of this appliance that prove to be defective in materials or workmanship when such appliance is installed, used and maintained in accordance with the provided instructions.
Need help?
Do you have a question about the 316417139 and is the answer not in the manual?
Questions and answers