Table of Contents
Advertisement
Electric
Electric
Electric
Electric
Electric
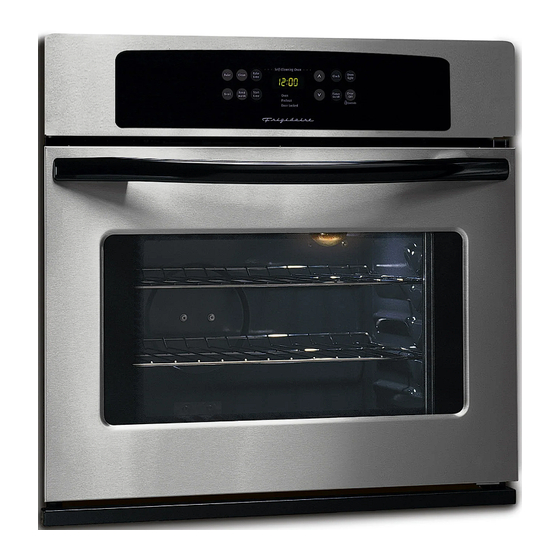
Wall Oven
Single and Double
Welcome ................................... 2
Features at a Glance ............... 5
Oven Controls .......................... 6
Setting Oven Controls ............ 6
Cooking Informations .......... 7-9
Care & Cleaning................ 10-13
Oven Temperature ................. 13
........................................... 14-15
Warranty .................. Back Cover
3-4
318205119 (0703) Rev. A
Advertisement
Table of Contents

Related Manuals for Frigidaire PLEB30T9FC 318205119


Summary of Contents for Frigidaire PLEB30T9FC 318205119
-
Page 1: Table Of Contents
Welcome ... 2 Important Safety Instructions . Features at a Glance ... 5 Before Setting Oven Controls ... 6 Setting Oven Controls ... 6 Cooking Informations ... 7-9 Care & Cleaning... 10-13 Adjusting Your Oven Temperature ... 13 Before You Call Solutions to ... -
Page 2: Welcome
Serial Number: Purchase Date: Product Registration Register Your Product The PRODUCT REGISTRATION CARD should be filled in completely, signed and returned to Electrolux Home Products. Serial Plate Location Single Wall Oven Serial Plate Location Double Wall Oven Serial Plate Location... -
Page 3: Important Safety Instructions
Never allow children to play with packaging material. Do not remove the wiring label and other literature attached to the back of the wall oven. Do not remove model/serial number plate. • Proper Installation—Be sure your appliance is... - Page 4 • Do not cover broiler grid or oven bottom with aluminum foil. Exposed fat and grease could ignite. • Do not touch a hot oven light bulb with a damp cloth. Doing so could cause the bulb to break. Disconnect the appliance or shut off the power to the appliance before removing and replacing the bulb.
-
Page 5: Features At A Glance
Lower Oven Double Wall Oven Features will vary according to model Features At A Glance Electronic Oven Controls with Clock and Kitchen Timer (Features will vary according to model) Dual or Single Interior Oven Lights depending on your model Manual or Self-Clean Oven... -
Page 6: Before Setting Oven Controls
Oven Vent Location The ovens are vented at the center trim. When the oven is on, warm air is released through the vent. This venting is necessary for proper air circulation in the oven and good baking results. -
Page 7: Oven Baking
Oven Baking For best cooking results, heat the oven before baking cookies, breads, cakes, pies or pastries, etc... There is no need to preheat the oven for roasting meat or baking casseroles. The cooking times and temperatures needed to bake a product may vary slightly from your previously owned appliance. - Page 8 Should an oven fire occur, close the oven door and turn off the oven. If the fire continues, throw baking soda on the fire or use fire extinguisher. DO NOT put water or flour on the fire. Flour may be explosive.
-
Page 9: Convection Cooking
Convection Cooking The convection oven uses a fan located in the rear wall of the oven to circulate heated air around the food to be cooked. The controlled air flow pattern quickly seals the food surface retaining the natural juices and flavour. This method of cooking enables you to obtain the best culinary results when baking, thawing, dehydrating and roasting foods. -
Page 10: Care & Cleaning
Use soap & water to thoroughly clean the top, sides and front of the oven door. Rinse well. You may use a glass cleaner on the outside glass of the oven door. DO NOT immerse the door in water. DO NOT spray or allow water or the glass cleaner to enter the door vents. -
Page 11: Self-Cleaning
Self-Clean cycle their color will turn slightly blue and the finish will be dull. If left in, after the cycle is complete and the oven has cooled, rub the sides of the oven racks with wax paper or a cloth containing a small amount of salad oil (this will make the racks glide easier into the rack position). -
Page 12: Care And Cleaning Of Stainless Steel
Cleaning the Manual Clean Oven Porcelain has a smooth finish and is a type of glass fused to metal. Oven cleaners can be used on all interior oven surfaces. REMOVE SPILLOVERS AND HEAVY SOILING AS SOON AS POSSIBLE. REGULAR CLEANINGS WILL REDUCE THE NUMBER OF MAJOR CLEANINGS LATER. -
Page 13: Removing And Replacing The Oven Door
Most oven doors contain glass that can break. Read the following recommendations: 1. Do not close the oven door until all the oven racks are fully in place. 2. Do not hit the glass with pots, pans, or any other object. -
Page 14: Common Problems
The door was left open and controls set for self-cleaning cycle. Close the door and push both upper and lower oven CLEAR pads. Place oven rack in center of oven. Place a level on the oven rack. Contact installing agent if rack and cabinet cutout flooring are not level. -
Page 15: Solutions To Common Problems
Follow steps under "To Stop or Interrupt a Self-Cleaning Cycle" in the Timer Control Guide. On a dual cavity model, one oven is in operation. If one oven is set for any mode, the second oven cannot be set to CLEAN. -
Page 16: Limited Warranty
LIMITED WARRANTY Your Wall Oven is protected by this warranty WARRANTYPERIOD FULL ONE-YEAR One year from original WARRANTY purchase date. LIMITED WARRANTY Time periods listed (Applicable to the above. State of Alaska) In the U.S.A., your appliance is warranted by Electrolux Home Products, Inc. In Canada, your appliance is warranted by Electrolux Canada Corp. We authorize no person to change or to add to any of our obligations under this warranty.
Need help?
Do you have a question about the PLEB30T9FC 318205119 and is the answer not in the manual?
Questions and answers