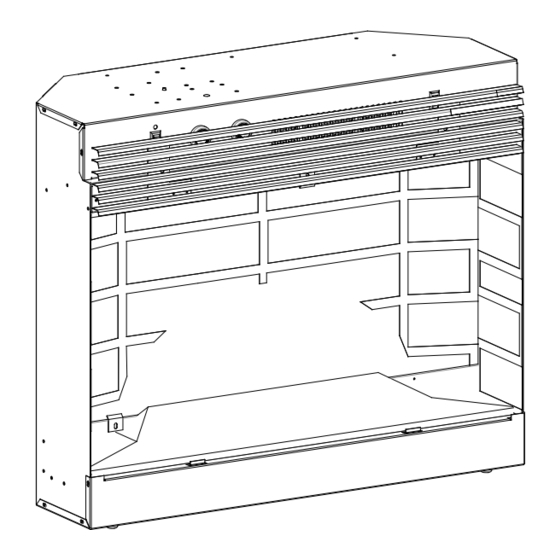
Dimplex EF3003 Service Manual
30” insert
Hide thumbs
Also See for EF3003:
- Parts & service manual (23 pages) ,
- Troubleshooting manual (4 pages) ,
- Practical user's manual (16 pages)
Table of Contents
Advertisement
Quick Links
IMPORTANT SAFETY INFORMATION: Always read this manual first before attempting to service this
fireplace. For your safety, always comply with all warnings and safety instructions contained in this
manual to prevent personal injury or property damage.
Dimplex North America Limited
1367 Industrial Road Cambridge ON Canada N1R 7G8
1-888-346-7539 www.dimplex.com
In keeping with our policy of continuous product development, we reserve the right to make changes without notice.
© 2012 Dimplex North America Limited
(DFB6016)
Service Manual
30" Insert
Model Number:
EF3003/SF3003/DF3003
(Canadian and Chinese Built)
DFB6016
UL Part Number
6901110159-0559
REV
PCN
DATE
00
-
2-FEB-12
7400540000R00
Advertisement
Table of Contents

Summary of Contents for Dimplex EF3003
- Page 1 Dimplex North America Limited 2-FEB-12 1367 Industrial Road Cambridge ON Canada N1R 7G8 1-888-346-7539 www.dimplex.com In keeping with our policy of continuous product development, we reserve the right to make changes without notice. © 2012 Dimplex North America Limited 7400540000R00...
-
Page 2: Table Of Contents
NOTE: Procedures and techniques that are considered important enough to emphasize. CAUTION: Procedures and techniques which, if not carefully followed, will result in damage to the equipment. WARNINg: Procedures and techniques which, if not carefully followed, will expose the user to the risk of fire, serious injury, or death. www.dimplex.com... -
Page 3: Operation - Acumen Remote
Press POWER button once to turn unit off. CAUTION: If you need to continuously reset the heater, Figure 2 disconnect power and call Dimplex customer service at 1-888-DImPLEX (1-888-346-7539). Remote Control Remote Control Initialization & Setup Turn on the electrical power at the circuit breaker. -
Page 4: Operation - 3-Stage Remote
Slide the four small switches to any configuration other CAUTION: If you need to continuously reset the heater, than the factory set code. unplug the unit and call Dimplex North America Limited Remove the batteries, wait for one minute. at 1-888-346-7539. - Page 5 50 feet (15.25 m). It does not have to be pointed at the Figure 4 fireplace and can pass through most obstacles (including walls). It is supplied with one of 2,178 independent Button frequencies to prevent interference with other units. The frequency designation is indicated on the back of the Off Button remote control.
-
Page 6: Maintenance
To prevent scratching, do not use abrasive cleaners or spray liquids on the clear door surface. Fireplace Surface Cleaning Retaining use a cloth dampened with warm water only to clean Clip holding Removing painted surfaces of the electric fireplace. Do not use Glass Glass abrasive cleaners. www.dimplex.com... -
Page 7: Exploded Parts Diagram
EXPLODED PARTS DIAgRAM EF3003 mOD C-E, DFB6016 EF3003 mOD 0-B... -
Page 8: Replacement Parts List
Replacement Parts List Canada China EF3003/ EF3003/ EF3003/SF3003/DF3003 DFB6016 SF3003 SF3003 Mod 0 Mod A Mod B Mod C Mod D Mod E Mod 0 Mod A Mod B Mod C Mod D Part Mod 0 Mod A Log Set... -
Page 9: Wiring Diagram - Chinese Made - 3 Stage Remote Control
WIRINg DIAgRAM - CHINESE MADE - 3 STAgE REMOTE CONTROL main On/Off Switch Remote Receiver Board Cord STEP mOTOR Flame Speed Controller Dimmer Control Board upper Light harness momentary On Switch heater Assembly Lower Light harness Blower heater Element WIRINg DIAgRAM - CANADIAN MADE uPPER LIGhT ASSY LOWER LIGhT ASSY BLOWER ASSY... -
Page 10: Main On/Off Switch Replacement
Lower the grille covering the controls. the firebox. Remove the retaining screws on the top cover and Remove the firebox from the mantel. remove the top, being careful not to damage any of the Lower the grille covering the controls. wiring. www.dimplex.com... -
Page 11: Flicker Motor/Flicker Rod Replacement
Remove the firebox trim by inserting a slotted screw- Figure 10 driver and turning ¼ of a turn to release the trim from the firebox. Remove the firebox from the mantel. Gently place firebox front side up on a flat surface. Remove the bottom cover mounting screws and re- move the bottom panel, lifting the bottom up slightly to release the glass. -
Page 12: Heater On/Off Switch
NOTE: Using a flat head screwdriver, gently pry be- Remaining Spring tween the end of the connectors and the switch to release on Rod the wires. Figure 14 Ensure that all Figure 13 connectors have two wires with the same color www.dimplex.com... -
Page 13: Heater Assembly Replacement
Depress the retainer clips on the rear of the switch and Remove the yellow wire from the heater element, com- push the switch out of the rear cover. ing from the heater on/off switch. Properly orient the new switch and connect all of the Remove the blue wire from the remote control receiver wiring clips and connections. -
Page 14: Remote Control Receiver/Led Harness Replacement
Install the new LED indicator lights. Locate the 3-Position Switch mounted on the top panel and disconnect the wiring clips and connections noting their original locations. (If required.) NOTE: Using a flat head screwdriver, gently pry be- www.dimplex.com... -
Page 15: Troubleshooting Guide
TROUBLESHOOTINg gUIDE PROBLEm CAuSE SOLuTION general Circuit breaker trips or fuse Short in unit wiring. Trace wiring in unit. blows when unit is turned on Improper circuit current rating Additional appliances may exceed the current rating of the circuit breaker or fuse. Plug unit into another outlet or install unit on a dedicated 15 amp circuit. - Page 16 Ensure rod is straight and mounted properly in the the heater off internal components bracket, spinning freely away from other components. Replace if necessary. Defective Flicker motor Replace Flicker motor Buzzing noise from control panel Defective Flame Speed Controller Replace Flame Speed Controller www.dimplex.com...


Need help?
Do you have a question about the EF3003 and is the answer not in the manual?
Questions and answers