Advertisement
Quick Links
Advertisement

Related Manuals for Linn HELIX


Summary of Contents for Linn HELIX
- Page 1 LINN HELIX O W N E R S M A N U A L...
-
Page 2: Installation
The HELIX set new standards of performance in loudspeakers of this type. Remember, no loudspeaker is capable of improving the quality of the input signal so the HELIX should be used with good quality ancillary equipment. - Page 3 (red connector) is identified by a rib along the side of the cable. POSITIONING HELIX speakers are designed to perform best when placed close to a wall. Ideally the rear of the loudspeaker should be between 4" and 12" (10 and 30cm) from the wall and at least 18" (45cm) from any corner.
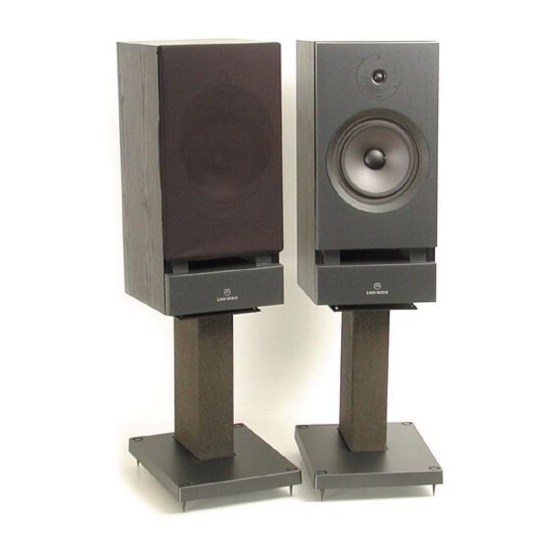
- Page 4 GRILLE The HELIX grille is special because it mounts directly onto the front facia of the speaker. This avoids the problems of diffraction produced by conventional grille frames. To remove the grille cloth, hold the facia with both hands behind the groove in the middle of the vertical sides and pull forward until it is free from the wooden baffle behind.
- Page 5 To convert the HELIX to bi-wired mode, use the key provided to unscrew the negative (black) socket caps and remove the link. Replace and tighten the caps and then repeat for the positive (red) sockets and firmly re-tighten.
-
Page 6: Maintenance & Service
MAINTENANCE/SERVICE Linn loudspeakers require no internal maintenance and on no account should you try to remove any of the drive units, which are carefully tightened and sealed at the factory. For servicing, always return the speakers as a pair to your supplier, using the original packing in order to reduce the risk of damage in transit, If you have lost the packaging, your supplier can provide a replacement set.