
Related Manuals for Plinius Hautonga


Summary of Contents for Plinius Hautonga
- Page 1 H A U T O N G A I N T E G R AT E D A M P L I F I E R I N S T R U C T I O N M A N U A L...
-
Page 3: Table Of Contents
All operational, technical and descriptive material in this publication is subject to change at any time without notice. For further product information or queries, please contact your Plinius dealer. Plinius products are designed and manufactured by Plinius Audio Limited, New Zealand. -
Page 4: Introduction
We have designed and manufactured this amplifier to reproduce your favourite music faithfully and accurately. With a little care and a full understanding of the operating recommendations in this manual, your Plinius Hautonga Integrated Amplifier will provide years of high-quality, trouble-free performance. -
Page 5: Design Philosophy
Design Philosophy From a distance you can see that the design of the Plinius products is more than an applied styling exercise to the front panel. We have started from the ground up to produce a casing for our electronics that is unrivalled in its physical strength and visual simplicity. -
Page 6: Unpacking
Unpacking Open the box from the top and remove the accessories from the foam end caps. You may now proceed to lift the unit from the box, Once the unit is removed you can proceed with the removal of the foam end caps. These caps are designed to fit on the front and back of the unit for maximum protection. -
Page 7: Care & Maintenance
Care & Maintenance With simple care and maintenance your Plinius product can be kept looking and operating like new for many years to come. MAINTAINING THE CONNECTORS Exposed connectors such as the RCA connectors will be subject to environmental factors, and over time the surface may degrade. This can be greatly reduced by fitting readily available ‘RCA caps’... -
Page 8: Precautions
PLEASE TAKE SPECIAL NOTE OF THE FOLLOWING PRECAUTIONS BEFORE OPERATING YOUR NEW AMPLIFIER. • The Plinius Hautonga Integrated Amplifier can deliver in excess of 200 watts into 8 ohms. This amplifier is also capable of a very large peak current delivery. •... -
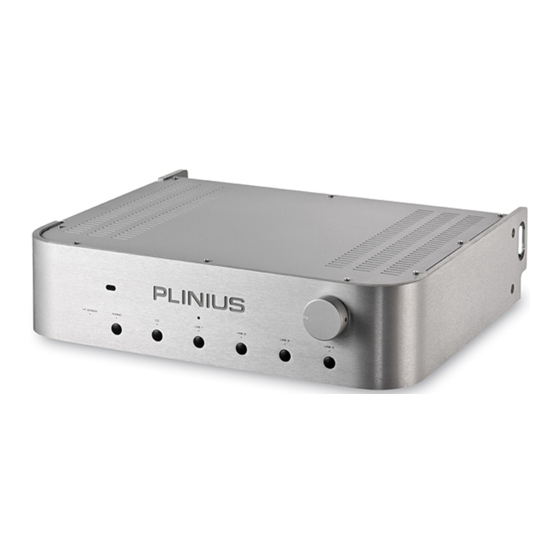
Page 9: Front Panel Functions
Front Panel Functions The front of the Plinius Hautonga Integrated Amplifier incorporates all the facilities you will require on a daily basis. 1. DISPLAY LED The blue LED on the front panel indicates the mode of operation. When first switched on the unit will go into standby and the display LED will vary in brightness. -
Page 10: Rear Panel Functions
Please remember that your Plinius Hautonga Integrated Amplifi er is a high quality electronic instrument capable of an exceptional level of performance. Be sure that you understand your system’s requirements fully before you make any connection to this amplifi er. - Page 11 This input is for use specifically with home theatre processors. In some circumstances you may wish to use the power amplifier of the Hautonga Integrated as the front two channels of a surround or home theatre environment. The HT Bypass input can be used for this purpose, as any signal connected to these inputs can be sent directly to the power amplifier bypassing the preamplifier entirely.
- Page 12 11. MAINS POWER CORD IEC SOCKET This connector is where the mains supply cable from your wall connects to the amplifier. You will notice that a fuse holder is mounted within this connection, and it holds a mains fuse to provide surge and overload protection for your amplifier. 12.
-
Page 13: Remote Control Functions
Remote Control Functions The Plinius Hautonga Integrated Amplifier features a full function remote to control all settings and configurations of the amplifier as well as complete controls for operating your Plinius CD player. INTEGRATED AMPLIFIER REMOTE FUNCTIONS: 1. STANDBY Standby is used to put the unit into a low power mode. This disconnects the outputs of the Integrated Amplifier and turns off the white display LED’s. - Page 14 6. MUTE Pressing this button toggles the Hautonga Integrated Amplifier in and out of mute. CD PLAYER REMOTE FUNCTIONS: 7. REPEAT The repeat LED on the front panel will illuminate once this button is pressed. The CD Player will play all tracks on the CD as normal, but then repeat all tracks from track 1 in an endless loop.
-
Page 15: Installation & Operation
CONNECTIONS Connections to your Hautonga Integrated Amplifier should be made in the same order as they are listed in this section. DO NOT attempt to connect your Hautonga Integrated Amplifier until you have read and fully understood these instructions. Should you require further assistance, please contact your Plinius dealer. - Page 16 BI-WIRING Bi-wiring uses two pairs of loudspeaker cables for each channel loudspeaker. You will notice that the rear panel of your Hautonga Integrated Amplifier has two pairs of output terminals for this purpose. When bi-wiring, always connect the terminals positive (+) to positive (+) and negative (–) to negative (–). Be sure to remove any jumpers that may be fitted to your loudspeakers.
- Page 17 USING PRE OUT A line level output is provided on the back of the Hautonga Integrated Amplifier. If you wish to use the Hautonga Integrated Amplifier as a pre-amp only, or to send signal to another amplifier, fit the interconnect cable to the Pre Out outputs.
- Page 18 WARM-UP PERIOD You will find that the Hautonga Integrated Amplifier will become noticeably ‘purer’ in sound after being on for a period of time. We usually recommend waiting at least 24 hours before expecting the best quality of sound reproduction from your amplifier.
-
Page 19: Product Features
The gain can now be adjusted noting that high gain (factory setting) is set with jumpers to the left, and low gain is set with jumpers to the right. Now re-assemble your Hautonga Integrated Amplifier. - Page 20 Plinius dealer. OVER TEMPERATURE PROTECTION The Hautonga Integrated Amplifier is fitted with an auto-reset thermal sensor. The sensor is located at the main power transformer and should the transformer internal temperature exceed 110°C (230°F) the power will be disconnected from the unit.
-
Page 21: Loudspeaker Selection
Loudspeaker Selection Your Plinius Hautonga Integrated Amplifier is designed for use with high fidelity loudspeakers. It should not be used to operate with any other type of appliance or equipment. Be certain that your loudspeakers can handle most of the rated output power of this amplifier. -
Page 22: Troubleshooting
Troubleshooting NO SOUND FROM THE UNIT If the unit is not reproducing audio take the following steps: • Check the source is correctly connected to an appropriate input on the unit. Refer to the Installation & Operation section on page 13. •... -
Page 23: Specifications
Specifications POWER 200 watts RMS per channel into 8 ohms. Both channels driven from 20Hz to 20kHz at less than 0.2% total harmonic distortion FREQUENCY RESPONSE 20Hz to 20kHz +/–0.2dB –3dB at 5Hz and –3dB at 70kHz DISTORTION Typically <0.05% THD at rated power 0.2% THD and IM worst case prior to clipping CURRENT OUTPUT 40A short duration peak per channel... -
Page 24: Index
Index Bi-wiring ......................14 Display LED....................7 Front Panel Layout ................7 Fuse Protection ..................17 Ground Lift Switch ................9 HT Bypass ....................9, 15 IEC Power Connector ................10, 15 Input Terminals ..................8, 13 Line Out ......................9 Loudspeaker Impedance ..............19 Loudspeaker Power ................19 Mains/Line Fuse ..................17 Mains Supply Connection .............15 Mains Switch .....................8 Operating Temperature..............4, 18...
Need help?
Do you have a question about the Hautonga and is the answer not in the manual?
Questions and answers