Table of Contents
Advertisement
Quick Links
AR316X6(R) / AR316F8(R) Quick Installation Guide
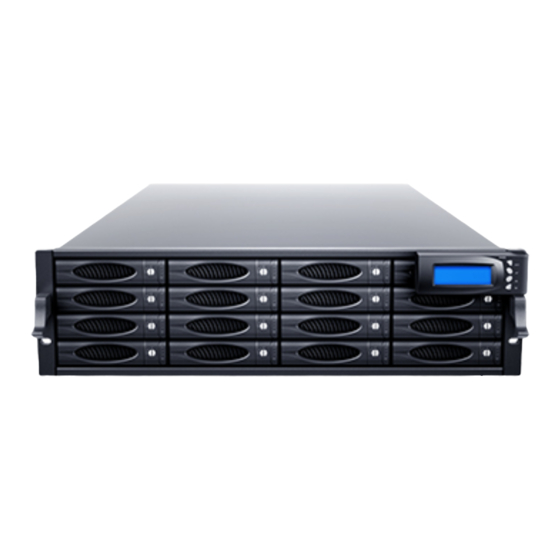
Hard Drive Installation
1. Make sure the tray is at unlock position. If the tray is locked, turn the lock clockwise using the provided key.
2. Press the button on the tray to eject the handle
3. Place the hard drive in the tray, and fasten it with the screws (included in the package) in corresponding locations at
the bottom of the tray.
4. Place the tray into the enclosure and insert the tray by pushing in the tray handle.
5. Lock the tray if desire, using the provided key, by turning the lock counter-clockwise.
NOTE: Tray support both 2.5" and 3.5" hard drives. Please use the correct hard drives holes.
Product Diagrams
Unit Backplane
www.sansdigital.com
|
info
sansdigital.com
|
phone 800 980 1988
|
fax 626 322 3878
@
Advertisement
Table of Contents

Subscribe to Our Youtube Channel
Related Manuals for Sans Digital AR316X6(R)


Summary of Contents for Sans Digital AR316X6(R)
- Page 1 AR316X6(R) / AR316F8(R) Quick Installation Guide Hard Drive Installation 1. Make sure the tray is at unlock position. If the tray is locked, turn the lock clockwise using the provided key. 2. Press the button on the tray to eject the handle 3.
- Page 2 Hard Drive Locations LCD Modules Function keys. (ENT, ESC, Scroll up, Scroll Down) Keys Descriptions Up Arrow To scroll upward through the menu items Down Arrow To scroll downward through the menu items (ENT ) Enter To confirm a selected item (ESC) ESC To exit a sub-menu and return to previous menu.
- Page 3 Install the Slide Rails Combine Left slide rail and rear slide rail. Measure the depth of the rack enclosure, then fasten 4 of P4*8M screws into M4 Locking nuts to fix the length. Use T5*8M screws and PW14 washer to install the left slide on Front and rear Posts of Rack as Figure 1. Repeat procedure 1 ~ 3 to install the right Slide into the Rack.
- Page 4 Figure 3 Hardware Connection Instructions 1. Power off all devices. 2. Connect the host connection cables. For mini-SAS models (AR212X6(R), AR316X6(R) and AR424X6(R)) connect the SAS cables to the SAS HBA on the server. For Fibre Channel models (AR212F8(R), AR316F8(R) and AR424F8(R)), connect the SFP+ modules and LC to LC cables to the Fibre Channel HBA on server, or connect to the Fibre switches.
- Page 5 Management Methods There are three management methods to manage AccuRAID series, describe in the following: Web GUI AccuRAID Series support graphic user interface to manage the system. Be sure to connect LAN cable from the LAN port of the AccuRAID unit to the local network.. The default setting of management port IP is DHCP. To connect, type the IP address in the web browser.
- Page 6 Hard drives trays LED indicator: LED Indicator Normal Status Indicate Power / Access Solid Blue Link Flashing Blue Access Fail LED No LED Normal Hard Drives Failure Detail Manuals Both detailed hardware and software installation manual is located on the CD. Please refer to detail manuals for hardware installations, RAID setup, software setup as well as trouble-shooting information.
Need help?
Do you have a question about the AR316X6(R) and is the answer not in the manual?
Questions and answers