Table of Contents
Advertisement
Quick Links
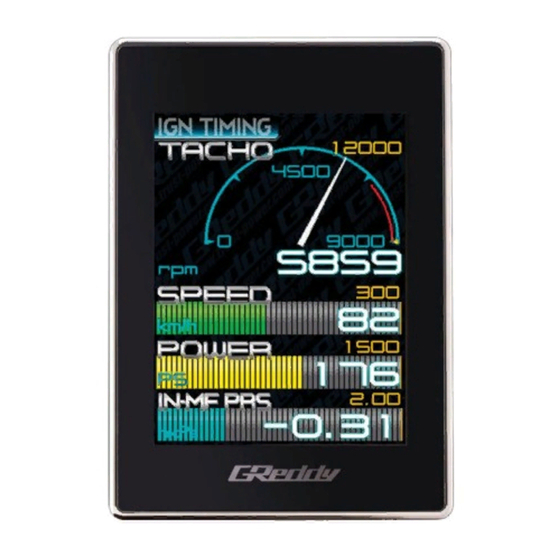
GReddy INFO TOUCH Basic Operation Guide:
Installing the unit.
OBD (TYPE)
1. Connect to OBD connecter.
2. Connect the Red wire with the Male bullet plug on the white connect to the
Black/White female bullet connector on the cigarette lighter cable.
3. Connect the cigarette lighter cable to the vehicles cigarette lighter socket for
ignition power.
NON OBD (Old NISSAN).
1. Connect to NISSAN diagnosis connector.
2. Connect the Red wires together on the White connector.
(Do not use cigarette lighter cable)
3. Additional special wiring may be required. (optional parts)
Basics of the Info Touch Screen.
1. Connect unit and power up Info Touch
2. Everything is controlled by touching a point on the screen with your finger.
3. From the Monitoring Screen, Items (sensor parameter) are displayed in white
4. From the Monitoring Screen, if you touch anywhere on the screen besides the Item,
it will go to the Main Menu [PATTERN] [ITEM] [SETTING] and the Back button
5. The BACK button (looping left arrow) will return to the last screen displayed.
6. The ENTER button (down to the left arrow) will return to the Monitoring
Screen
7. Touch Scroll Bar and the (up arrow) & (down arrow) to scroll down the
screen.
8. Touch the different buttons, digital displays or symbols for various controls.
Changing from Japanese to English Language.
1. From the Monitoring Screen, touch the screen. (anywhere except at the item name)
2. The Main MENU with [PATTERN] [ITEM] [SETTING] will appear.
3. Select [SETTING].
4. Select [
] (the button at the very top of the screen)
5. Select [ENGLISH].
6. Touch the Enter button.
Changing Display Direction.
1. From the Monitoring Screen, touch the screen. (anywhere except at the item name)
2. The Main MENU with [PATTERN] [ITEM] [SETTING] will appear.
3. Select [SETTING].
4. Select [DISPLAY]
5. Select [DIRECTION].
1
Advertisement
Table of Contents

Summary of Contents for GReddy INFO TOUCH
- Page 1 GReddy INFO TOUCH Basic Operation Guide: Installing the unit. OBD (TYPE) 1. Connect to OBD connecter. 2. Connect the Red wire with the Male bullet plug on the white connect to the Black/White female bullet connector on the cigarette lighter cable.
- Page 2 6. Then select from L. Horz., Vert., R. Horz. (the screen will change immediately) 7. Touch the Enter button. Setting up your vehicle. 1. From the Monitoring Screen, touch the screen. (anywhere except at the item name) 2. The Main MENU with [PATTERN] [ITEM] [SETTING] will appear. 3.
- Page 3 [DIGIT], [BAR], [CHART], [NEEDLE], [CIRCLE BAR], [GRAPH], [REC] 7. Then select the Enter key to confirm. ( or back to change the other style(s) ) GReddy INFO TOUCH Basic Operation Guide - Part 2: How to change warning value.
- Page 4 11. Now you can touch the Play key to display the play-back controls while the unit replays what was recorded. 12. Use the play-back controls to Stop, Play, Pause, Slow Back, Slow Forward, Fast Forward or Record to record a new sampling. •...
- Page 5 5. Select [SCAN] 6. The unit will then automatically scan the OBD system, and display the DTC code number and description of error. (if there are no codes it will not display) 7. Then touch the Back button to return to the main DTC page. 8.
- Page 6 MPG • Eco-drive, Fuel Economy, Power FUEL TOTAL km/L or MPG estimators FUEL COST Yen or Dollar • GReddy v-manage, f-manage A/F FUEL SYS # : 1 compatible A/F 2 # : 1 • External Signal monitoring A/F ECU (2)


Need help?
Do you have a question about the INFO TOUCH and is the answer not in the manual?
Questions and answers