Table of Contents

Subscribe to Our Youtube Channel
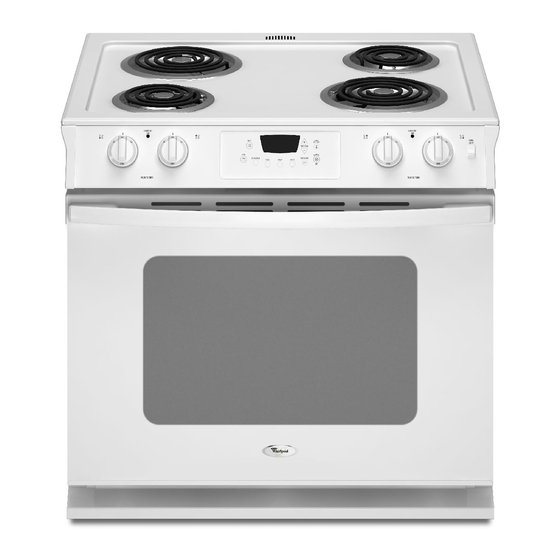
Related Manuals for Whirlpool WDE101LVQ0


Summary of Contents for Whirlpool WDE101LVQ0
- Page 1 DROP-IN ELECTRIC RANGES For questions about features, operation/performance, parts, accessories or service, call: 1-800-253-1301. or visit our website at... www.whirlpool.com Table of Contents ..........W10175572A...
-
Page 2: Table Of Contents
TABLEOF CONTENTS RANGE SAFETY ................Bakeware ..................The Anti-Tip Bracket ..............Oven Vent ................... Meat Thermometer ..............COOKTOP USE ................Baking ..................Cooktop Controls ................. Coil Elements and Burner Bowls ..........Cook & Hold ................Dual Size Element ................ Keep Warm ................. Ceramic Glass (on some models) .......... -
Page 3: Rangesafety
RANGESAFETY Your safety and the safety of others are very important. We have provided many important safety messages in this manual and on your appliance. Always read and obey all safety messages. This is the safety alert symbol. This symbol alerts you to potential hazards that can kill or hurt you and others. All safety messages will follow the safety alert symbol and either the word "DANGER"... - Page 4 iMPORTANT SAFETY iNSTRUCTiONS WARN(NG: [] Protective Liners - Do not use aluminum foil to line surface To reduce the risk of fire, electrical shock, injury to persons, or damage when using the range, follow unit drip bowls or oven bottoms, except as suggested in basic precautions, including the following: the manual.
-
Page 5: Cooktopuse
COOKTOPUSE E. Electronic oven control A. Surface cooking area Iocator B. Cooktop on indicator light F. Right rear control knob C. Left front control knob G. Right front control knob D. Left rear control knob REMEMBER: When range is in use or (on some models) during the Self-Cleaning cycle, the entire cooktop area may become hot. -
Page 6: Dual Size Element
Remove: _% d r_ 1. Push in the edge of coil element toward the receptacle. Then lift it enough to clear the burner bowl. 2. Pull the coil element straight away from the receptacle. A. Single size (6" [15.24 cm]) B. -
Page 7: Ceramic Glass (On Some Models)
Use cookware about the same size as the surface cooking area. Cookware should not extend more than 1/2" (1.3 cm) outside the area. IMPORTANT: Do not leave empty cookware on a hot surface cooking area, element or surface burner. _..... Ideal cookware should have a flat bottom, straight sides and a well-fitting lid, and the material should be of medium-to-heavy... -
Page 8: Electronicovencontrol
ELECTRONICOVENCONTROL TIMER CLOCK A. Bake E. Cancel H. Delay (on standard-clean models) B. Clock/timer display F. Keep warm I. Cook & hold G. Clock J. Broil C. More (+)/less (-) buttons D. Timer CLOCK A. Bake E. Cancel I. Clean (on some models) J. -
Page 9: Control Lock
To Cancel the Clock Display: If you do not want the time of day to display: Press and hold CANCEL and CLOCK for 3 seconds, the time of IMPORTANT: Do not use a thermometer to measure oven day will disappear from the display. temperature because opening the oven door and element or burner cycling may give incorrect readings. -
Page 10: Oven Use
OVEN Odors and smoke are normal when the oven is used the first few BAKEWARE times, or when it is heavily soiled. Hot air must be able to circulate around food to cook evenly, so allow 2" (5 cm) of space around bakeware and oven walls. Use IMPORTANT: The health of some birds is extremely sensitive to the following chart as a guide. -
Page 11: Oven Vent
For best results, allow oven to fully preheat. When the set oven temperature is reached, 1 long beep will sound. To recall the set temperature during preheat, press the BAKE pad. To change the oven temperature during preheat, press BAKE twice, then the "up"... -
Page 12: Keep Warm
To Set a Delayed Cook & Hold cycle: Before setting, make sure the clock is set to the correct time of day. See "Clock" section. Broiling uses direct radiant heat to cook food. Changing the 1. Press DELAY. "DELAY" will flash and "00:00" appears in the temperature when broiling allows more precise control when display. -
Page 13: Automatic Shut-Off/Sabbath Mode
• All prompts, messages and beeps are deactivated when FOOD RACK APPROXIMATE Sabbath Mode is active. POSITION TIME (minutes) • Pressing Cancel will cancel a Bake cycle, however the control Bacon will stay in the Sabbath Mode. well-done 6-10 • If power fails, the oven will power up in Sabbath Mode with Chicken 72 hours remaining and no cycle active. -
Page 14: General Cleaning
How the Cycle Works To Delay Start Self-Clean: IMPORTANT: The heating and cooling of porcelain on steel in the Before delay starting Self-Clean, make sure the door is closed oven may result in discoloring, loss of gloss, hairline cracks and completely or it will not lock and the cycle will not begin. - Page 15 CERAMIC GLASS (onsome models) CONTROL PANEL Cleaning Method: To avoid damage to the control panel, do not use abrasive cleaners, steel-wool pads, gritty washcloths or abrasive paper Always wipe with a clean, wet cloth or sponge and dry thoroughly towels. to avoid streaking and staining.
-
Page 16: Oven Light
OVEN CAVITY - STANDARD-CLEAN (on some models) For normal range use, it is not suggested to remove the oven Food spills should be cleaned when oven cools. At high door. However, if removal is necessary, make sure the oven is off temperatures, foods react with porcelain and staining, etching, and cool. -
Page 17: Troubleshooting
TROUBLESHOOTING Try the solutions suggested here first in order to avoid the cost of an unnecessary service call. Nothing will operate Oven indicator lights flash • Has a household fuse blown, or has a circuit breaker • Do the oven indicator lights flash? See the "Electronic tripped? Replace the fuse or reset the circuit. -
Page 18: Assistance Or Service
To locate FSP® replacement parts in your area, call us or your nearest Whirlpool desig For further assistance Call the Whirlpool Customer eXperience Center If you need further assistance, you can write to Whirlpool toll free: 1-800-253-1301. Corporation with any questions or concerns at: Our consultants... - Page 19 YOU SPECIFIC LEGAL RIGHTS, AND YOU MAY ALSO HAVE OTHER RIGHTS WHICH VARY FROM STATE TO STATE OR PROVINCE TO PROVINCE. If outside the 50 United States and Canada, contact your authorized Whirlpool dealer to determine if another warranty applies. If you need service, first see the "Troubleshooting"...
- Page 20 W10175572A 2/08 © 2008 Whirlpool Corporation. Printed in U.S.A. All rights reserved. ® Registered Trademark/TM Trademark of Whirlpool, U.S.A.
Need help?
Do you have a question about the WDE101LVQ0 and is the answer not in the manual?
Questions and answers