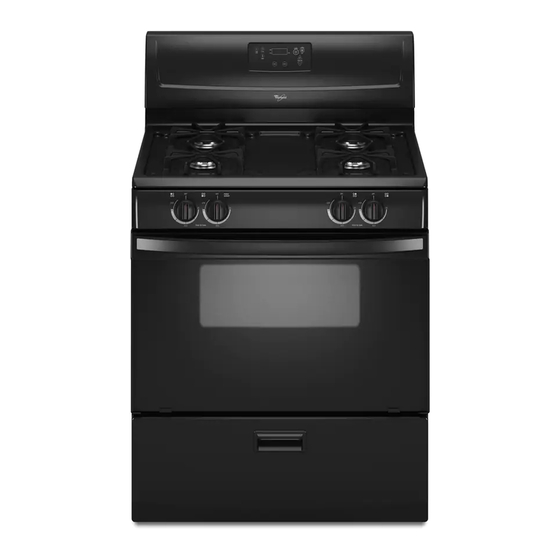
Whirlpool WFG114SV Installation Instructions Manual
30" (76.2 cm) freestanding gas ranges
Hide thumbs
Also See for WFG114SV:
- Dimensions (1 page) ,
- Product dimensions (1 page) ,
- Use and care manual (48 pages)
Table of Contents
Advertisement
Quick Links
Download this manual
See also:
Use and Care Manual
30" (76.2 CM) FREESTANDING GAS RANGES
IMPORTANT:
Installer: Leave installation instructions with the homeowner.
Homeowner: Keep installation instructions for future reference.
W10032050B
INSTALLATION INSTRUCTIONS
with standard clean oven
Table of Contents
RANGE SAFETY ............................................................................. 2
INSTALLATION REQUIREMENTS................................................ 3
Tools and Parts............................................................................ 3
Location Requirements................................................................ 3
Electrical Requirements............................................................... 5
Gas Supply Requirements........................................................... 5
INSTALLATION INSTRUCTIONS.................................................. 7
Unpack Range ............................................................................. 7
Install Anti-Tip Bracket ................................................................ 7
Make Gas Connection ................................................................. 8
Verify Anti-Tip Bracket Location.................................................. 9
Level Range ................................................................................. 9
Electronic Ignition System ......................................................... 10
Complete Installation ................................................................. 11
GAS CONVERSIONS ................................................................... 12
LP Gas Conversion.................................................................... 12
Complete Conversion ................................................................ 14
Natural Gas Conversion............................................................. 14
Complete Conversion ................................................................ 15
Advertisement
Table of Contents

Summary of Contents for Whirlpool WFG114SV
-
Page 1: Table Of Contents
INSTALLATION INSTRUCTIONS 30" (76.2 CM) FREESTANDING GAS RANGES RANGE SAFETY ... 2 INSTALLATION REQUIREMENTS... 3 Tools and Parts... 3 Location Requirements... 3 Electrical Requirements... 5 Gas Supply Requirements... 5 INSTALLATION INSTRUCTIONS... 7 Unpack Range ... 7 Install Anti-Tip Bracket ... 7 Make Gas Connection ... -
Page 2: Range Safety
State of Massachusetts. If using a ball valve, it shall be a T-handle type. A flexible gas connector, when used, must not exceed 3 feet. RANGE SAFETY You can be killed or seriously injured if you don't immediately follow instructions. -
Page 3: Installation Requirements
5" (12.7 cm) beyond the bottom of the cabinets. All openings in the wall or floor where range is to be installed must be sealed. Do not seal the range to the side cabinets. - Page 4 CAN/CSA-A240 - latest edition, or with local codes. Mobile home installations require: When this range is installed in a mobile home, it must be secured to the floor during transit. Any method of securing the range is adequate as long as it conforms to the standards listed above.
-
Page 5: Electrical Requirements
The wiring diagram is located on the back of the range in a clear plastic bag. NOTE: The metal chassis of the range must be grounded in order for the control panel to work. - Page 6 The rigid pipe must be level with the range connection. All strains must be removed from the supply and fuel lines so range will be level and in line. Must include a shutoff valve: The supply line must be equipped with a manual shutoff valve.
-
Page 7: Installation Instructions
Use two or more people to move and install range. Failure to do so can result in back or other injury. 1. Do not use oven door handle to lift or move the range 2. Remove shipping materials, tape and film from range. Keep cardboard bottom under range. -
Page 8: Make Gas Connection
10. Move range into its final location making sure rear leveling leg slides into anti-tip bracket. 11. If installing the range in a mobile home, you must secure the range to the floor. Any method of securing the range is adequate as long as it conforms to the standards in the “Location Requirements”... -
Page 9: Verify Anti-Tip Bracket Location
Side View “ON” Position 3. If range is not level, pull range forward until rear leveling leg is removed from the anti-tip bracket. Use wrench or pliers to adjust leveling legs up or down until range is level. -
Page 10: Electronic Ignition System
Initial lighting and gas flame adjustments Cooktop and oven burners use electronic igniters in place of standing pilots. When the cooktop control knob is turned to the “LITE” position, the system creates a spark to light the burner. This sparking continues until the control knob is turned to the desired setting. -
Page 11: Complete Installation
Electrical supply is connected. See “Troubleshooting” in the Use and Care Guide. 8. When the range has been on for 5 minutes, check for heat. If the range is cold, turn off the range and check that the gas supply line shutoff valve is open. -
Page 12: Gas Conversions
LP Gas Conversion WARNING Tip Over Hazard A child or adult can tip the range and be killed. Connect anti-tip bracket to rear range foot. Reconnect the anti-tip bracket, if the range is moved. Failure to follow these instructions can result in death or serious burns to children and adults. - Page 13 B. Burner 2. Locate LP gas orifice spuds for top burners in the literature bag included with the range. Three LP gas spuds are stamped “88” and one “96.” 3. Remove Natural gas orifice spuds using a 7 mm combination wrench.
-
Page 14: Complete Conversion
Natural Gas Conversion WARNING Tip Over Hazard A child or adult can tip the range and be killed. Connect anti-tip bracket to rear range foot. Reconnect the anti-tip bracket, if the range is moved. Failure to follow these instructions can result in death or serious burns to children and adults. -
Page 15: Complete Conversion
B. Burner 2. Locate the Natural gas orifice spuds for top burners in the literature bag included with the range. Three natural gas spuds are stamped “149” and one “165.” 3. Remove the LP gas orifice spuds using a 7 mm combination wrench. - Page 16 W10032050B © 2009. 9/09 All rights reserved. Printed in Mexico...


Need help?
Do you have a question about the WFG114SV and is the answer not in the manual?
Questions and answers