Vinotemp VT-BD User Manual
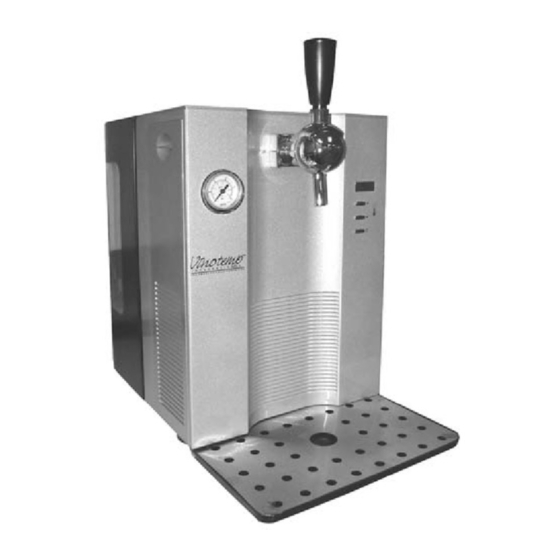
Thermoelectric beer dispenser
Hide thumbs
Also See for VT-BD:
- User manual (13 pages) ,
- Install manual (4 pages) ,
- User manual (12 pages)

Related Manuals for Vinotemp VT-BD


Summary of Contents for Vinotemp VT-BD
- Page 1 ® LOS ANG EL ES'_CALIFO RNtA, Thermoelectric Beer Dispenser VT-BD User Manual...
- Page 2 Table of Contents Important safety information Instructions prior to operation What comes in the box (parts list) Installation instuctions (pressurized keg) Installation instructions (standard keg) Connecting the CO2 assembly Operation / Setting the Temperature Removal and Cleanng 11-12 Terms and Conditions / Warranty Replacement Cartridges...
- Page 3 Important Safety Information To avoid the risk of electrical shock, property damage, personal injury or death: The power cord must be p_ugged into a 3-p_ong grounding4ype wa_lreceptacte, g_ounded in accordance with the NationaJ Electrical Code, ANSI/NFPA 70 - latest edition and Ioca_ codes and ordinances, it is the persona_ responsibiJity of the _nsumer...
- Page 4 Read the following instructions prior to operating this appliance • Do not use the appliance if the power supply cord is damaged. Should this be the case, it must be replaced by a qualified person so that any potential shock hazard is avoided •...
- Page 5 What comes with your beer dispenser 1 Beer Dispenser 2. Tap Handle 3. Drip Tray 4. Pressurized Keg Adapter 5. Standard Keg Adapter 6. Keg Seals (2 peices) 7. Pressure Release Tool 8. Cleaning Bottle 9. CO2 Regulator 10. Regulator Adaptor 11.
- Page 6 Installation 1. Carefully remove the unit from its packaging and check to see that no parts are missing or damaged. (keeping small plastic parts away from children at all times) 2. Place the dispenser on a steady flat surface leaving at least 4" on either side for proper ventilation.
- Page 7 Pressurized Kegs (cont) 3. Press the Tap-Hose connector into the pressur- ized keg adaptor until it locks. Pull lightly on connector to ensure that you have a tight fit. Figure 3 4. You can now place the keg inside the dispenser. Turn the keg so that the tube is not folded and proper flow is not obstructed as is shown in Figure 4.
- Page 8 Standard Kegs (cont) 3. Insert the standard keg adapter into the keg and lock it in place as shown in figure 5 and 6. Figure 5 Figure 6 5. Locate the the two tubes comming from the front of the unit. Connect both of them to their corrosponding adapter (they will only go in one way).
- Page 9 Connecting assembly (cont) 4. Place a Cartridge into the cartridge holder and screw it firmly to the regu- lator adaptor, you may hear a sound once the cartridge is pierced. Once attached do not unscrew the cartridge until all the pressure has been released (see Removal and Cleaning on page 10) 5.
- Page 10 Removal and Cleaning When t hekegisempty, itisadvisable tothoroughly clean t hebeer d ispenser before loading a nother keg. 1. Open thecartridge chamber and turn thevalve ontheregulator counterclockwise toshut i toff. ( ifyouareusing a standard keg) 2. Place a container under thedispensing tapanddrain bypulling t hehandle t owards youuntil n othing m ore flows out.
- Page 11 Vinotemp International ("Seller") and the person or entity that acquires these goods from Seller ("Purchaser") hereby fully agree to the following terms and conditions of the sale: Shipping fees are the responsibility of the Purchaser whether freight prepaid or freight collect. Seller assumes...
- Page 12 The above terms and conditions are the only ones governing this transaction and Seller makes no oral representations of any kind. These Terms and Conditions can only be modified in writing, signed by both Purchaser and Seller. 04-07 Vinotemp International 17621 S. Susana Rd. Rancho Dominguez Ca 90221 LISTED www.vinotemp.com...
Need help?
Do you have a question about the VT-BD and is the answer not in the manual?
Questions and answers