Table of Contents
Advertisement
ModelNo.RBEX49840
Serial No.
SeriaU
Number
DecaU
As a manufacturer,
we are com-
mitted to providing
complete
customer
satisfaction,
if you
have questions,
or if there are
missing
parts, we win guarantee
complete
satisfaction
through
direct assistance
from our factory.
TO AVOID DELAYS, PLEASE
CALL DIRECT TO OUR TOLL-
FREE CUSTOMER NOT LINE.
The trained technicians
on our
customer
hot line will provide
immediate
assistance,
free of
charge to you.
CUSTOMER HOT LINE:
1-877-994-4999
Mon.=Fd., 6 a.m.=6 p.m. MST
CAUTION
Read all precautions
and instruc-
tions in this manual before using
this equipment.
Keep this manua[
for future reference.
Patent Pending
isit our website
at
www.reebokhomefitness.com
new products,
prizes,
fitness
tips, and much
morel
Advertisement
Table of Contents

Related Manuals for Reebok RT 245


Summary of Contents for Reebok RT 245
- Page 1 ModelNo.RBEX49840 Serial No. SeriaU Number DecaU As a manufacturer, we are com- mitted to providing complete customer satisfaction, if you have questions, or if there are missing parts, we win guarantee complete satisfaction through direct assistance from our factory. TO AVOID DELAYS, PLEASE CALL DIRECT TO OUR TOLL- FREE CUSTOMER NOT LINE.
- Page 2 iMPORTANT PRECAUTIONS ..............BEFORE YOU BEGIN ..............ASSEMBLY ................EXERCISE CYCLE OPERATION .............. MAINTENANCE AND TROUBLESHOOTING ........... EXERCISE GUiDELiNES ..............PART LiST ................EXPLODED DRAWING ..............ORDERING REPLACEMENT PARTS ..........Back Cover LiMiTED WARRANTY .............. Back Cover WARN ING: To reduce the risk ofse.ous i njury, read t he fo,ow ng precau- important tions...
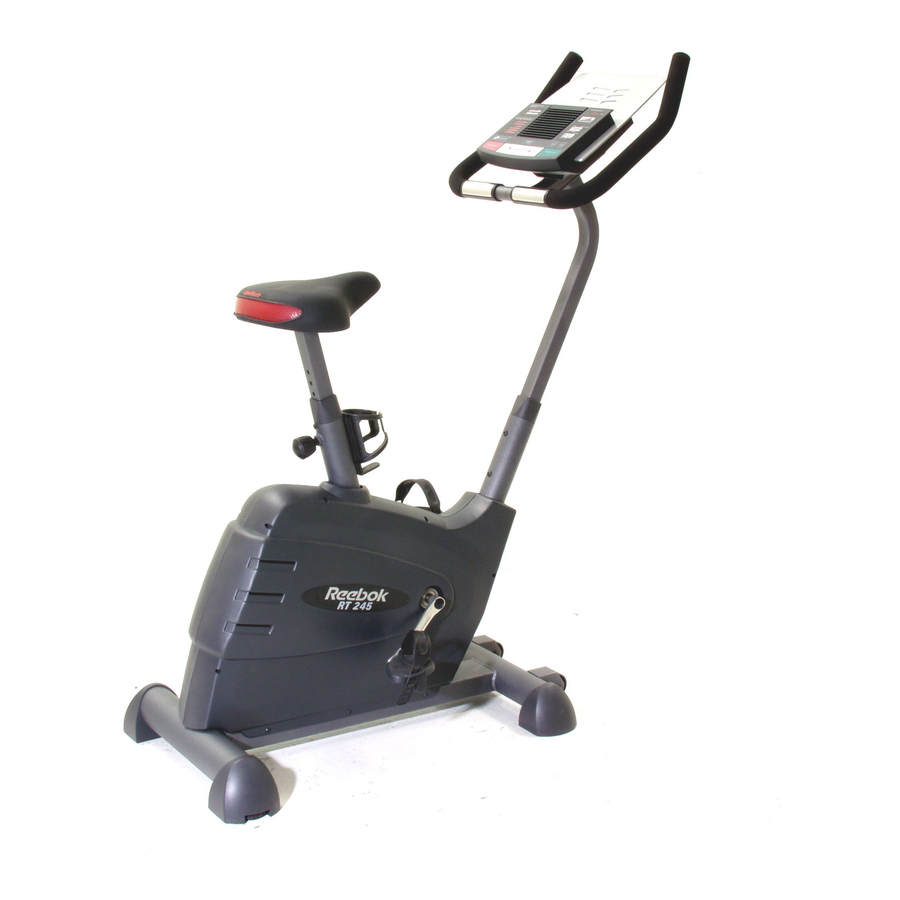
- Page 3 Congratulations forselecting thenewREEBOK _ RT Service Department toll-free at 1o877o994o4999, 245exercise cycle.Cycling isoneofthe mosteffec° Monday through Friday, 6 a.m. until 6 p.m. Mountain tiveexercises f orincreasing c ardiovascular fitness, Time (excluding holidays). To help us assist you, building endurance, andtoning theentirebody. T he please mention the product model number and serial RT245exercise cycleoffersanimpressive a rrayof number when calling.
- Page 4 Hace aH parts of the exercise cycle in a cleared area and remove the packing materiaUs, Do not dispose of the packing materials until assembly is completed. Assembly requires your own adjustable wrench ©_ and phillips screwdriver d,,_ PART CHART Use the part drawings beUow to identify the small parts used in assemMy, The number in parenthesis beUow each drawing refers to the key number of the part, from the PART LUSTon page 22, The second number refers to the quantity used in assembly, Note: Some small parts may have been pre-assemb[ed...
- Page 5 Udentify the FrontStabilizer (2),whichhasWheeUs (17)attached to oneside, A ttachtheFrontStabilizer tothe Frame (1)withtwoMIOx 92mmCarriage BoUts (62)andtwoMlONyUon Locknuts ( 48), AttachtheRearStabilizer (3)tothe Frame (1)with twoMIOx lO5mm Carriage BoUts (64)andtwoMIO NyUon Locknuts ( 48), Whileanother person holdstheHandlebar Post(6) nearthe Frame (1),connect t he Upper Wire Harness (16)to theLower WireHarness (24),Next, puntheexcess Upper WireHarness outofthetopof the HandUebar Post, a ndinsert t he HandUebar Post...
- Page 6 Whileanother person hoUds theHandbbar ( 7) near the Handbbar P ost(6),feedthe Upper W ire Harness (16)andthe PuUse Sensor W ire(45)up through the indicated hobin the Handbbar, Attach the Handbbar t o theHandbbar P ostwiththreeM8 x 25mmButton Screws (19)andthreeM8Split Washers (28), TheConsob(9)requires four"D"batteries (not included);...
- Page 7 Attach the Seat (12) to the Seat Post (11) with four M8 Nylon Locknuts (56) and four M8 Split Washers (28), Note: The NyJon Locknuts and Split Washers may be pre-attached to the Seat. Turn the Seat Knob (31) counterclockwise two or three turns to loosen it, Next, pull the Knob, insert the Seat Post (11) into the Frame (1), and then...
- Page 8 HOW TO INSTALL THE RECEIVER FOR THE OPTIONAL CHEST PULSE SENSOR if you purchase the optional chest pulse sensor (see page 19), follow the steps below to install the receiver included with the chest pulse sensor, 1, See assembly step 5 on page 6, and remove the two M4 x 25mm Screws (not shown) and the Bookraek (8), Next, look under the console and locate the three indio cated screws (not shown), Remove the three screws,...
- Page 9 HEART RATE CONTROL PROGRAM DISPLAY PROGRAMS _% _>_, SLOW frO0 FAST TO85%MAX. SELFSELECT_ ENTER ENTERTARGETHEARTRATE CERTIFIED PERSONALTRAINER RESISTANCE/RPM PROGRAMS TIME RESISTANCE _-_-' _ -_:c'-_ _-_-_ _= =_= t_--_. DIST. SCAN PULSE Note: If there is a sheet of clear plastic on the face of the console, remove the plastic, CALS.
- Page 10 your pedaling pace, in revolutions per minute HOW TO USETHEMANUAL MODE (RPM). The display wiii change from one number to the next every few seconds, as shown by the indicators in the display. Note: When a program is Begin pedaling to activate the console. selected, the display will show the time remaining in the program instead of the elapsed time.
- Page 11 Measure your heart rate if desired. Note: if you continue to hold the pulse sensor, the lower display will show your heart rate for up to 30 seconds, The display will then show your heart You can measure your heart rate using either the handgrip pube sensor or the optionaU chest pube rate along with the other modes, sensor, Note: If you hoJd the handgdp...
- Page 12 The program wiil continue until the resistance set- HOW TO USE PRESET PROGRAMS ting for the last segment is shown in the Current Segment column of the matrix and no time remains in the program, Begin pedaling to activate the console. Note: During the program, you can override the See step 1 on page 10, resistance setting for the current segment by...
- Page 13 .owTo USE "EA"T"ATE "OG"AMS Enter your age. When heart rate TIME RESISTA Heart rate program 1 is designed to keep your heart program 1 is rate between 60% and 85% of your estimated maxi- selected, you must mum heart rate while you exercise, Note: Your maxi- enter your age, if mum heart rate is estimated by subtracting your age you have already...
- Page 14 Begin pedaling. The pace guide PROGRAM DISPLAY wiii help you to maintain a con- Each heart rate program is divided into 30 one- TOO S LOW minute segments. One target heart rate is pro- stant pace during PROGRAM DBPLAY grammed for each segment. Note: The same tar- the program, When one of the indica- get heart rate may be programmed for two or...
- Page 15 HOW TO CONNECT YOUR PORTABLE STEREO HOW TO CONNECT YOUR CD PLAYER, VCR, OR COMPUTER Note: If your stereo has an RCA-type AUDIO OUT jack, see instruction A beJow. If your stereo has a 1/8" LINE OUT jack, see instruction B.
- Page 16 HOW TO CONNECT YOUR HOME STEREO HOW TO CONNECT YOUR COMPUTER Note: If your stereo has an unused LINE OUT jack, Note: If your computer has a 1/8" LINE OUT jack, see instruction A below, mfthe UNE OUT jack is see instruction A.
- Page 17 HOW TO CONNECT YOUR VCR B, Hug one end of the audio cabUe into the jack beneath the consoUe, Hug the other end of the Note: if your VCR has an unused AUDIO OUT jack, came into the adapter, Hug the adapter into an see instruction A below, if the AUDIO OUT jack is RCA Y-adapter (avaHaMe at eUectronics stores),...
- Page 18 your workout, Simply follow your personal trainer's HOWTO USE IFIT.COM CD AND VIDEO instructions, PROGRAMS The program wiii function in almost the same way as a preset program (see steps 3 and 4 on page To use iFIT,com CDs or videocassettes, the exercise 12), However, an electronic "chirping"...
- Page 19 Return to the exercise cycle and begin HOW TO USE PROGRAMS DIRECTLY FROM pedaling. OUR WEB StaTE When the on-screen countdown ends, the pro- gram wiii begin, The program wiii function in Our Web site at www, iFIT, com allows you to play almost the same way as a preset program (see iFUT, c om programs directly from the internet, To use steps 3 and 4 on page 12), However, an electronic...
- Page 20 inspect and properiy tighten ali parts of the exercise Right Side Shield, Using an adjustable wrench, turn cycie regulariy, The exercise cycie can be cieaned the Right Pedal (37) counterclockwise and remove it, with a soft, damp cioth, To prevent damage to the Next, turn the Crank (33) so that it is pointing toward console, keep Hquids away from the console and keep the front of the exercise cycle, and then slide off the...
- Page 21 Fat Burning _WARNING: To burn fat effectively, you must exercise at a relative- ly low intensity level for a sustained period of time. - Before beginning this or any exercise pro- During the first few minutes of exercise, your body gram.
- Page 22 Key No. Qty. Description Key No. Qty. Description Frame Right PedaU Front Stabilizer Right PedaUStrap Rear Stabilizer FUywheeU Left Side ShieUd Left PedaU Right Side ShieUd Left PedaU Strap HandUebar Post Stabilizer Endcap HandUebar FUywheeUSpacer Bookrack Reed Switch/Wire ConsoUe PuUse Sensor AssemMy HandUebar Foam Reed Switch CUamp Seat Post...
- Page 23 53 36 _, _...
- Page 24 The KEY NUMBER and DESCRiPTiON of the part(s) (see the PART LiST on page 22) REEBOK and the Vector Logo _'_-_*"'_ are registered trademarks and service marks of Reebok. This product is manufactured and distributed under Hcense from Reebok international ICON Health &...
Need help?
Do you have a question about the RT 245 and is the answer not in the manual?
Questions and answers