Advertisement
Quick Links
2
Controls
............... 8
Oven Control Functions
................
9
Setting Oven Controls ............
10-14
Self Cleaning
...........................
15-16
General
Care & Cleaning
....... 17-19
Ill,
il
I
Visit the Frigidaire
Web Site at:
http://www.frigidaire.com
Adjusting
Oven Temperature
....... 19
Before You Call
Solutions
to Common
Problems
................
20-21
Warranty
.........................
Back Page
READ AND SAVE
THESE
INSTRUCTIONS
pin 316435600
(0409)
Advertisement

Related Manuals for Frigidaire CFGF366DBD


Summary of Contents for Frigidaire CFGF366DBD
- Page 1 General Care & Cleaning ..17-19 Ill, Adjusting Oven Temperature ..19 Before You Call 20-21 Solutions to Common Problems ....Warranty ......Back Page Visit the Frigidaire Web Site at: http://www.frigidaire.com READ AND SAVE THESE INSTRUCTIONS pin 316435600 (0409)
- Page 2 Congratulations on your purchase of a new range! At Electrolux Home Products, we are very proud of our product and are completely committed to providing you Questions? with the best service possible. Your satisfaction is our number one priority. 1-800-944-9044 We know you'll enjoy your new range and Thank You for choosing our product.
- Page 3 Important Safety Instructions Read all instructions before using this appliance. Save these instructions for future reference. This manual contains important safety symbols and instructions. Please pay attention to these symbols follow all instructions given. This symbol will help alert you to situations that may cause serious bodily harm. death or property damage. This symbol will help alert you to situations that may cause bodily injury or property damage.
- Page 4 iiiiiiiiiiiiiiiii Important Safety lnstructions • Do Not Leave Children Alone--Children should not be left • Protective Liners--Do not use aluminum foil to line surface alone or unattended in the area where appliance is in use. They burner pans, or oven bottom, except as suggested in this manual.
- Page 5 _i i Safety "---Important In_trnt'tlnn_-- --...v..v--v Important Safety Notice The California Safe Drinking Water and Toxic Enforcement Act requires the Governor of California to publish a list of substances known to the state to cause cancer, birth defects or other reproductive harm, and requires businesses to warn customers of potential exposure to such substances.
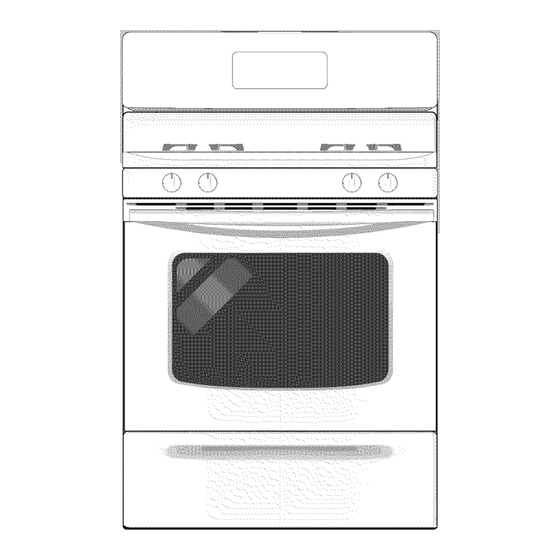
- Page 6 i iiiiiiiiiiiiii _ i_i_iii i!_ii_ ii_i _ii_i_ ii Your Gas Range Features Include: Electronic Oven Control with Kitchen Timer. Speed Bake Cooking System Control Switch & Indicator Light (some models). i iiiiiiiiiiiiiiiiiiiiiiiiiiiiiiiiiiiiiiiiiiii/¸ Left Front Burner Valve & Knob. Left Rear Burner Valve & Knob. Right Rear Burner Valve &...
- Page 7 OVEN VENT Oven Vent Location The oven vent is located below the backguard (See Fig. 1 ). When the oven is on, warm air is released through this vent. This venting is necessary for proper air circulation in the oven and good baking results. DO NOT BLOCK THE VENT. Arranging Oven Racks ALWAYS ARRANGE OVEN RACKS WHEN THE OVEN IS COOL (PRIOR TO...
- Page 8 Do not place plastic Setting Surface Controls items such as salt and pepper shakers, Your range may be equipped with different sized surface burners. The ability to heat spoon holders or plastic wrappings food quicker and in larger volumes increases as the burner size increases. on top of the range when it is in use.
- Page 9 READ THE INSTRUCTIONS CAREFULLY BEFORE USING THE OVEN. For satisfactory use ofyour oven, become familiar with the various pad functions of the oven as described below. BAKE TIM E FEATURE INDICATOR LIGHTS-- UP and DOWN ARROW PADS-- Used along PAD-- Used to with the function pads to select oven...
- Page 10 Oven • • • • @© ......• reheo, • Door Locked • , . Self-Cleaning Oven . Note: The time of day must first be set in order to operate the oven. To Set the Clock When the range is first plugged in, or when the power supply to the range has been interrupted, the display will flash "12:00".
- Page 11 To Set or Change the Temperature for Baking The oven can be programmed to bake at any temperature from 170°F to 550°F (77°C to 287°C). To Set the Controls for Baking: Press _. " "appears in the display. Within 5 seconds, press the /_, or V-The displaywill show "350°F (177°C).
- Page 12 Setting Oven Con trois To Set the Timed Bake and Delay Start (Delayed Timed Bake) Features The _ BAKE TIME and _ START TIME pads operate the features that will turn the oven ON and OFF at the times you select in advance.
- Page 13 Speed Bake Cooking System Speed Sake Benefits of Speed Bake Cooking f:t:J't:] , iiii iiiiiii ..Bake¸ (lock System: llme --Foods cook up to 25 to 30% faster, • 0ver_ saving time and energy. • Preheat Timer Start 0tl off time •...
- Page 14 ii ¸¸¸ i i i iii i i ¸¸¸ i ii is et_ go venc ontro_s ii ii iii ii¸¸¸ i i To Set for Broiling: Arrange the oven rack while oven is still cool. Position the rack as suggested in the Broil Rack Position Table below.
- Page 15 During theSelf-Cleaning cycle, t heoutside oftherange can become veryhottothetouch. D ONOT leave small c hildren unattended nearthe appliance. Thehealth ofsomebirds • • Oven @© isextremely s ensitive tothefumes given • Pro,o,, offduring theSelf-Cleaning cycle ofany • Door Locked r_centrels range. M ove birds toanotherwell- •...
- Page 16 Starting the Self-Clean Cycle or a Delayed Start Self-Clean Cycle For satisfactory results, use a 2 hour Self-Clean cycle for light soils and a 3 hour cycle for heavier soils. NOTE: The kitchen area should be well ventilated using an open window, ventitlation fan or exhaust hood during the 1st Self-Clean cycle.
- Page 17 Surfaces Howto Clean Aluminum (Trim Pieces) &Vinyl Usehot,soapy wateranda cloth.Drywitha clean cloth. Glass, P ainted andPlastic For general cleaning, use hot, soapy water and a cloth. For more difficult soils and built- Body Parts, Control Knobs up grease, apply a liquid detergent directly onto the soil. Leave on soil for 30 to 60 and Decorative Trim Pieces minutes.
- Page 18 Care&Cleaning Removing and Replacing the Lift-Off Oven Door The door is heavy. For safe, temporary storage, lay the door flat with the Door Hinge inside of the door facing down. locations with oven door To Remove Oven Door: fully open Open oven door completely (horizontal with floor- See Fig.
- Page 19 Care& Cleaning Cleaning the Contoured Well Areas, Burner Cap, Burner Head and Burner Drip Pans (some models) The contoured well areas, burner cap, burner head and burner drip pans (some models) should be routinely cleaned. Keeping the burner ports clean will prevent improper ignition and an uneven flame. Refer to the following instructions: To Clean the Recessed and Contoured Areas of the Cooktop - tf a spill...
- Page 20 Solutions to Common Problems Before you call for service, review this list. It may save you time and expense. The list includes common occurrences that are not the result of defective workmanship or materials in this appliance. OCCURRENCE POSSIBLE CAUSE/SOLUTION Range is not level.
- Page 21 Before You Call Solutions to Common Problems OCCURRENCE POSSIBLE CAUSE/SOLUTION Oven smokes excessively during broiling. Meat is too close to the broil burner. Reposition the oven rack to provide more clearance between the meat and the broiler. Meat not properly prepared.
- Page 22 LIMITED WARRANTY Your range is protected by this warranty WARRANTY THROUGH OUR AUTHORIZED THE CONSUMER WILL BE PERIOD SERVICERS WE WILL: RESPONSIBLE FOR: FULLONE-YEAR year from original Pay all costs for repairing or replacing any parts of this Costs of service calts that are Iisted under NORMAL WARRANTY purchase...
Need help?
Do you have a question about the CFGF366DBD and is the answer not in the manual?
Questions and answers