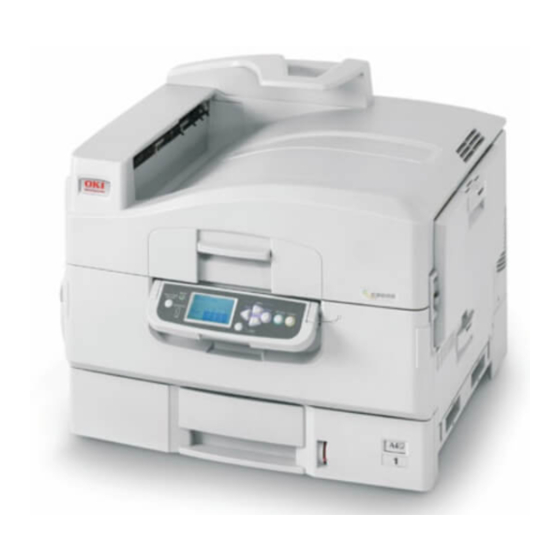
Oki C9650dn Installation Instructions
Transfer belt
Hide thumbs
Also See for C9650dn:
- User manual (128 pages) ,
- Network and configuration manual (119 pages) ,
- Safety information manual (52 pages)
Advertisement
Transfer Belt
Installation Instructions
Caution! The fuser is very HOT after the
printer has been printing. For your
safety, let the printer cool down at
least 10 minutes before attempting
to replace the transfer belt.
To replace the belt unit:
1. Turn off the printer.
If the hard disk drive is installed in
Note:
your printer, press the SHUTDOWN/
RESTART button for several seconds
before turning the printer off.
2. Open the top cover.
Caution! The fuser is very HOT after the
printer has been printing. Be
careful not to touch it!
© 2009 Oki Data Americas, Inc.
3. Remove the four image drums/toner cartridge
units and place them on a flat surface.
4. Cover them with dark paper or plastic to
protect them from light.
5. Lift the transfer belt latches to release them.
58396901
Advertisement
Table of Contents

Subscribe to Our Youtube Channel
Summary of Contents for Oki C9650dn
- Page 1 2. Open the top cover. 5. Lift the transfer belt latches to release them. Caution! The fuser is very HOT after the printer has been printing. Be careful not to touch it! © 2009 Oki Data Americas, Inc. 58396901...
- Page 2 11. Turn the printer on. 8. Push down on the belt latches to lock the new belt in place. Oki Data Americas, Inc., 2000 Bishops Gate Blvd., Mt. Laurel, NJ 08054 www.okiprintingsolutions.com...


Need help?
Do you have a question about the C9650dn and is the answer not in the manual?
Questions and answers