Advertisement
Available languages
Available languages
OPERATOR'S MANUAL
I I_RA FTSM AH°l
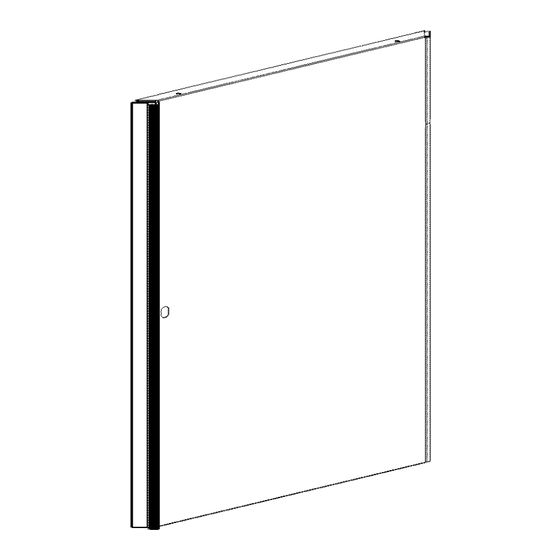
Door Kit
jo.o.o-o-
I
---
1
I
I I I
J i
I I I
I
jjj_.JJJ_i
_jos_J
__
ILl
Please indicate the following information from the service part drawing provided.
Model Number:
Model Description:
*Product you purchased may vary from picture shown.
Caution:
Read and follow all Safety Rules and Operating Instructions before first
use of this product. Retain this document for future reference.
Distributed by Sears Brands Management Corporation.,
Hoffman Estates, IL 60179
F1728
Advertisement
Table of Contents

Related Manuals for Craftsman Door Kit


Summary of Contents for Craftsman Door Kit
- Page 1 OPERATOR'S MANUAL I I_RA FTSM AH°l Door Kit jo.o.o-o- jjj_.JJJ_i I I I _jos_J I I I Please indicate the following information from the service part drawing provided. Model Number: Model Description: *Product you purchased may vary from picture shown. Caution: Read and follow all Safety Rules and Operating Instructions before first use of this product.
- Page 2 SAFETY WARNINGS AND CAUTIONS: • Use appropriate safety equipment when using _ower and hand tools. Failure to do so may cause personal injury or product damage. • Use adequate manpower when assembling and moving this unit. Failure to do so may cause personal injury or product damage.
- Page 3 • Attach F, as shown, using (2) DD. Workbench STEP (1): removed for clarity AA(4) BB(4) 11-7/8" (30.16 cm) CC(4) Note: Door kit may be installed on left or right side. Installation shown on right side. • Move workbench away from any walls to gain access to the back of the unit.
- Page 4 STEP (4): and water. as to a car The wax wilt also help protect the unit against scratches fluids For safety, use a nonflammable cleaning fluid • Attach the lock to the door • Remove the lock nut from GG •...
- Page 5 MANUAL DE USUARIO I € RR FTSM II #°l Kit de la puerta ._ _.---_ .j.J- Sirvase indicar la siguiente informaci6n que encontrar£ en el dibujo suministrado de la pieza de servicio. NQmero de modelo: Descripci6n del modelo: *La unidad que adquiri6 puede variar con respecto a la itustraci6n. Precauci6n: Lea y siga todas tas reglas de seguridad e instrucciones para et manejo antes de usar la unidad por primera vez.
- Page 6 ADVERTENCIAS Y PRECAUCIONES DE SEGURIDAD: • Utilice et equipo de seguridad adecuado cuando emplee herramientas et6ctricas. De Io contrario, podria causarte lesiones personales u| ocasionar da_os al producto. • Utilice et personal adecuado para et montaje y el traslado de esta unidad. De Io contrario podria ocasionarse lesiones personales o da_ar el producto.
- Page 7 • Ate F, como se muestra, usando (2) DD, Banco de trabajo sin PASO (1): la parte superior para mayor claridad AA(4) BB(4) CC(4) Nora: El kit de la puerta se puede instalar en derecho izquierdo o, Instalaci6n demostrada en derecho, •...
- Page 8 STEP (4): suave y agua. La cera para autom6viles preservara el acabado brilloso de la unidad. Aplique la cera como Io haria al carro. La cera tambien ayudara a proteger la unidad contra raspones. incombustible para limpieza. • Ate la cerradura a la puerta. •...
Need help?
Do you have a question about the Door Kit and is the answer not in the manual?
Questions and answers