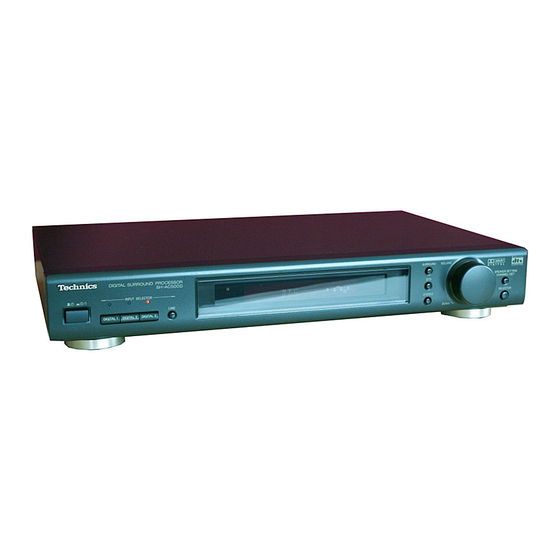
Technics SH-AC500D Operating Instructions Manual
Digital surround processor
Hide thumbs
Also See for SH-AC500D:
- Quick start manual (42 pages) ,
- Operating instructions manual (21 pages) ,
- Operating instructions manual (20 pages)

Subscribe to Our Youtube Channel
Related Manuals for Technics SH-AC500D


Summary of Contents for Technics SH-AC500D
- Page 1 Technic Digital Surround Processor SH-AC5OOD Operating Instructions Before operating this unit, please read these instructions completely. Please save this manual. RQT4536-P...
- Page 2 User memo: Dear Customer DATE OF PURCHASE ..Thank you for purchasing this product. For optimum performance and safety, please read DEALER NAME these operating instructions carefully. DEALER ADDRESS ..TELEPHONE NUMBER The model number and serial number of this product Tableof contents found on either the back or the bottom of the unit Please...
- Page 3 PrecQutlons Before using this unit please read these operating instructions carefully Take special care Io follow the warnings indicafed on the unit itself as well as the safety suggestions listed below Afterwards keep them handy for future reference. 1. Power Source -- The unit should be connected...
- Page 4 Accessories Please check identify _.,_ :_ the supplied accessories AC power supply cord (SJA175-A) ........ 1 pc. Stereo connection cables (RJL2P004B08) ....2 pcs Monaural connection cables (RJL1 P021B08) ....2 pcs Optical4iber cable (SJP2281) ......I pc Batteries ............2 pcs Remote control...
- Page 5 Front panel controls l Con_ol section[] " 4_5,6_7_ Ret. page(s) (_) Power button (POWER) ........(_)lnput select buttons/indicators (DIGITAL 1, DIGITAL 2, DIGITAL 3, LINE) ..15 (_)Surround mode button (SURROUND)..11, 13, 15 Digital Theater Systems mode button (DTS)...15 _) Stereo mode button (STEREO) ......(_Volume control (VOLUME) ......
- Page 6 Connections Before proceeding with the connections, ensure that the power Stereo connection cable all the units has been lurned White Connect the AC power supply cord only after all other cables cords are connected L Connection to a receiver (oramplifier) with 6 channeldiscreteinputterminals DIGITALC_j OlGITAUDTS/PCM LINE--...
- Page 7 channel I Connections outputting signals through power amplifiers This illustration is an example of connection from this unit to a stereo control amplifier of model SU C1000 and three stereo power amplifiers model SE-A1000 DIGITAL[_ DIGITAL DTS, PCM) Stereo connection cable •...
- Page 8 Connections _---,Np • power supply cord (included) Coaxialcable(notincluded) Household AC outlet (AC 120 V/60 Hz) Optical-fiber cable Optical-fiber cable (notincluded) (included) Coaxial cable (not included) DIGITAL DIGITAL DIGITALO._T Other digital playback sources (laser disc players, etc.) DVD player, etc (not included) "LINE IN"...
- Page 9 Speaker installation To enjoy discrete mugi-channel sound reproduction using this unit, Front speaker (left) C;en_krer (Frlghl)speaker read through the instructions given below before installing speakers. Front speakers Place these speakers on the left and right of the TV (or screen), adjust their positions...
- Page 10 Speaker setting Set the types and presence of the speakers before enjoying sound by reproducing the input source Before proceeding: Check the frequency range of each speaker to be used. Consider speakers capable of playing back low frequency sounds (below around 100 Hz) as LARGE Consider...
- Page 11 Speaker output adjustments Set the indial output level first, then proceed to adjust the output level for each speaker channel Setting the initial volume level When this unit is connected to a receiver {or amplifier) that has 6 channel discrete inout terminals: Set the volume level to 0 dB using this unit's VOLUME...
- Page 12 Speaker outputadjus_nents Press TEST to output the test signal. "TEST" appears on the display, and the speaker indicator corresponding to the speaker whose outputting sound flashes The test signal is automatically output from each speaker 2 seconds in the following sequence: C_R_ LS_SW...
- Page 13 Delay time adjustments By adjusting the detay time, the difference in the distance from the vtewing and listening posilion to the front speakers and the distance to the center speaker and surround speakers be offset made equal This achieves better sound localization and makes...
- Page 14 R_roduc_nmodes All the reproduction modes mentioned below can be effective only when digital signals are inpul as a sound source. ! SURROUND mode [] Front Front speake_ Center speaker Select this mode when playing back sources (DVD, CD, laser disc, speaker etc) recorded...
- Page 15 Enjoying sound in a variety of reproduction modes This unit enables sound to be enjoyed in three reproduction modes - SURROUND, DTS and STEREO. Press POWER. Turn on the power to the other AV components as well. Press one of the input select buttons select...
- Page 16 Enjoyingsoundin a variety of reproduction modes Start playing the sound source. The surround indicators a F][] DIGITAL: Lights if the source is Dolby Digital Format b PT_: Lights ff the source is DTS format c O[1 PRO LOGIC: Lights when Dotby Surround parts...
- Page 17 Other fundions C_) G _,Cy-j "Dynamic range compression' COMP) is a funclion compressing the dynamic range (reproduction level range) of audio signals It is used for viewing movie software late at night or al other times when high volume levels are not desirable ..
- Page 18 Remote control quick reference Functions which are also available from the main unit POWER To turn the unit ON/OFF DIGITAL t DIGITAL 2 DIGITAL3 LINE Selecting the input source SURROUND Selecting the SURROUND reproduction c,_D mode Selecting the DTS reproduction mode STEREO Selecting...
- Page 19 Service Centers (enclosed with this unil) (www.panasonic.ca/faq.html) 1o locate a convenient service center or consult your Technics dealer for instructions Problem Probable cause(s) Suggested remedy I Page I Power will not switch The power cord plug is not completely • Confirm...
- Page 20 Product service Technicalspecifications Do not attempt to remove the cover(s) or repair the unit yourself • AUDIO Refer servicing to qualified personnel only Outlet voltage/Impedance 2 V (at 0 dB)/1 k-Q Input impedance LINE 22 k_-Z Product information COAXIAL 75 {_t For product service, producl...
Need help?
Do you have a question about the SH-AC500D and is the answer not in the manual?
Questions and answers