
Related Manuals for Exmark OCDWB01


Summary of Contents for Exmark OCDWB01
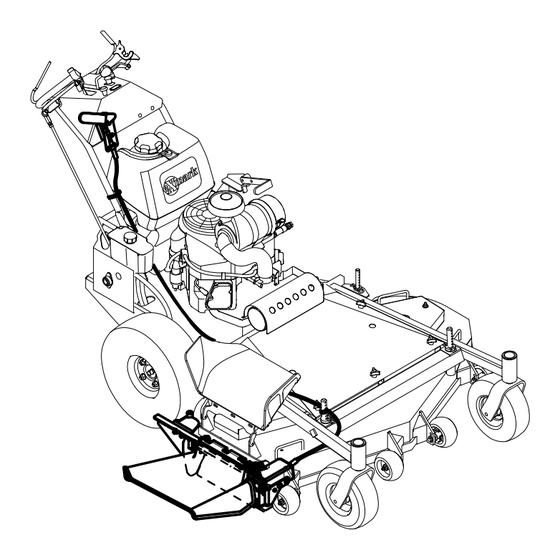
- Page 1 OCDWB01 OPERATOR CONTROLLED DISCHARGE FOR WALK-BEHIND UNITS Part No. 4500-569 Rev. A...
- Page 2 Exmark reserves the right to make changes or add improvements to its products at any time without incurring any obligation to make such changes to products manufactured previously. Exmark, or its distributors and dealers, accept no responsibility for variations which may be...
-
Page 3: Introduction
All Exmark parts are thoroughly tested and inspected before leaving the factory, however, attention is required on your part if you are to obtain the fullest measure of satisfaction and performance. -
Page 4: Table Of Contents
Contents Introduction ............3 Safety ..............5 Safety Alert Symbol ......... 5 Safe Operating Practices ........5 Safety and Instructional Decals ....... 7 Setup ..............8 Assembling Discharge Deflector to OCDWB01 ..........8 Installing OCDWB01 on Mower Deck ............8 Product Overview .......... -
Page 5: Safety
Only use accessories and DANGER: White lettering / Red background. attachments approved by Exmark. Indicates an imminently hazardous situation which, if not avoided, Will result in death or serious injury. -
Page 6: Maintenance And Storage
– Before checking, cleaning or working on the traction, and safety of the machine. Failure mower. to use original Exmark parts could cause serious injury or death. – After striking a foreign object or abnormal vibration occurs (inspect the mower for Replace all parts with original Exmark parts. -
Page 7: Safety And Instructional Decals
Exmark equipment dealer or labels. distributor or from Exmark Mfg. Co. Inc. • Replace all worn, damaged, or missing safety • Safety signs may be affixed by peeling off the signs. -
Page 8: Setup
Figure 2. Important: The OCDWB01 comes with its own discharge deflector. When using the OCDWB01, Exmark recommends the original discharge deflector to remain installed on the unit and in the flipped up position. There are... - Page 9 Setup storage position for potential later use on other mower decks. A. Remove the shim located on the front of the gate link frame and loosely reinstall the nut. B. Loosen the nut on the left adjustment slot of the gate link frame. C.
- Page 10 Setup there will be room to tighten the nut on the upper hole, on the underside of the front panel. C. Drill two 11/32 inch diameter holes on the front panel as shown in Figure 7. D. Align the two holes in the mounting bracket with the front panel of the unit.
- Page 11 Setup B. Align the existing hole at the rear of the unit with the right hole on the bracket. C. Position the bracket horizontally or with the narrow end pointed slightly downward. D. Using the mounting bracket as a template, mark the left hole location onto the side panel of the unit and drill 11/32 inch diameter hole (see Figure 11).
-
Page 12: Product Overview
Product Overview Product Overview Figure 14 1. Velcro strap 2. Loom clip Figure 15 1. Handle 2. Discharge gate (under discharge deflector) 3. Discharge deflector... -
Page 13: Operation
Operation Operation Opening the Discharge Gate For all Walk-Behind Units except Vantage: Rotate Use the discharge gate to temporarily stop or deflect the handle upward to open the gate. grass clippings away from sidewalks, parking lots, patios, or anywhere grass clippings are not desired to be discharged. -
Page 14: Closing The Discharge Gate
Operation Closing the Discharge Gate Removing the OCDWB01 1. Remove and retain the velcro straps that secure For all Walk-Behind Units except Vantage: Push the handle assembly cable to the mower. If down on the handle to close the gate. installed, remove and retain the loom clip from the deck and replace the rear knob. - Page 15 Operation Figure 21 1. Handle assembly 3. Clevis pin 2. Mounting bracket 4. Hairpin 4. Unlock the assembly and pivot it away from the mower deck. Lift the OCDWB01 out of the deck mounting tube. 5. Lower the existing discharge deflector. Important: Reinstall the original discharge deflector if it was removed during the OCDWB01 installation.
-
Page 16: Maintenance
Maintenance Maintenance Note: Determine the left and right sides of the machine from the normal operating position. WARNING While maintenance or adjustments are being made, someone could start the engine. Accidental starting of the engine could seriously injure you or other bystanders. Remove the key from the ignition switch, engage parking brake, and pull the wire(s) off the spark plug(s) before you do any... -
Page 17: Discharge Gate Adjustment
Maintenance G012592 Figure 22 1. Pivot bolt and nut Figure 23 1. Cable nuts 2. Linkage cover (shown hidden for clarity) Discharge Gate Adjustment 3. Lock nut 4. Pivot adjuster 5. Discharge deflector The discharge gate is properly adjusted in the closed 6. -
Page 18: Troubleshooting
Important: It is essential that all operator safety mechanisms be connected and in proper operating condition prior to mower use. The following table lists some of the common causes of trouble. If assistance is needed, contact your Exmark Service Dealer. Problem Possible Cause Corrective Action Discharge gate does not open and/or close. - Page 19 All warranty work must be performed by an authorized No Claim of breach of warranty shall be cause for cancellation Exmark Service Dealer using Exmark approved replacement or rescission of the contract of sale of any Exmark attachment parts. or accessory.
- Page 20 SEE EXMARK’S COMPLETE LINE OF ACCESSORIES AND OPTIONS MID-MOUNT RIDING ACCESSORIES AND OPTIONS CUSTOM RIDE SEAT SUSPENSION SYSTEM OPERATOR CONTROLLED DISCHARGE FULL SUSPENSION SEAT ROLL OVER PROTECTION SYSTEM (ROPS) DECK LIFT ASSIST KIT SUN SHADE HITCH KIT TRASH CONTAINER LIGHT KIT...
Need help?
Do you have a question about the OCDWB01 and is the answer not in the manual?
Questions and answers