Advertisement
Toyota Tundra Electric
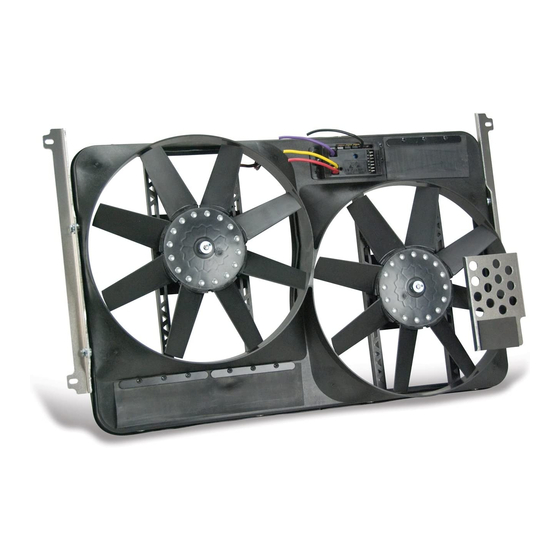
Fan Kit; 00'–06'
#775 with Controls
#778 without Controls
REMOVAL OF EXISTING FAN AND SHROUD ASSEMBLY:
1. Make sure the engine is cool.
2. Disconnect negative (-) battery cable from battery.
3. Remove radiator cap.
4. From under the vehicle;
a. Remove skid-plate mounted to frame and front cross member.
b. Slowly loosen pet-cock to drain approximately 1 gallon of coolant. Note: Drain coolant
to a level below upper end of the radiator hose.
c. Remove lower section of the two piece shroud. It is held on by 2ea. metal clips and 2ea.
molded plastic hooks.
d. Remove bottom bolts 2ea. holding fan shroud to radiator side brackets. Save bolts for
installation of new shroud.
5. From top side of engine compartment, disconnect radiator hose from top of radiator and secure
it out of the way.
6. From the air ducting to intake manifold; remove bolt holding A/C return hose, then secure hose
out of the way (see Detail 1). Note: bungee cords or long zip-ties work well.
7. Remove coolant overflow hose from radiator filler neck.
8. Remove top bolts 2ea. holding fan shroud to radiator side brackets. Save bolts for installation of
new shroud.
9. Remove fan shroud by pulling strait up. Note: Be careful not to scrape against the radiator
core.
10. Remove clutch fan assembly by removing 4ea. nuts securing flange to pulley. Re-secure pulley
with washers of kit bag #13615 and previously removed nuts (see Detail 2).
Detail 1
A/C return line
Resecured pully w/ washer kit
09-02-09 part no. 99777 Page 1 of 5
Detail 2
Advertisement
Table of Contents

Subscribe to Our Youtube Channel
Related Manuals for Flex-a-Lite 775


Summary of Contents for Flex-a-Lite 775
- Page 1 Toyota Tundra Electric Fan Kit; 00’–06’ #775 with Controls #778 without Controls REMOVAL OF EXISTING FAN AND SHROUD ASSEMBLY: 1. Make sure the engine is cool. 2. Disconnect negative (-) battery cable from battery. 3. Remove radiator cap. 4. From under the vehicle; a.
- Page 2 INSTALLATION OF NEW ELECTRIC FAN SHROUD: You will want to “pre-wire” fan motor wires & Vari- able Speed Controller (VSC) to new fan shroud before mounting to vehicle. 11. Careful planning will save time. Look at the wires coming from the motors. The positives from each motor will be connected together, as will the nega- tives.
- Page 3 #11. Both wires need to be connected but it doesn’t matter which wire goes to each terminal. 27. If manual switches (Flex-a-lite #31148) have been purchased, attach them as follows. To over- ride engine temperature to turn fans off, connect the switch to terminal #5 on VSC to send a ground signal.
- Page 4 Initial VSC Set-up and Adjustment Turn ignition on. After 5-6 seconds, LED #4 should light up, if not, check to make sure that you have 12 Volts at terminal #9 on VSC. The delay is to allow starter to start the vehicle without the fans drawing any power.
- Page 5 Flex-a-lite Consolidated, 7213-45th St. Ct. E. Fife, WA 98424, Telephone No. 253-922-2700, warrants to the original purchasing user, that all Flex-a-lite products to be free of defects in material and workmanship for a period of 365 days (1 year) from date of purchase. Flex-a-lite products failing within 365 days (1 year) from date of purchase may be returned to the factory through the point of purchase, transportation charges prepaid.
Need help?
Do you have a question about the 775 and is the answer not in the manual?
Questions and answers