Advertisement
LoBoy Fan & Aluminum Shroud
for Ford Coup 1930-'34
Part #318: puller with controls
#328: puller with out controls
Assembly & Installation Instructions
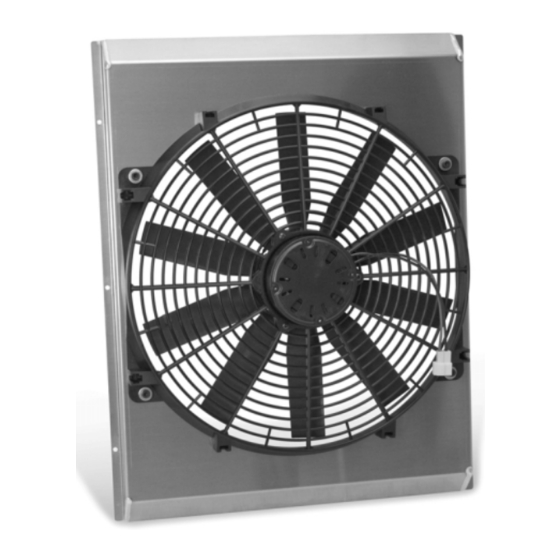
1. First, attach the supplied fan to the fan shroud as
shown using the screws, washers, and nuts provided
(see Diagram A ).
2. Prepare the radiator for shroud installation by
clearing the core surface.
3. Find the rubber strips included in the kit and
trim 2 strips to the length of the shroud. These
will be used between the shroud and radiator
to isolate vibration (see Diagram B ).
4. The shroud can be mounted to the radiator by
using the flanges between your radiator tanks.
Place the shroud over the flanges. Using the
holes in the aluminum shroud as a template, mark
and drill holes through the flanges on your radiator.
It may be helpful to have a friend hold the shroud
while you mark and drill the holes.
NOTE: Use caution when drilling the mounting
holes. Do not drill into the radiator core!
5. Attach the fan and shroud assembly to the radiator
using the small #10 screws, and washers as shown
(see Diagram B ).
NOTE: Be sure to use the rubber cushioning strips
between the shroud and radiator as shown!
Continue to next page
for wiring instructions
Diagram B
Diagram A
Rev. 07-13-10
99318
Page 1 of 3
Advertisement
Table of Contents

Subscribe to Our Youtube Channel
Related Manuals for Flex-a-Lite 318


Summary of Contents for Flex-a-Lite 318
- Page 1 LoBoy Fan & Aluminum Shroud for Ford Coup 1930-’34 Part #318: puller with controls #328: puller with out controls Assembly & Installation Instructions 1. First, attach the supplied fan to the fan shroud as Diagram A shown using the screws, washers, and nuts provided (see Diagram A ).
- Page 2 Fan Wiring Instructions; #318 with controls only Step 1: Mount radiator/fan Follow radiator mounting instructions- found on previous page. Step 2: Locate mounting point for control Locate a mounting point for control near inlet side of radiator. Control needs to be placed within 18" of radiator inlet hose.
- Page 3 Flex-a-lite Consolidated, 7213-45th St. Ct. E. Fife, WA 98424, Telephone No. 253-922-2700, warrants to the original purchasing user, that all Flex-a-lite products to be free of defects in material and workmanship for a period of 365 days (1 year) from date of purchase. Flex-a-lite products failing within 365 days (1 year) from date of purchase may be returned to the factory through the point of purchase, transportation charges prepaid.
Need help?
Do you have a question about the 318 and is the answer not in the manual?
Questions and answers