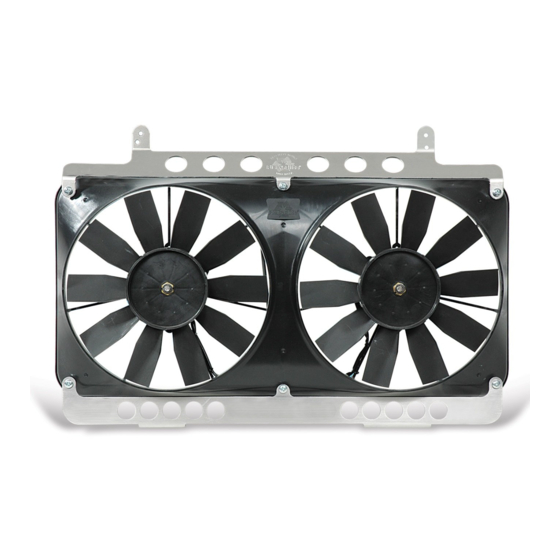
Advertisement
NOTE: FOLLOW ALL INSTRUCTIONS CAREFULLY TO AVOID PERSONAL INJURY AND
DAMAGE TO THE FAN, CONTROL MODULE, AND YOUR VEHICLE!
1.
Remove the lower engine splash shield. This will allow you to easily ac-
cess the radiator drain valve and the lower fan shroud.
2.
Drain the coolant from the radiator. Use a clean drain pan and set it in a
clean spot so that the coolant can be reused (see Detail 1)
3.
Remove the air intake tube. It's easiest to disconnect it at the connec-
tion to the air flow sensor block (see Detail 2).
4.
Remove the radiator inlet hose and tie it back out of the way.
5.
Remove the 2 bolts holding the lower portion of the fan shroud in place.
6.
Remove the 2 clips holding the fan shroud ring in place.
7.
Remove the bolt securing the air intake resonator/silencer located at the
bottom of the fan shroud.
8.
Remove the hose and wire clips from the top of the fan shrou
9.
Unplug the A/C fan wire harness (see Detail 3). This harness will be
used later when wiring the fan control unit. Remove and save the 2
bolts that attach the top of the A/C fan and the top of the shroud. These
will be used later to attach the new electric fan assembly. The factory
A/C fan will not be used and can be removed.
Detail 2
1.
Pull back the wires and hoses that run over the top of the shroud, then remove the top half of the shroud.
2.
Remove the air resonator box. NOTE: The air resonator/silencer can't be used with this electric fan.
Plug the hole in the air intake tube before reinstalling it to ensure no dirt or moisture enters the intake
tract (see Detail 4). Use the rubber cap included and secure it with a zip tie or hose clamp.
3.
Remove the clutch fan. Replace the flange nuts that held the clutch fan on as these also hold the pulley onto
the water pump.
4.
Remove the lower half of the shroud and ring.
345
Nissan 240SX
Fits 1989-1998
INSTALLATION INSTRUCTIONS
Detail 3
Detail 1
The resonator/silencer box
can't be used with this kit.
Detail 4
Page 1 of 4
#98345
Rev. 05-17-10
Advertisement
Table of Contents

Summary of Contents for Flex-a-Lite 345
-
Page 1: Installation Instructions
Nissan 240SX Fits 1989-1998 INSTALLATION INSTRUCTIONS NOTE: FOLLOW ALL INSTRUCTIONS CAREFULLY TO AVOID PERSONAL INJURY AND DAMAGE TO THE FAN, CONTROL MODULE, AND YOUR VEHICLE! Remove the lower engine splash shield. This will allow you to easily ac- cess the radiator drain valve and the lower fan shroud. Drain the coolant from the radiator. - Page 2 Installation of the Electric Fan Assembly WARNING! THE VEHICLE MAY NEED TO BE RAISED ON A JACK AND SUPPORTED ON JACK STANDS TO PERFORM THIS INSTALLATION. USE A HEAVY DUTY HYDRAULIC JACK AND ALWAYS SUPPORT THE VEHICLE ON AT LEAST THREE POINTS BEFORE GETTING UNDERNEATH.
- Page 3 CONTINUED FROM PREVIOUS PAGE Detail 5 Detail 6 Detail 7 With the A/C drier relocated, now the fan assembly can be installed. Lower the fan assembly into place. Make sure the rubber caps fit into the tabs at the bottom of the radiator as shown (see Detail 8). On au- tomatic transmission models, it may be necessary to swivel the trans.
-
Page 4: Wiring Diagram
Flex-a-lite Consolidated, 7213-45th St. Ct. E., Fife, WA 98424, Telephone No. 253-922-2700, warrants to the original purchasing user, that all Flex-a-lite products to be free of defects in material and workmanship for a period of 365 days (1 year) from date of purchase. Flex-a-lite products failing within 365 days (1 year) from date of purchase may be returned to the factory through the point of purchase, transportation charges prepaid.


Need help?
Do you have a question about the 345 and is the answer not in the manual?
Questions and answers