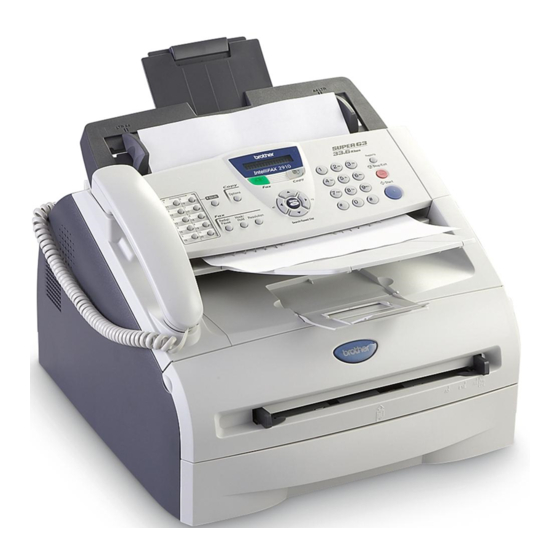
Brother FAX-2820 Quick Setup Manual
Hide thumbs
Also See for FAX-2820:
- Service manual (321 pages) ,
- User manual (161 pages) ,
- Quick setup manual (13 pages)
Table of Contents
Advertisement
Quick Links
Advertisement
Table of Contents

Related Manuals for Brother FAX-2820


Summary of Contents for Brother FAX-2820
- Page 1 Before you can use the machine, you must set up the hardware. Please read this “Quick Setup Guide” for the correct setup procedure. Setting Up the Machine Setup is Complete! Keep this “Quick Setup Guide” and User’s Guide in a convenient place for quick and easy reference at all times.
-
Page 2: Carton Components
■ Getting Started Carton Components Quick Setup Guide User’s Guide . Control Panel Cover . Face-down Output Tray . ADF Document Output Support Support Flap with Extension . Manual Feed Slot . Control Panel . Paper Tray . Automatic Document Feeder . -
Page 3: Control Panel
Control Panel FAX-2820 01/03 15:25 FAX-2920 01/03 15:25 1. One Touch keys 2. Fax and telephone keys 3. Navigation keys 4. Dial Pad 5. Start key 6. Stop/Exit key 7. Reports key 8. Mode keys 9. Liquid Crystal Display (LCD) 10. -
Page 4: Setting Up The Machine
Setting Up the Machine Attach the ADF Install the Drum Unit Document Output Assembly Support Open the front cover of the machine. Pull out the ADF Document Support. Front Cover Open the control panel cover by lifting it toward the back. Control Panel Cover Unpack the drum unit assembly. -
Page 5: Load Paper In The Paper Tray
Put the drum unit assembly into the Load Paper in the Paper machine. Tray Pull the paper tray completely out of the machine. Close the front cover of the machine. While pressing the paper guide release lever, slide the adjusters to fit the paper size. -
Page 6: Install The Power Cord And Phone Line
Setting Up the Machine Put paper in the paper tray. Install the Power Cord Check that the paper is flat in the tray and and Phone Line below the maximum paper mark. Make sure that the power switch is off. Connect the AC power cord to the machine. - Page 7 Warning ■ The machine must be fitted with an earthed plug. ■ Since the machine is grounded through the power outlet, you can protect yourself from potentially hazardous electrical conditions on the telephone network by keeping the power cord connected to your machine when you connect it to a telephone line.
-
Page 8: Set The Date And Time
Setting Up the Machine Set the Date and Time Set your Station ID The machine displays the date and time, and prints it You should store your name and fax number to be on every fax you send. printed on all fax pages that you send. Press Menu/Set. -
Page 9: Set The Lcd Contrast
Printer or for PC-FAX Fax/Tel Send (FAX-2920 Only) The machine controls the line and You can download the Brother Printer Driver and automatically answers PC-FAX Send driver from the Brother Solutions every call. If the call is Center for use with FAX-2920. -
Page 10: Replacement Consumables
■ Consumables Replacement Consumables When the time comes to replace consumables, an error message will be indicated on the LCD. For more information about the consumables for your printer, visit http://solutions.brother.com or contact your local Brother re-seller. Drum Unit Toner... - Page 11 Compilation and Publication Under the supervision of Brother Industries Ltd., this manual has been compiled and published, covering the latest product descriptions and specifications. The contents of this manual and the specifications of this product are subject to change without notice.
- Page 12 UK/IRE/SAF...
Need help?
Do you have a question about the FAX-2820 and is the answer not in the manual?
Questions and answers