Advertisement
Table of Contents
T E C H N O L O G I E S
Quick Installation Guide
NAS 3.0 Adapter
(NAS30U2)
www.addonics.com
v5.1.11
Technical Support
If you need any assistance to get your unit functioning properly, please have your
product information ready and contact Addonics Technical Support at:
Hours: 8:30 am - 6:00 pm PST
Phone: 408-453-6212
Email: http://www.addonics.com/support/query/
Advertisement
Table of Contents

Related Manuals for Addonics Technologies NAS30U2


Summary of Contents for Addonics Technologies NAS30U2
- Page 1 T E C H N O L O G I E S Quick Installation Guide NAS 3.0 Adapter (NAS30U2) www.addonics.com v5.1.11 Technical Support If you need any assistance to get your unit functioning properly, please have your product information ready and contact Addonics Technical Support at: Hours: 8:30 am - 6:00 pm PST Phone: 408-453-6212 Email: http://www.addonics.com/support/query/...
- Page 2 For more detailed information on setting up the NAS30U2 adapter, refer to the User Manual located on the CD that came with the device. The NAS 3.0 adapter is a flexible, economical and powerful unit for your Network. Follow the instructions to help you connect, setup and configure it. Note: Any external USB storage device that you connect to the NAS 3.0 adapter is required to be pre-formatted with either NTFS, FAT32 or FAT64.
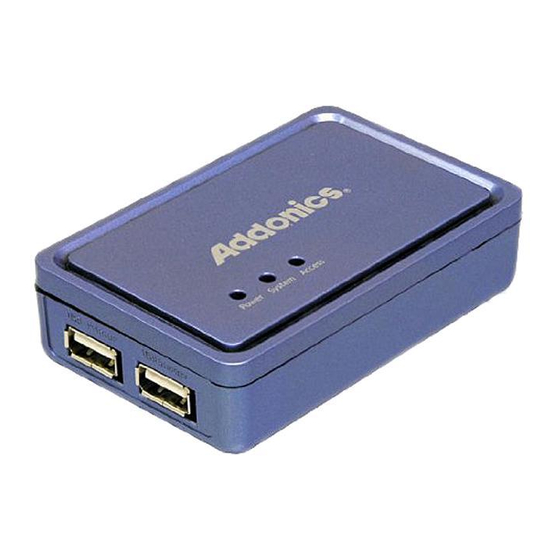
- Page 3 NAS30U2 Hardware Installation Access LED System LED USB Mass Storage Device Power LED (Full read/write function) 5V Power Jack Reset Button RJ45 Socket Additional USB Mass Storage (read-only) or USB Printer Connect external USB Storage device into USB port of the NAS Adapter.
- Page 4 When NAS30U2 has been found, click “Connect” to enter web GUI utility. Open NAS30U2 web GUI by using web browser. Open web browser and type default host name “storage” in the search bar. Default login is “admin” for both User name and password. Click “OK”...
-
Page 5: Lan Configuration
LAN Configuration By default, “LAN Config” is set to “Automatic IP”. This will allow the NAS30U2 to obtain its IP address automatically. If you prefer setting it manually, select the static IP option, enter your own value and click “Apply” to confirm the new setting. To access File Server’s PUBLIC folder of NAS30U2 in Windows Click on the Windows icon located on the bottom left corner of the screen, on the “Search programs and files”... - Page 6 Type “Guest” as username. Leave password empty. Click on OK. This will direct you to the Public folder on the NAS drive. Now you have set up the folder that you wish to share on your NAS . This folder can be access from other computer on your local network.
- Page 7 To list the NAS drive in Network Places Go to Network Places in Windows XP, under Network Tasks, click on the “Set up a home or small office network”. Follow the wizard and once completed, reboot your system. For Vista and Windows 7, enable file sharing when accessing the NAS over the network.
- Page 8 To access Samba PUBLIC folder of NAS30U2 in Mac OS X Start at the "Go" drop down menu at the top of your screen, then click "Connect to server". Type into the "Server Address" field 'smb://' followed by the IP address of the NAS30U2 you want to connect. Click the "Connect"...
Need help?
Do you have a question about the NAS30U2 and is the answer not in the manual?
Questions and answers