Advertisement
Quick Links
Download this manual
See also:
User Manual
Package contents
• Digital picture frame
• AC adapter
• Remote control
• User Guide
• Quick Setup Guide
Connecting the AC adapter
1 Complete all other connections.
2 Plug the small AC power connector into the DC 5V jack on the side
of your digital picture frame, then plug the other end into an AC
power outlet.
Installing the remote control battery
NOTE: A battery comes pre-installed in your remote control. To activate the battery, remove the plastic shipping tab
from the battery tray.
WARNING: There is a danger of explosion if the battery is not replaced correctly. Replace with the same or equivalent
type battery.
1 Turn the remote control over to the back side.
2 Push the release tab to the right and pull the battery tray out of the remote control.
3 If this is the first time you will be using the remote control, remove the plastic shipping tab that covers the battery.
-OR-
If you are replacing the battery, remove the old battery and insert a new lithium coin cell battery (CR2025) into
the battery tray. Make sure that you match the + symbol on the battery with the + symbol on the battery tray.
4 Slide the battery tray back into the remote control until it clicks into place.
Features
Top view
Copy/
Mode/Enter
Delete
Power
Exit
Positioning your digital picture frame
Your digital picture frame has a built-in stand. The stand can be
rotated to support the frame in either a horizontal or a vertical
position. Make sure that the stand is rotated to a position
indicated on the back of the frame in order to ensure stability.
Your frame can also be wall-mounted. Please use the slots on
the back of the frame for either horizontal or vertical mounting.
NOTE: Hardware for mounting your frame is not included.
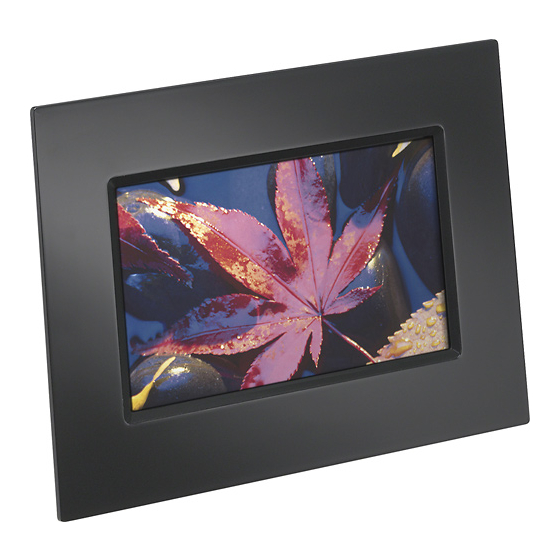
DX-DPF7-10 7" Digital Picture Frame
Left
arrow
Right
Rotate
arrow
Step 2
Step 3
Quick Setup Guide
Side views
Memory card slot
USB port
DC 5V jack
Step 4
Advertisement

Related Manuals for Dynex DX-DPF7-10


Summary of Contents for Dynex DX-DPF7-10
- Page 1 Your frame can also be wall-mounted. Please use the slots on the back of the frame for either horizontal or vertical mounting. NOTE: Hardware for mounting your frame is not included. Step 2 Quick Setup Guide DX-DPF7-10 7" Digital Picture Frame Side views Right arrow Step 3...
-
Page 2: Specifications
© 2009 Best Buy Enterprise Services, Inc. All rights reserved. DYNEX is a trademark of Best Buy Enterprise Services, Inc. Registered in some countries. All other products and brand names are trademarks of their respective owners. 3 Press MODE/ENTER once to enter BROWSE mode and view a single picture.
Need help?
Do you have a question about the DX-DPF7-10 and is the answer not in the manual?
Questions and answers