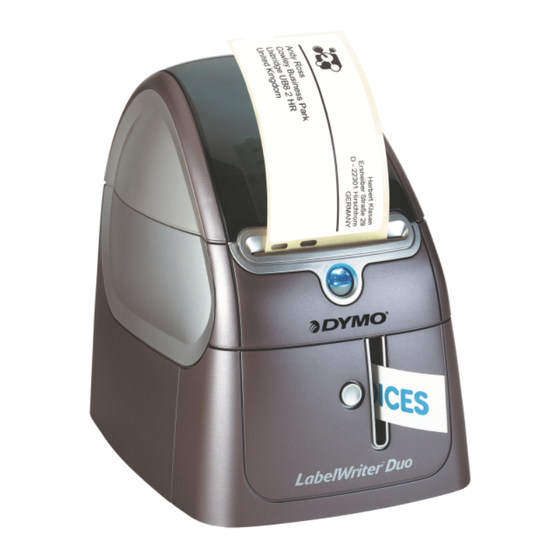
Dymo LabelWriter 400 Setting Up
Printer setting up with terminal services
Hide thumbs
Also See for LabelWriter 400:
- Network installation manual (30 pages) ,
- Instructions for use manual (13 pages) ,
- Contents and installation (4 pages)
Advertisement
Setting Up the DYMO
LabelWriter 400 Printer with
Terminal Services
If you are using OfficeMate or OfficeMate Enterprise with Terminal Services, you can
still use your local label printer even though your OfficeMate software is running on
a remote computer. In order to use the DYMO LabelWriter 400 printer with Terminal
Services, you must allow your local USB port to be available during a terminal server
session and install the DYMO Label Software on the remote computer.
This document describes the steps required set up your DYMO LabelWriter 400 for
use with Terminal Services, including how
•
•
•
To allow your local USB port to be available during a terminal server session, 5
•
Setting Up the DYMO LabelWriter 400 Printer with Terminal Services
1
Advertisement
Table of Contents

Subscribe to Our Youtube Channel
Summary of Contents for Dymo LabelWriter 400
- Page 1 OfficeMate software is running on a remote computer. In order to use the DYMO LabelWriter 400 printer with Terminal Services, you must allow your local USB port to be available during a terminal server session and install the DYMO Label Software on the remote computer.
- Page 2 Select the I Accept radio button and click Next. Click Next to bypass the welcome message. Click Browse, select where to install the DYMO Label Software, and click Next. Click Next to bypass the installation message. Setting Up the DYMO LabelWriter 400 Printer with Terminal Setting Up the DYMO LabelWriter 400 Printer with Terminal Services •...
- Page 3 When asked to select a connection method, select the Network (LAN) radio button and click Next. When asked to select the type of printer, select DYMO LabelWriter 400 from the drop-down menu. Setting Up the DYMO LabelWriter 400 Printer with Terminal Services...
- Page 4 Click Next to continue until the installation is complete. To install and test the DYMO printer on the local workstation Connect the DYMO LabelWriter 400 printer to your local computer’s USB port. Install the DYMO LabelWriter software from the CD that came with your printer.
- Page 5 When asked to select a connection method, select the USB Port radio button and click Next. When asked to select the type of printer, select DYMO LabelWriter 400 from the drop-down menu. Click Next to continue until the installation is complete.
- Page 6 Click the Local Resources tab. Select the Printers check box in the Local devices and resources box. Click the General tab. Setting Up the DYMO LabelWriter 400 Printer with Terminal Setting Up the DYMO LabelWriter 400 Printer with Terminal Services...
- Page 7 Click Apply to save your settings. To test the DYMO printer through a terminal server session From the computer attached to the DYMO LabelWriter 400 printer, open a terminal server session. Open OfficeMate or OfficeMate Enterprise Home Office.
- Page 8 Ensure that the DYMO LabelWriter 400, through the TS### port, is set as your default label printer. Click OK to save your settings. Open a patient’s record in the Patient Demographics window. Click Label to print a mailing or file folder label on your DYMO LabelWriter 400 printer.


Need help?
Do you have a question about the LabelWriter 400 and is the answer not in the manual?
Questions and answers