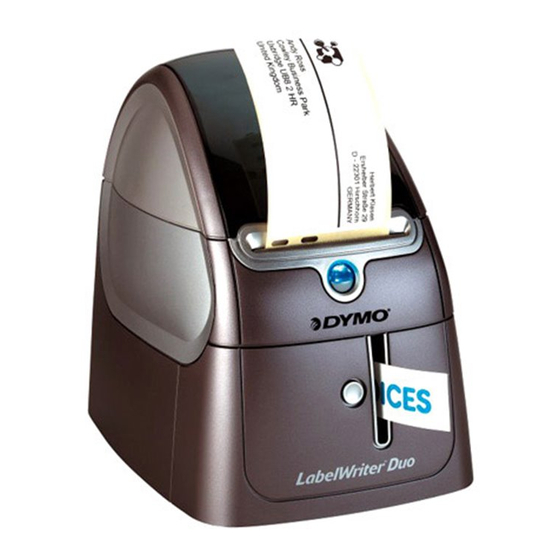
Dymo LabelWriter 400 Duo Guide Network Installation Manual
Network printing with the sx-2000wg print server
Hide thumbs
Also See for LabelWriter 400 Duo Guide:
- Instructions for use manual (13 pages) ,
- Setting up (8 pages) ,
- Contents and installation (4 pages)
Advertisement
Quick Links
Network printing
on a Dymo LabelWriter 400 Duo
with the SX-2000WG
This is a step by step manual how to install the print server SX-2000WG
to network the Dymo LabelWriter 400 Duo.
The setup is exactly the same for the SX-2000U2 and the SX-1000U.
Dymo LabelWriter 330 Turbo, 320, 310, 400 Turbo, 400, 400 duo
are supported by these silex print servers:
SX-5000U2, SX-1000U, SX-2000U2, SX-2000WG, SX-3700WB.
SX-5000U2 and SX-3700WB use different printing methods –
please use JC-Print Port 2002 or printing over NetBios
(different step by step manual is available at support@silexeurope.de).
Advertisement

Subscribe to Our Youtube Channel
Related Manuals for Dymo LabelWriter 400 Duo Guide


Summary of Contents for Dymo LabelWriter 400 Duo Guide
- Page 1 Dymo LabelWriter 400 Duo. The setup is exactly the same for the SX-2000U2 and the SX-1000U. Dymo LabelWriter 330 Turbo, 320, 310, 400 Turbo, 400, 400 duo are supported by these silex print servers: SX-5000U2, SX-1000U, SX-2000U2, SX-2000WG, SX-3700WB.
-
Page 2: Before You Start
Before you start: This setup shows how it works on „Dymo LabelWriter Software Version 7.0 for Windows“ – lower versions might vary. Configure the SX-2000WG to make it available on the network (Quicksetup e.g.). Connect SX-2000WG to the network and to your Dymo LabelWriter. - Page 3 Please start SX-Virtual Link first, then start the setup from CD – choose your language. It is important that you start SX-Virtual Link for later...
- Page 6 If necessary please adjust the path...
- Page 9 Now press ALT + TAB to switch between the processes (keep ALT pressed and switch with TAB)
- Page 10 Switch so SX-Virtual Link...
- Page 11 Connect with the Dymo LabelWriter DUO...
- Page 12 Wait until the hardware is found and all drivers are installed...
- Page 15 Please notice: The next steps to change the printer drivers are only necessary on the Dymo LabelWriter 400 Duo: If you do not have a Dymo LabelWriter 400 Duo please switch to page 25.
- Page 16 At „Start“, „Settings“, „Printer and Faxes“ the Dymo LabelWriter is now available.
- Page 17 For the second LabelWriter DUO Label (Copy 1) we need to change the drivers to support the tape printer function.
- Page 21 Please move to Manufacturer DYMO and select the DYMO LabelWriter DUO Tape...
- Page 24 Now both printers are available.
- Page 25 The 2 Dymo LabelWriters are now available as if they were locally connected: Label Writer...
- Page 27 Only for Dymo LabelWriter 400 Duo! The 2 Dymo LabelWriters are now available as if they were locally connected: Tape Writer...
- Page 29 This feature enables your device server to act like a real print server. • Connect in SX-Virtual Link to the Dymo device. • Go to the „Add to Favorites“ menu, enable the function at...
- Page 30 Well done! • Your Dymo LabelWriter is now availabel for any client from your network. Please repeat the steps on each client. SX-Virtual Link only supports one client connected at a moment. • If you have any futher questions concerning the installation of your silex product please contact us: support@silexeurope.de...
Need help?
Do you have a question about the LabelWriter 400 Duo Guide and is the answer not in the manual?
Questions and answers