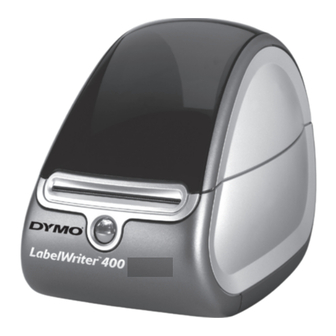
Dymo LabelWriter 400 Contents And Installation
Hide thumbs
Also See for LabelWriter 400:
- Network installation manual (30 pages) ,
- Instructions for use manual (13 pages) ,
- Setting up (8 pages)
Advertisement
Quick Links
DYMO LABELWRITER 400 Contents and Installation
NOTE: Do not connect the printer until instructed to do so during the software installation.
1. Insert the LabelWriter Cd into your cd-rom drive.
2. The installation screen will appear. If the below screen does not appear, browse to the CD in Windows
Explorer and double click the Install.exe file.
3. Move the cursor over the word English, which will change to the word Install, and click on Install.
1
SUPPORT USE ONLY
Contents of Dymo
LabelWriter 400 Package
Advertisement

Summary of Contents for Dymo LabelWriter 400
- Page 1 SUPPORT USE ONLY DYMO LABELWRITER 400 Contents and Installation NOTE: Do not connect the printer until instructed to do so during the software installation. 1. Insert the LabelWriter Cd into your cd-rom drive. Contents of Dymo LabelWriter 400 Package 2. The installation screen will appear. If the below screen does not appear, browse to the CD in Windows Explorer and double click the Install.exe file.
- Page 2 SUPPORT USE ONLY 4. Accept the license agreement and click Next. 5. At the Welcome screen, click Next. 6. Click Next to accept the default installation directory.
- Page 3 SUPPORT USE ONLY 7. Click on Next to install, installation screens will appear. This may take a few minutes: 8. Click on Next when it is done copying. The following screen appears: 9. Select the USB port option and click Next.
- Page 4 SUPPORT USE ONLY 10. Connect the label printer and the Installation Completed screen will appear. Click Finish.


Need help?
Do you have a question about the LabelWriter 400 and is the answer not in the manual?
Questions and answers