Table of Contents

Related Manuals for HP DC367B - Compaq Basic Port Replicator 1.2


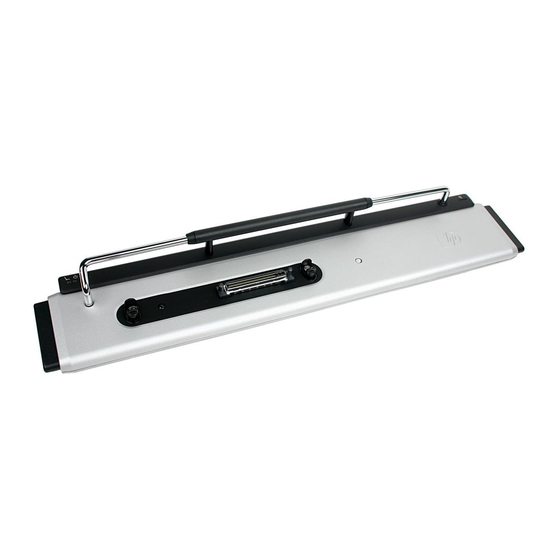
Summary of Contents for HP DC367B - Compaq Basic Port Replicator 1.2
- Page 1 Reference Guide HP Docking Station Document Part Number: 367055-002 January 2005 This guide provides information on installing and operating the HP Docking Station and on using it with your computer, as well as tips on solving common problems.
- Page 2 © Copyright 2004, 2005 Hewlett-Packard Development Company, L.P. Microsoft is a U.S. registered trademark of Microsoft Corporation. The information contained herein is subject to change without notice. The only warranties for HP products and services are set forth in the express warranty statements accompanying such products and services.
-
Page 3: Table Of Contents
Contents 1 Getting Started Identifying Top Components ..... . 1–1 Identifying Left-Side Components....1–3 Identifying Right-Side Components . -
Page 4: Getting Started
Getting Started Identifying Top Components Component Description Power button Turns on power to the computer. Power light Indicates the state of the computer and is turned on when the computer is turned on. Docking posts (2) Align and secure the computer for proper connection to the HP Docking Station. - Page 5 Getting Started Component Description Computer eject Disconnect the computer from mechanisms (4) the docking station when you press the eject button. Docking connector Connects the computer to the docking station. Visual alignment indicator Helps you correctly align the computer when connecting it to the docking station.
-
Page 6: Identifying Left-Side Components
Getting Started Identifying Left-Side Components Component Description Power button and Turns on power to the computer. power light The light indicates the state of the computer, and is turned on when the computer is turned on. USB 2.0 port Allows you to connect USB devices. Powered USB 2.0 port Allows you to connect select USB devices, such as the HP External... -
Page 7: Identifying Right-Side Components
Getting Started Identifying Right-Side Components Component Description Computer eject button Ejects the computer from the docking and docking light station. Docking light is turned on when the computer is properly aligned. ✎ Refer to Chapter 2, “Docking Undocking,” for details. Integrated cable lock slot Supports the HP/Kensington Cable Lock, which secures the docking... -
Page 8: Identifying Rear Components
Getting Started Identifying Rear Components Component Description Security cable slot Connects an optional security cable lock. Monitor stand port Connects an optional HP Monitor Stand to the docking station. Audio-out (headphone) jack Connects an audio output device such as headphones or speakers. Mouse connector Connects a PS/2 mouse. - Page 9 Getting Started Component Description RJ-11 (modem) jack Connects a telephone cable. RJ-45 (network) jack Connects a network cable. USB 2.0 ports (2) Connect USB devices. Power connector Connects the docking station to the AC adapter. External monitor port Connects a VGA monitor. Serial port Connects a serial device such as a mouse.
-
Page 10: Getting More Information
Getting Started Getting More Information WARNING: To reduce the risk of serious injury, read the Safety and Å Comfort Guide. It describes proper workstation setup, and proper posture, health, and work habits for notebook users. The Safety and Comfort Guide also provides important electrical and mechanical safety information. -
Page 11: Docking And Undocking
Docking and Undocking Connecting to AC Power Connect the docking station to AC power at all times. WARNING: To reduce the risk of electric shock or damage to your Å equipment: ■ Plug the power cord into an AC outlet that is easily accessible at all times. - Page 12 Docking and Undocking 1. Insert the AC adapter 1 into the power connector on the docking station. 2. Insert one end of the power cord 2 into the AC adapter. 3. Insert the other end of the power cord 3 into an AC outlet. ✎...
-
Page 13: Docking The Computer
Docking and Undocking Docking the Computer 1. Close the computer. If you close the computer when the power is on, the computer may enter standby mode. To resume operation after docking, open the computer, and then press the power button. 2. - Page 14 Docking and Undocking 4. Align the posts on the docking station with the receptors on the bottom of the computer, and then gently press the computer down onto the docking station until you hear a click. When the computer is properly aligned, the docking station docking light is turned on.
-
Page 15: Undocking The Computer
Docking and Undocking Undocking the Computer 1. Close the computer. If you close the computer when the power is on, the computer may enter standby mode. To resume operation after undocking, open the computer, and then press the power button. Reference Guide 2–5... - Page 16 Docking and Undocking 2. Press the eject button 1. The computer disconnects from the docking station. 3. Lift up the computer 2. 2–6 Reference Guide...
-
Page 17: Using The Docking Station
Using the Docking Station Turning the Computer On and Off When you connect a computer to the docking station, you can turn the computer on and off using either the computer power button or the docking station power button 1. When you turn on the system, the power button light is turned on 2. -
Page 18: Installing The Hp/Kensington Cable Lock
Using the Docking Station Installing the HP/Kensington Cable Lock ✎ Security solutions are designed to act as deterrents. These deterrents may not prevent a product from being mishandled or stolen. The HP/Kensington Cable Lock (purchased separately) allows you to secure the docking station and a docked computer. Install the cable lock into the integrated cable lock slot on the right side of the docking station, as shown in the following illustrations. - Page 19 Using the Docking Station To install the cable lock: 1. Loop the cable around a stationary object. 2. Turn the docking station upside down, and then remove the screws from the cable lock bezel 1. 3. Remove the bezel from the docking station 2, and then remove the bezel blank from the cable lock bezel 3.
- Page 20 Using the Docking Station 4. With the lock and key in the unlocked position and with the T-bar on the back of the lock in the vertical position, insert the lock into the center groove in the cable lock slot in the docking station 1.
- Page 21 Using the Docking Station 6. Turn the key counterclockwise to lock 1. 7. Remove the key from the lock 2. 8. Reinsert the cable lock bezel onto the docking station 3. 9. Replace the screws to secure the bezel 4. Reference Guide 3–5...
- Page 22 Using the Docking Station The following illustration shows a docking station with the HP/Kensington Cable Lock installed. 3–6 Reference Guide...
-
Page 23: Troubleshooting
Troubleshooting This section provides three methods for resolving issues you may encounter when using your docking station. Use the methods in the following order: ■ Refer to the “Solving Common Problems” section. ■ Access the Help and Support Center on your computer by selecting Start >... -
Page 24: Solving Common Problems
Troubleshooting Solving Common Problems Docking Problems Problem Possible Cause Solution The computer is not The computer may Lift the computer away from properly connected to be properly aligned, the docking station. Then the docking station. but is not fully seated realign the computer visual or docked in the alignment indicator with the... - Page 25 Troubleshooting Undocking Problems Problem Possible Cause Solution The computer will not The connectors are Press the eject button all the disconnect from the jammed. way in. If the computer does docking station. not disconnect, repeat this procedure to disconnect the computer.
- Page 26 Troubleshooting External Device Problems Problem Possible Cause Solution A new device is not The computer may be Lift the computer away from recognized as part properly aligned, but is not the docking station. Then of the system. fully seated or docked in realign the computer visual the docking station.
Need help?
Do you have a question about the DC367B - Compaq Basic Port Replicator 1.2 and is the answer not in the manual?
Questions and answers