Advertisement
Table of Contents
Contents
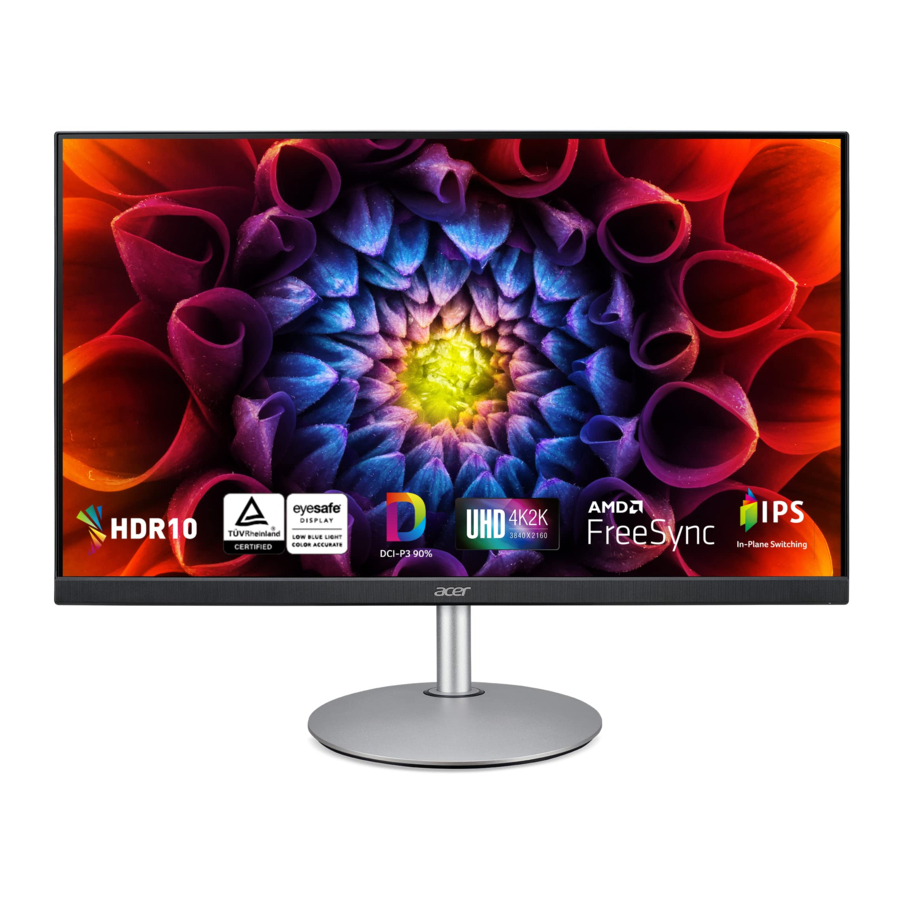
Acer CBL282K, CB2 Series Manual
Attaching the monitor to the base
- Remove the monitor from the packaging.
- Attach the footstand to the base. (for selected models).
- Turn clockwise to lock. Ensure that the base in locked onto the stand. (for selected models)
- Secure the base to the stand by turning the screw using the integrated tab or a suitable coin. (for selected models)
Connecting your monitor to a computer

- Turn off your computer and unplug your computer's power cord.
- Connect the signal cable to the DP (optional) and/or HDMI (optional) input socket of the monitor, and the DP (optional) and/or HDMI (optional) output socket of the graphics card on the computer. Then tighten the thumbscrews on the signal cable connector.
- Optional: Connect the audio input socket (AUDIO IN) of the LCD monitor and the line-out port on the computer with the audio cable.
- Insert the monitor power cable into the power port at the back of the monitor.
- Plug the power cords of your computer and your monitor into a nearby electrical outlet.
Note: Audio output is only for audio output model. Please check user manual for more instruction.
FreeSync (DP/HDMI):
It can allow a FreeSync supported graphics source to dynamically adjust display refresh rate based on typical content frame rates for power efficient, virtually stutter free and low-latency display update.

External controls
| 1 | Power button | Turns the monitor on/off. Blue indicates power on. Amber indicates standby/power saving mode. |
| 2 | Function key |
|
| 3 | Function key |
|
| 4 | Function key |
|
| 5 | Function key |
|
SPECIFICATION
| LCD Panel | Driving system | TFT Color LCD | |
| Size | 28"W (71cm) | ||
| Pixel pitch | 0.16mm(H) x 0.16mm(V) | ||
| Brightness | 300cd/m2(Typical) | ||
| Contrast | 100,000,000:1Max. (ACM) | ||
| Viewable angle | 178° (H) 178° (V) (CR=10) (Typical) | ||
| Response time | 4ms (G to G) | ||
| Panel Type | In-Plane Switching | ||
| H-Frequency | HDMI:30-160KHz DP:160-160KHz | ||
| V-Frequency | 40-60Hz | ||
| Display Colors | 1.07B Colors | ||
| Dot Clock | 600MHz | ||
| Max. Resolution | 3840x2160@60Hz | ||
| Plug & Play | VESA DDCCI/DDC2B | ||
| Power consumption @200cd/m2 | ON Mode | 31W(typ.) | |
| Standby mode | 0.5W(typ.) | ||
| Off Mode | 0.35W(typ.) | ||
| Input Connector | DP (Only DP Model)(Optional) HDMI (Only HDMI Model) | ||
| Input Video Signal | DP (Only DP Model)(Optional) HDMI (Only HDMI-Input Model) | ||
| Speakers | 2W x 2 | ||
| Audio | Audio-Output (Only Audio-Output Model) | ||
| Maximum Screen Size | Horizontal: 620.928mm Vertical: 341.28mm | ||
| Power Source | 100-240V~, 50/60Hz | ||
| Environmental Considerations | Operating Temp: 0° to 40°C Storage Temp: -20° to 60°C Operating Humidity: 20% to 80% | ||
| Dimensions | 637(W) x 437-567(H) x 269 (D)mm | ||
| Weight (N. W.) | 7.25kg Unit (net) | ||
| Mechanism spec | Tilt: -5° to +35° Swivel: Yes Height adjustment: 130mm Pivot: Yes Detachable foot stand: Yes | ||
| External Controls: | Functions | Brightness Contrast Black Boost Blue Light ACM HDR Super Sharpness Auto Config H. Position V. Position Focus Clock Gamma Color Temp. Modes sRGB Mode Grayscale Mode 6-axis Hue 6-axis Saturate Volume Mute Over Drive FreeSync VRB Refresh Rate Num Language OSD Timeout Transparency OSD Lock Input Auto Source Wide Mode Hot Key Assignment DDC/CI HDMI Black Level Quick Start Mode Reset | |
| *Specifications may vary depending on model, sku and/or region. | |||
Important safety instructions
Please read the following instructions carefully.
- To clean the LCD monitor screen:
- Turn off the LCD monitor and unplug the power cord.
- Spray a non-solvent cleaning solution onto a rag and clean the screen gently.
- Do not place the LCD monitor near a window. Exposing the monitor to rain, moisture or sunlight can severely damage it.
- Do not apply pressure to the LCD screen. Excessive pressure may cause permanent damage to the display.
- Do not remove the cover or attempt to service this unit yourself. An authorized technician should perform servicing of any nature.
- Store the LCD monitor in a room with a temperature of -20° to 60°C (-4° to140°F). Storing the LCD monitor outside this range may result in permanent damage.
- Immediately unplug your monitor and call an authorized technician if any of the following circumstances occur:
- Monitor-to-PC signal cable is frayed or damaged.
- Liquid spills onto the LCD monitor or the monitor is exposed to rain.
- The LCD monitor or case is damaged.
Documents / ResourcesDownload manual
Here you can download full pdf version of manual, it may contain additional safety instructions, warranty information, FCC rules, etc.
Advertisement


Need help?
Do you have a question about the CBL282K and is the answer not in the manual?
Questions and answers